New Releases |
Hidden Object Games |
Match 3 Games |
Time Management Games |
Strategy Games |
Puzzle Games |
Card Games |
Action Games |
Word Games
Bridge to Another World: Gulliver Syndrome Walkthrough

Bridge to Another World: Gulliver Syndrome Walkthrough
* OS: Windows 7 / Vista / XP
* CPU: Pentium 3 1.0 GHz or Higher
* OS: Windows 7 / Vista / XP
* CPU: Pentium 3 1.0 GHz or Higher

Bridge to Another World: Gulliver Syndrome Walkthrough
* OS: Windows 7 / Vista / XP
* CPU: Pentium 3 1.0 GHz or Higher
* OS: Windows 7 / Vista / XP
* CPU: Pentium 3 1.0 GHz or Higher
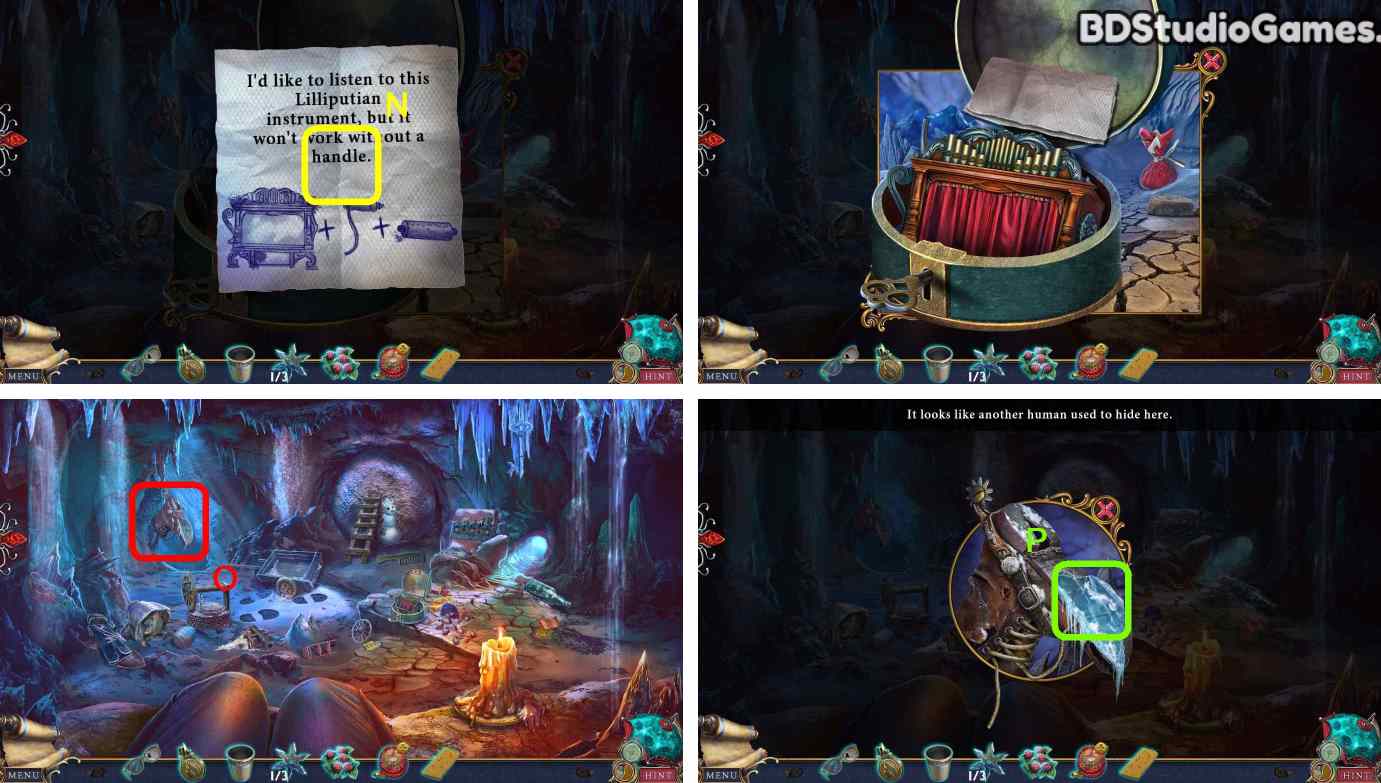
Click Here. (N)
Examine here. (O)
Click Here. (P)
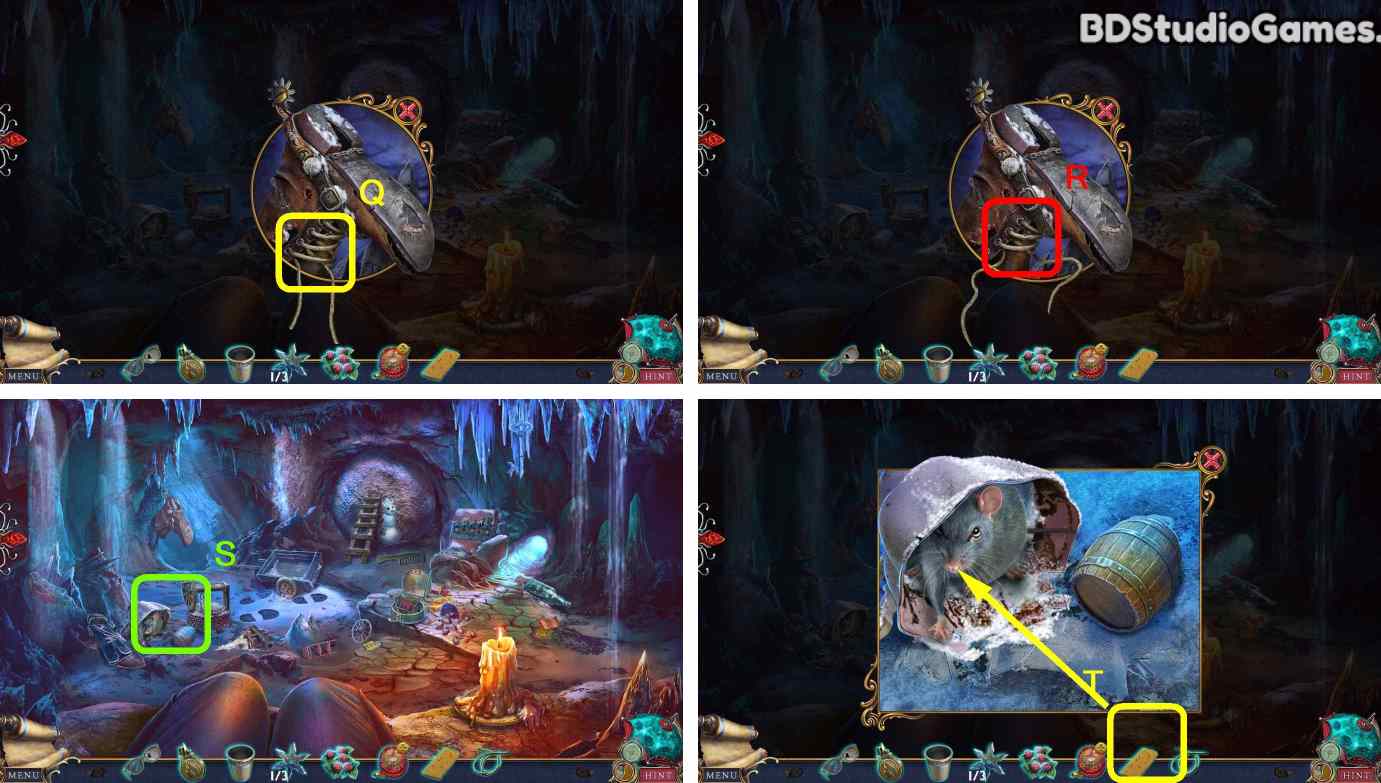
Click Here. (Q)
Take it. (R)
Examine here. (S)
Use object on here. (T)
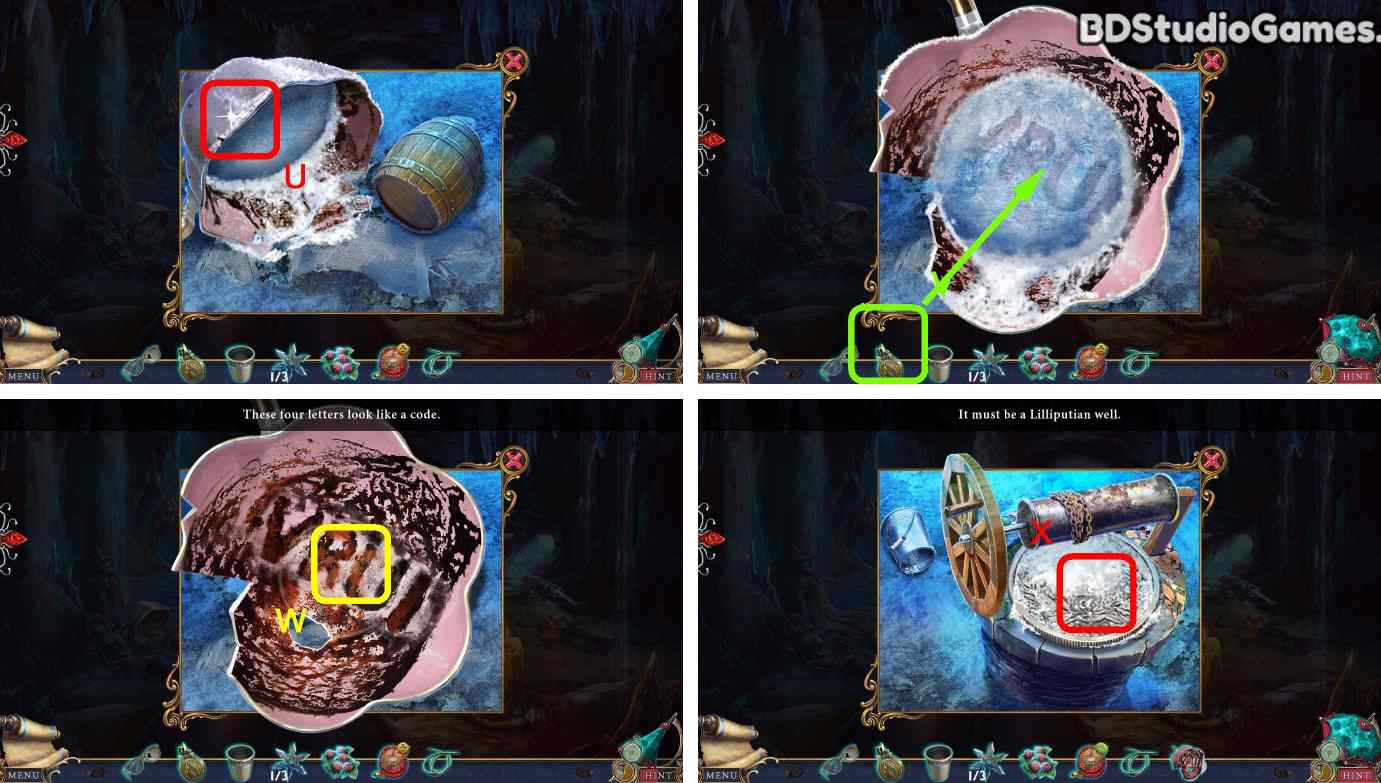
Click Here. (U)
Use object on here. (V)
Take it. (W)
Click Here. (X)
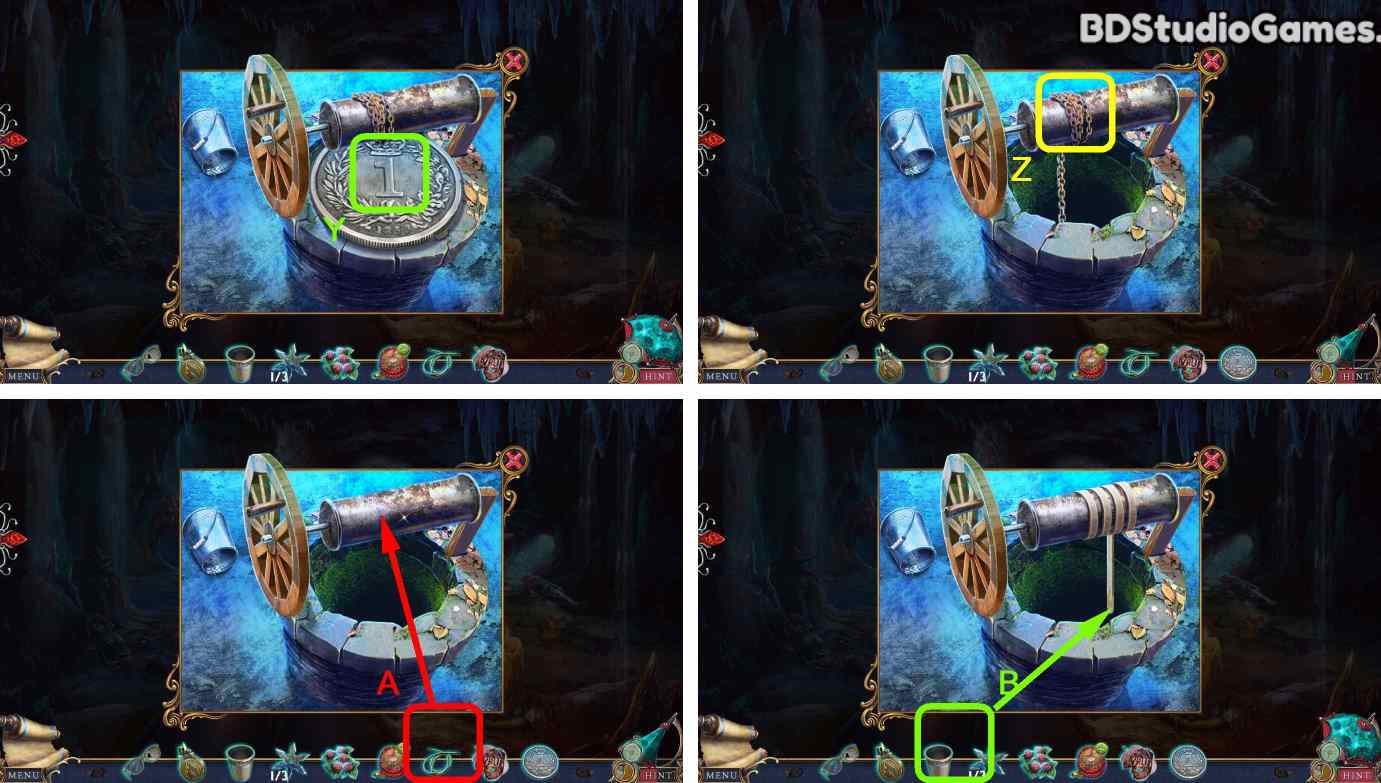
Take it. (Y)
Click Here. (Z)
Use object on here. (A)
Use object on here. (B)
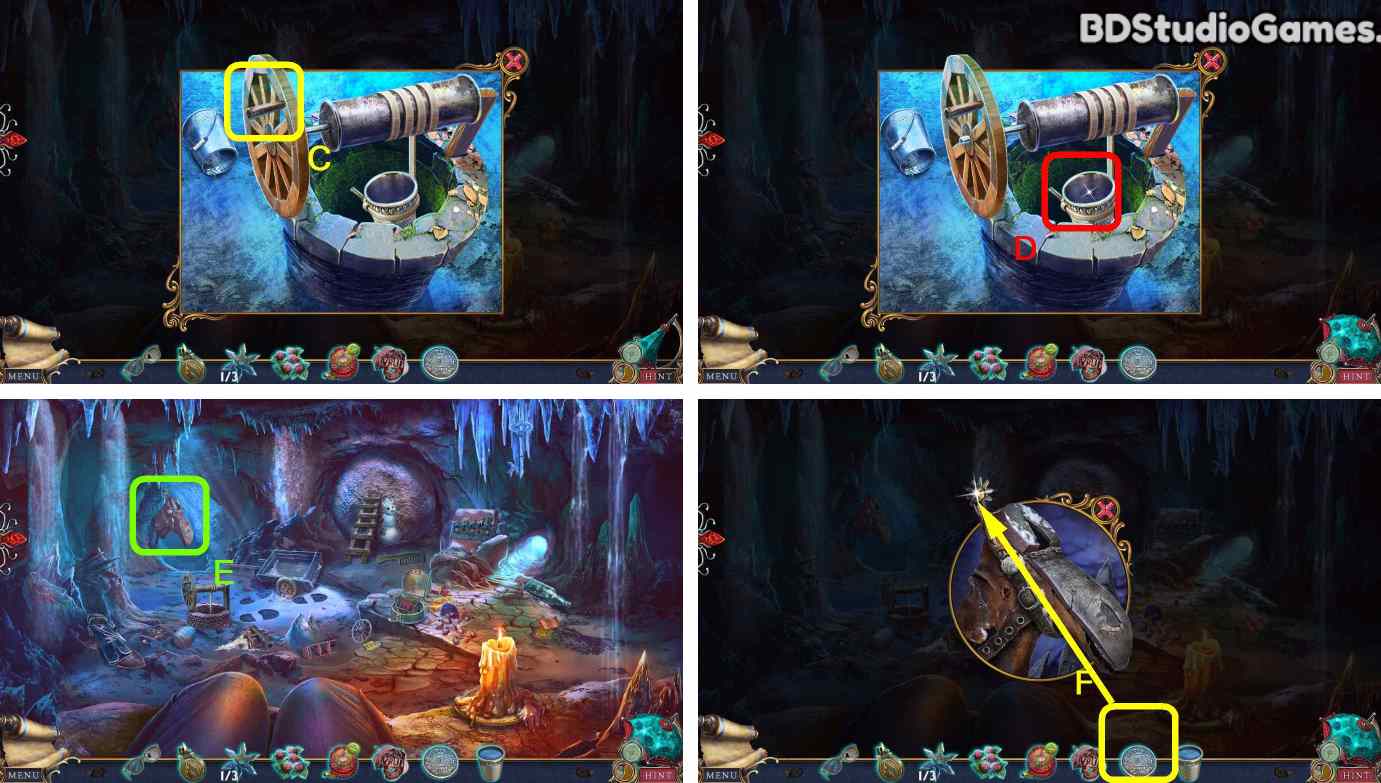
Click Here. (C)
Take it. (D)
Examine here. (E)
Use object on here. (F)
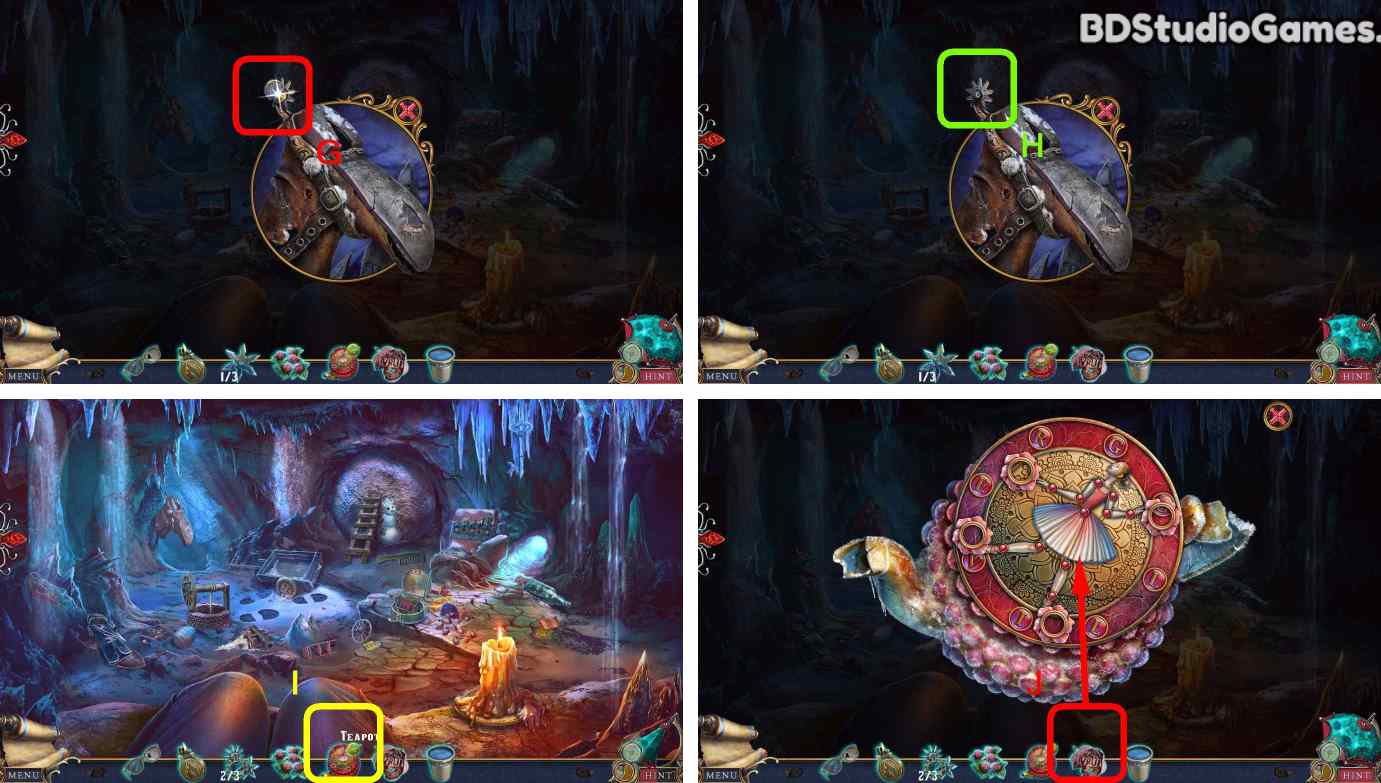
Click Here. (G)
Take it. (H)
Click Here. (I)
Use object on here. (J)
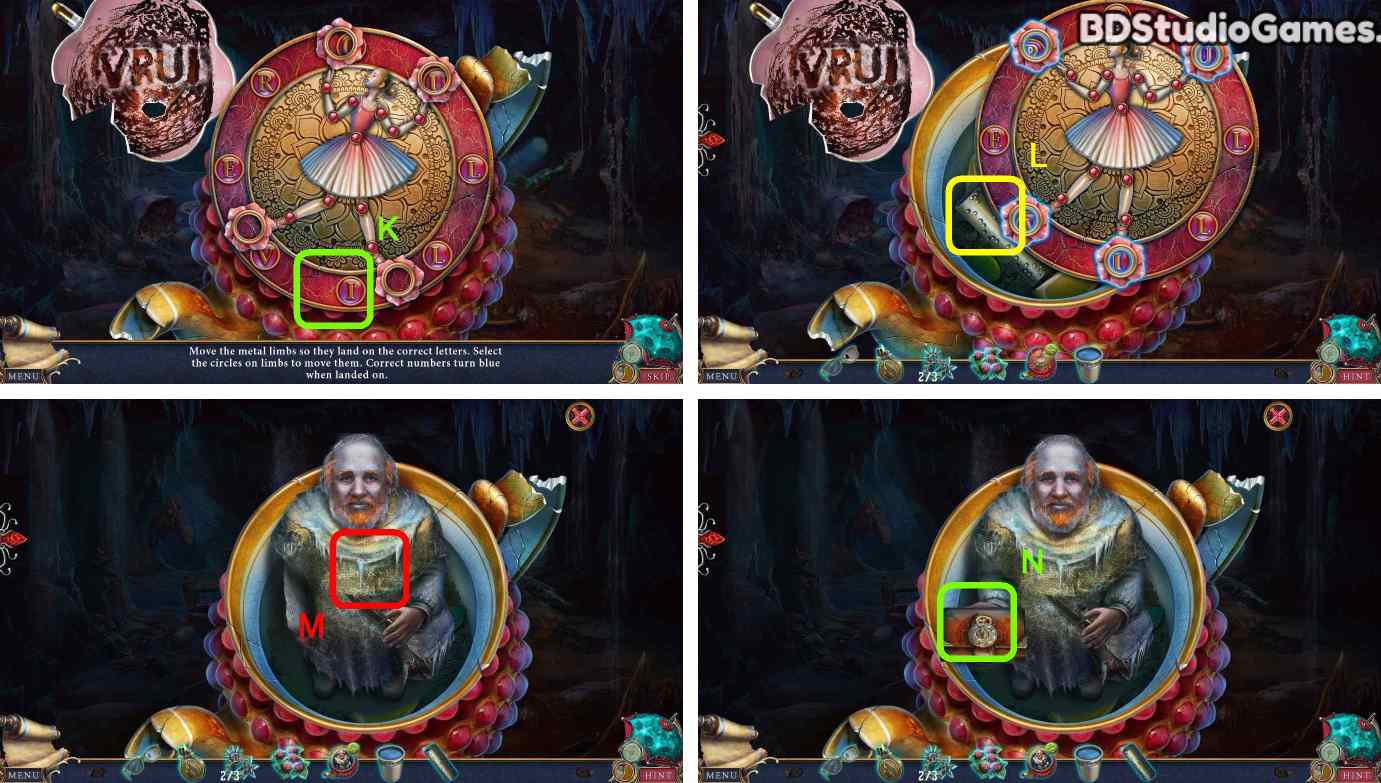
Solve the puzzle. (K)
Take it. (L)
Click Here. (M)
Take it. (N)
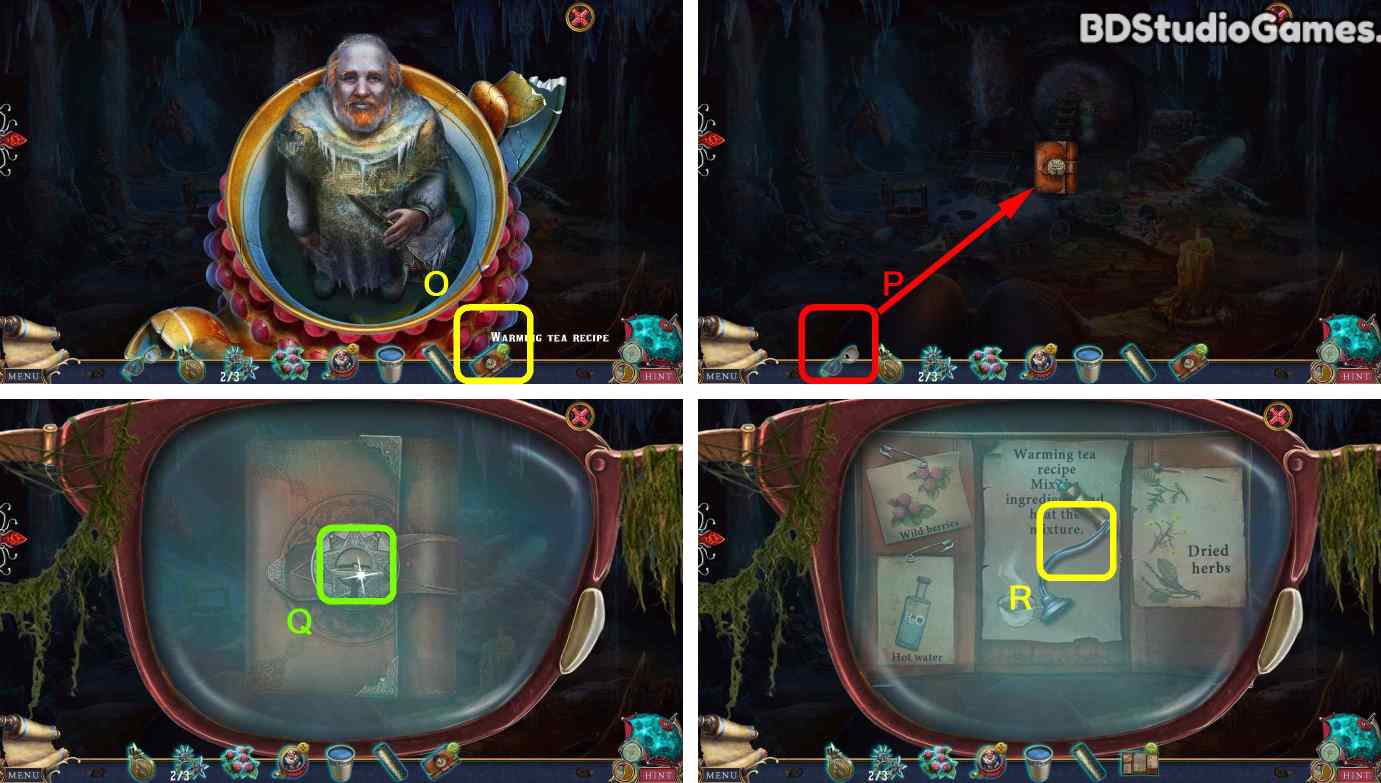
Click Here. (O)
Use object on here. (P)
Click Here. (Q)
Take it. (R)
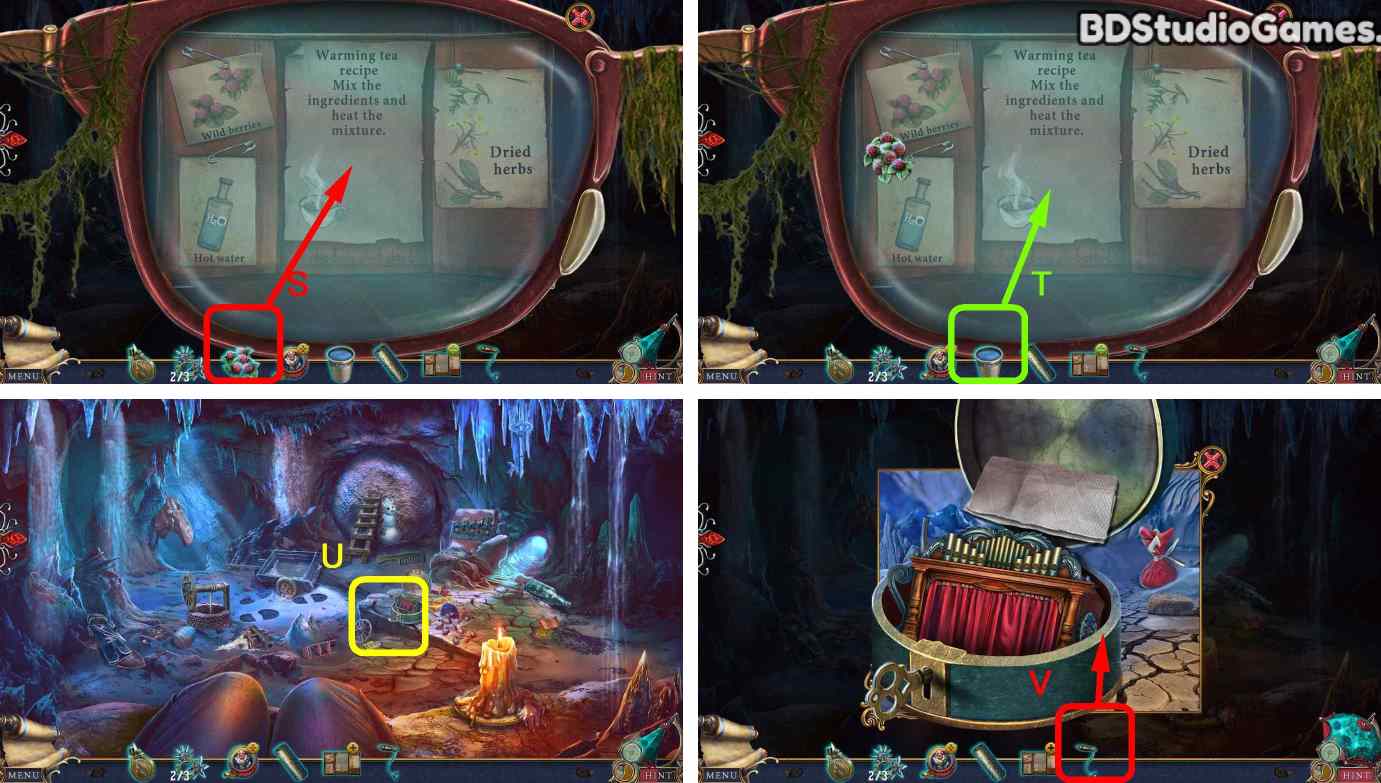
Use object on here. (S)
Use object on here. (T)
Examine here. (U)
Use object on here. (V)
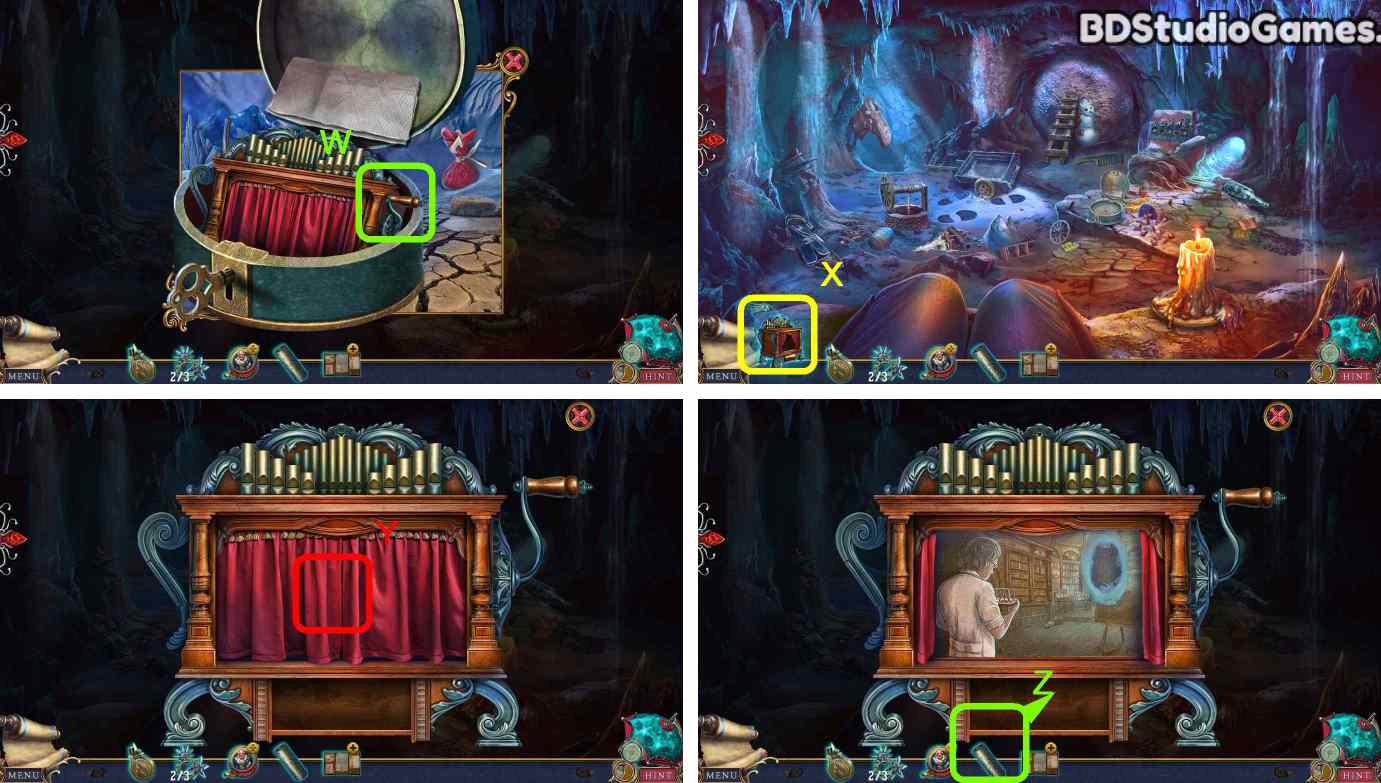
Click Here. (W)
Click Here. (X)
Click Here. (Y)
Use object on here. (Z)
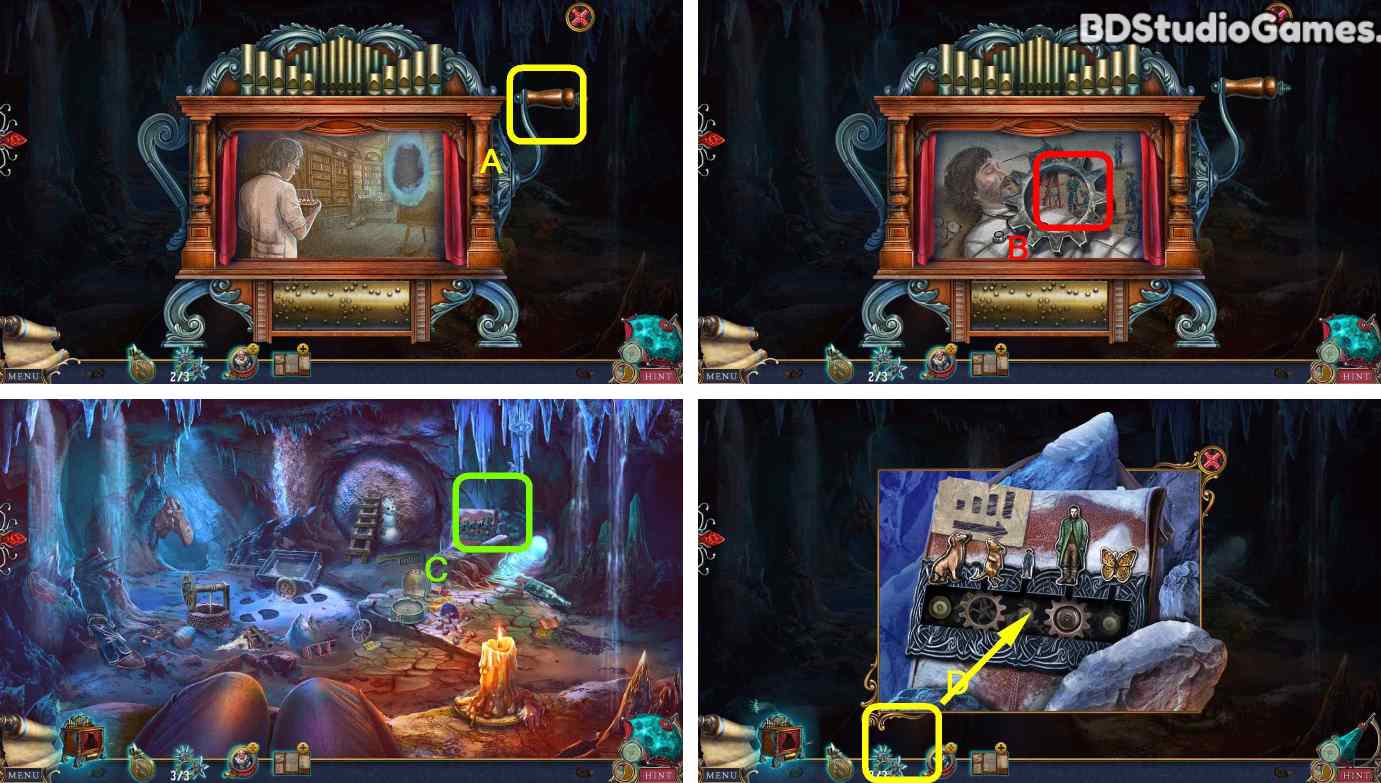
Click Here. (A)
Take it. (B)
Examine here. (C)
Use object on here. (D)
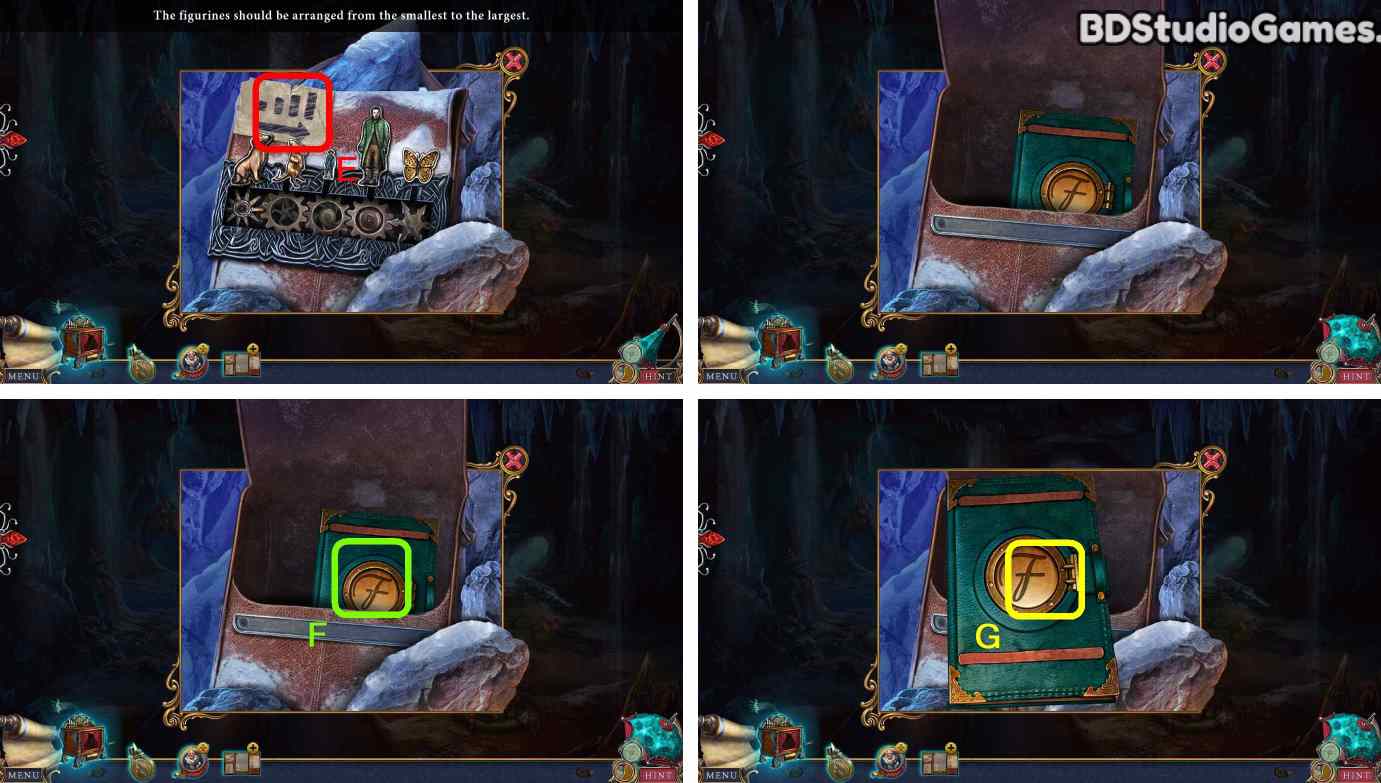
Solve the puzzle. (E)
Take it. (F)
Click Here. (G)
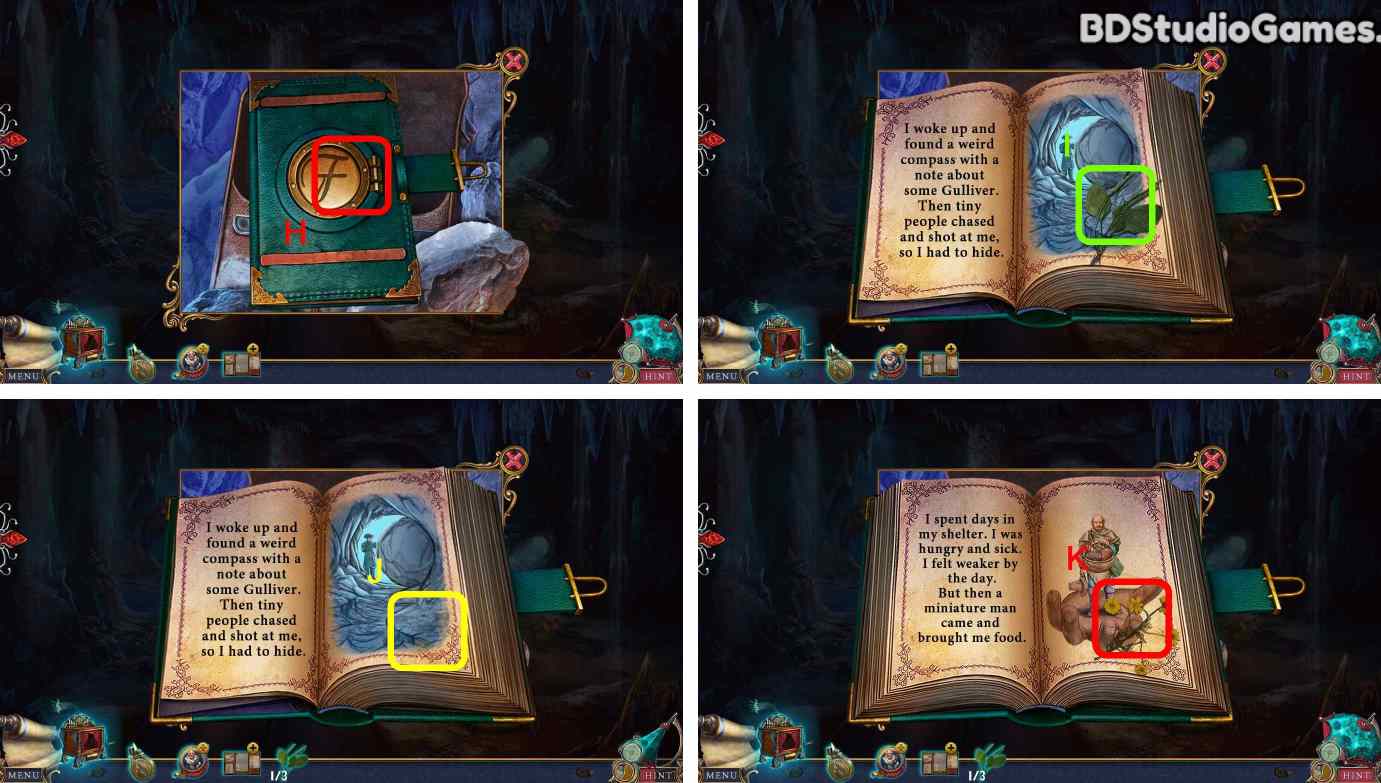
Click Here. (H)
Take it. (I)
Click Here. (J)
Take it. (K)
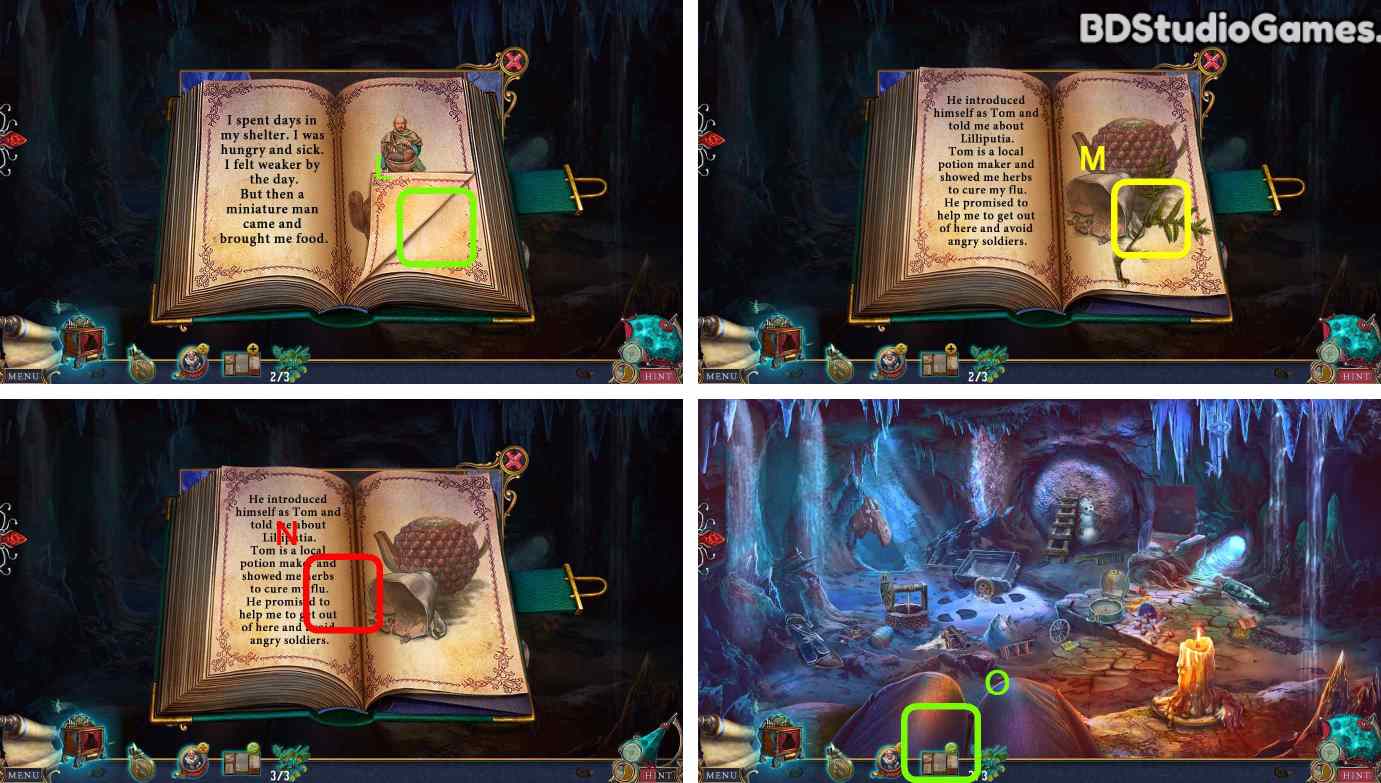
Click Here. (L)
Take it. (M)
Take it. (N)
Click Here. (O)
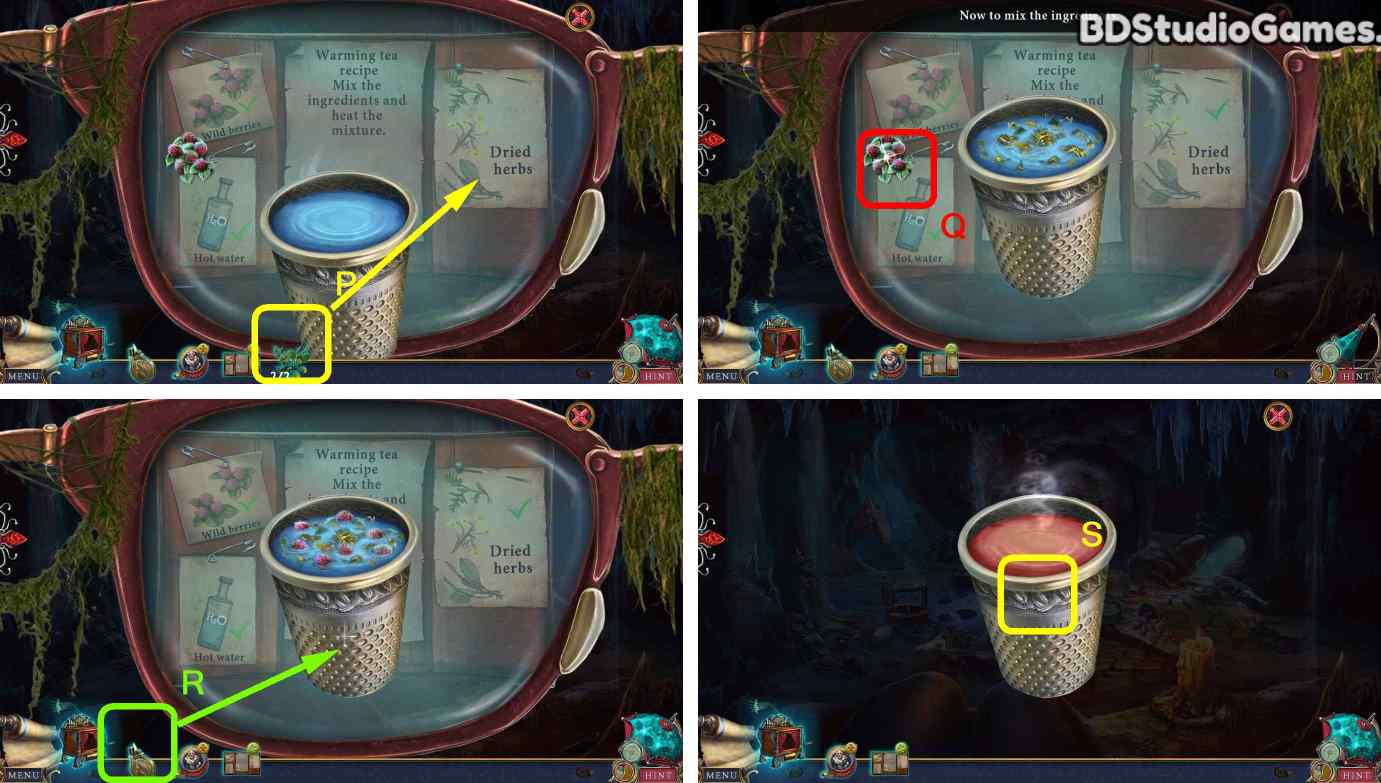
Use object on here. (P)
Click Here. (Q)
Use object on here. (R)
Take it. (S)
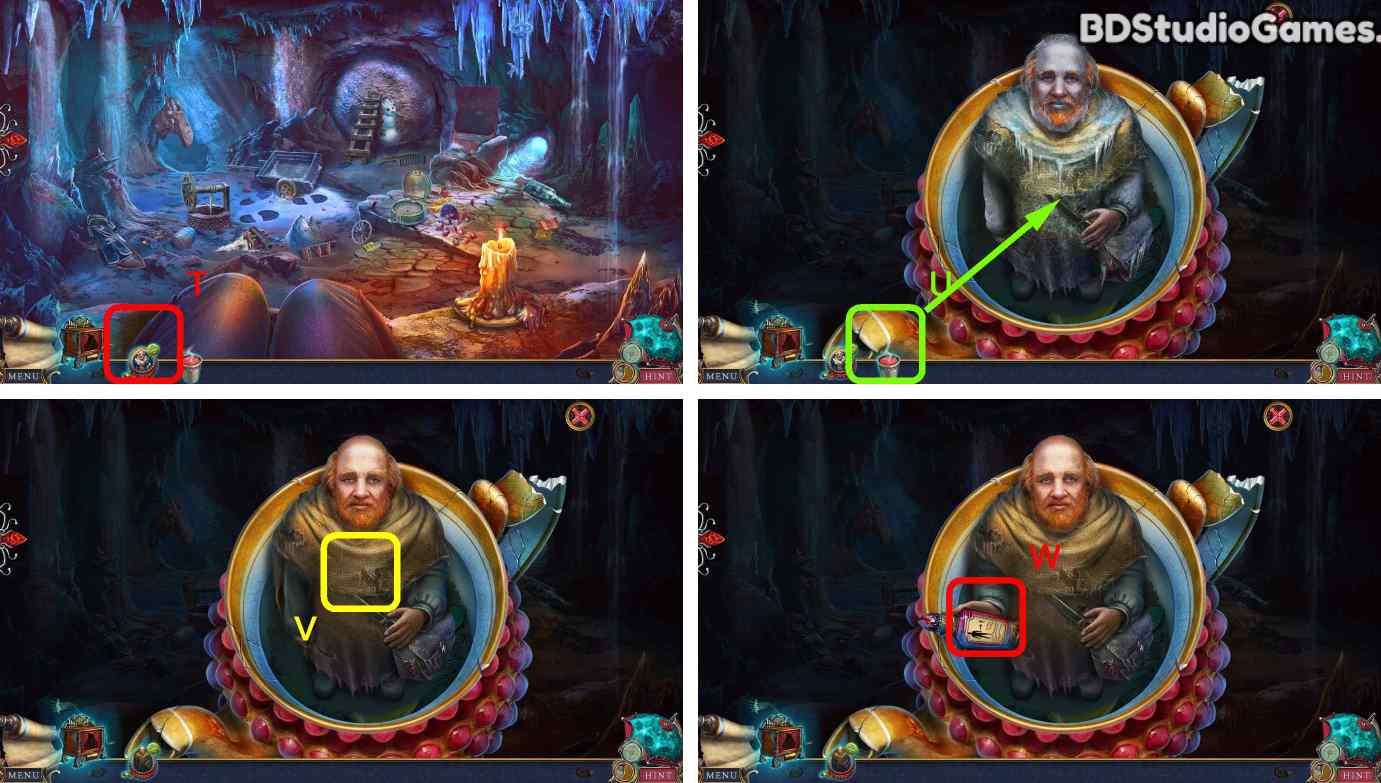
Click Here. (T)
Use object on here. (U)
Click Here. (V)
Take it. (W)
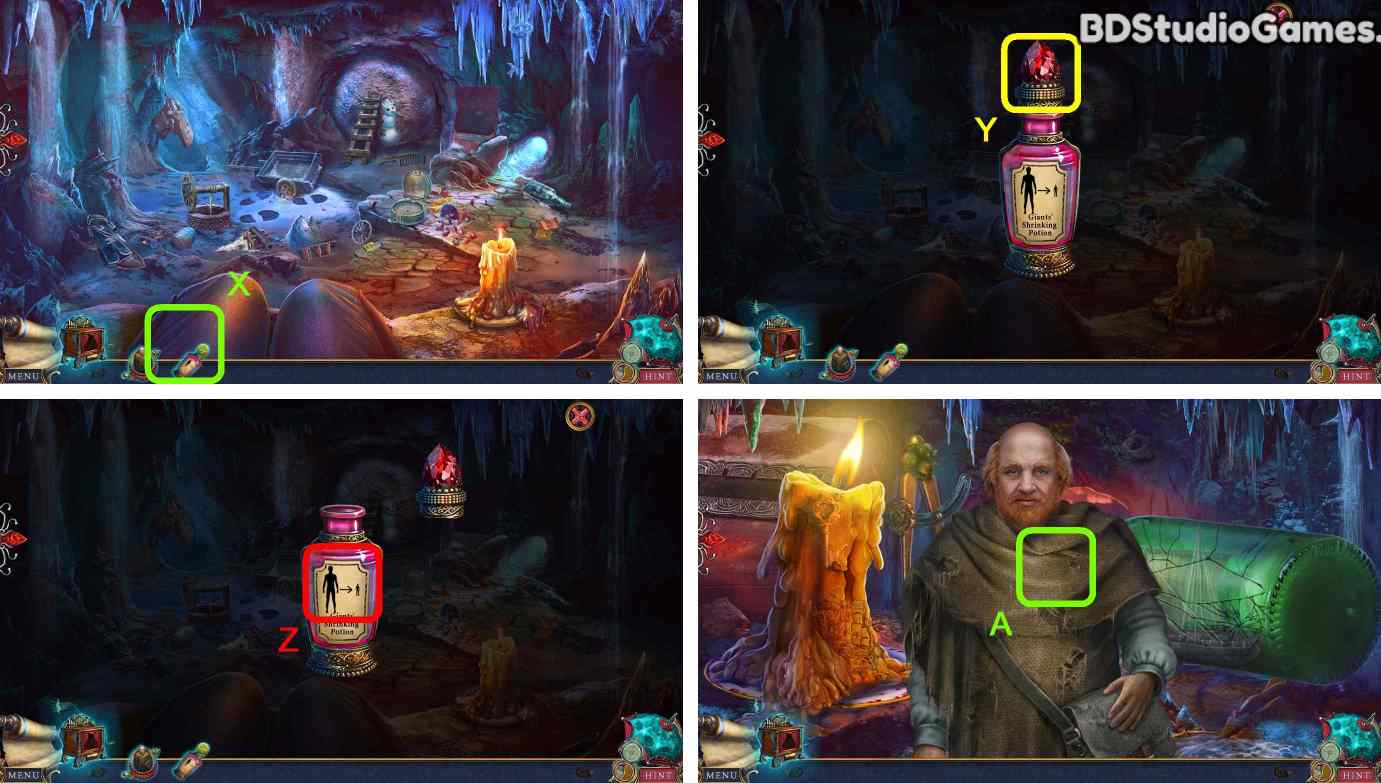
Click Here. (X)
Click Here. (Y)
Click Here. (Z)
Click Here. (A)
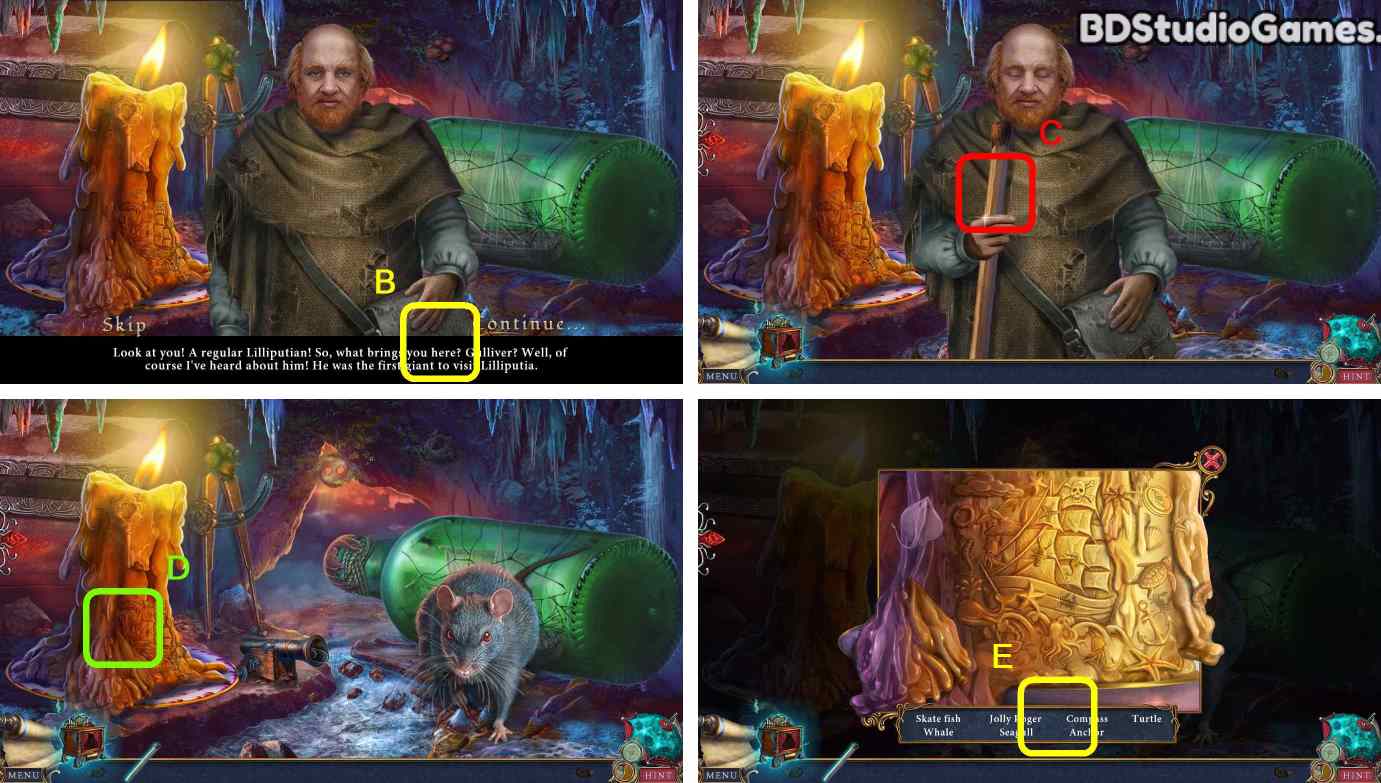
Click Here. (B)
Take it. (C)
Click Here. (D)
Find all hidden objects. (E)
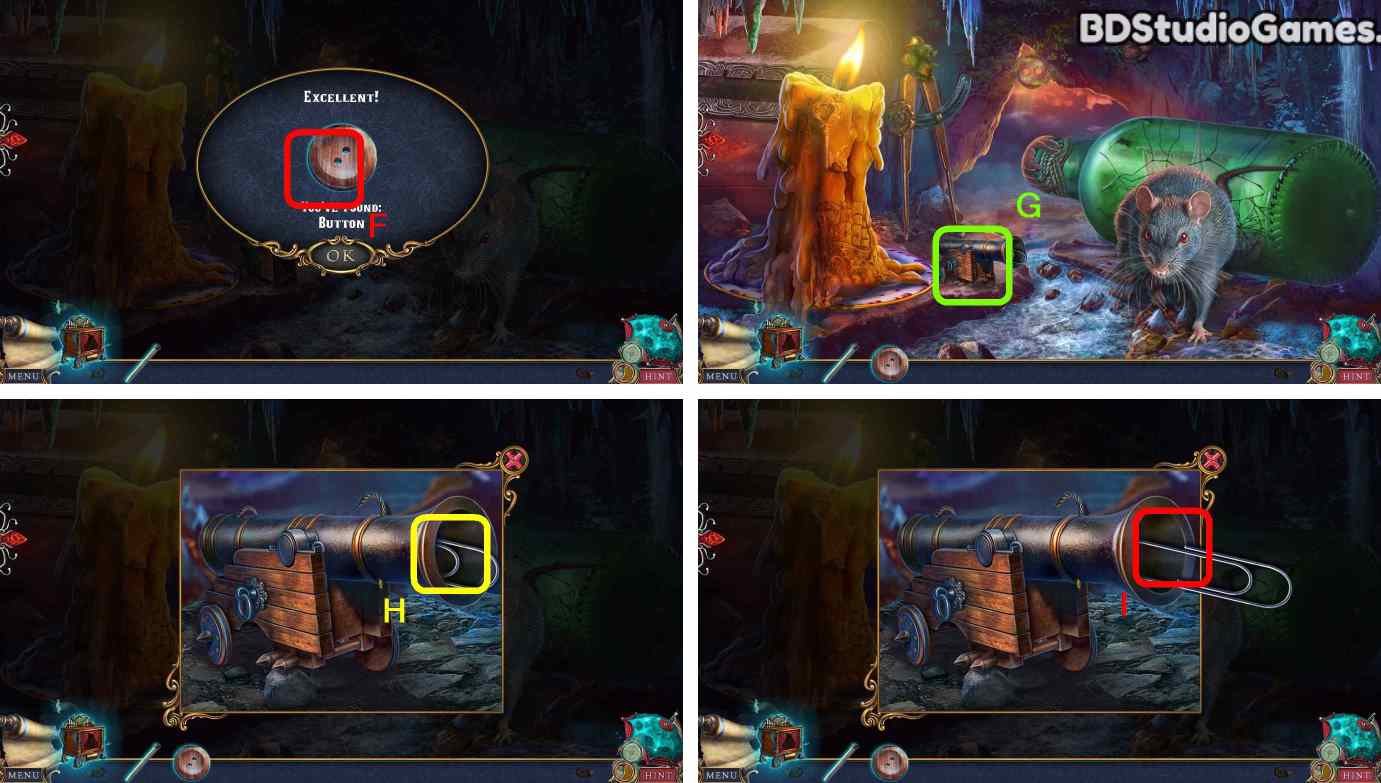
Take it. (F)
Examine here. (G)
Click Here. (H)
Take it. (I)
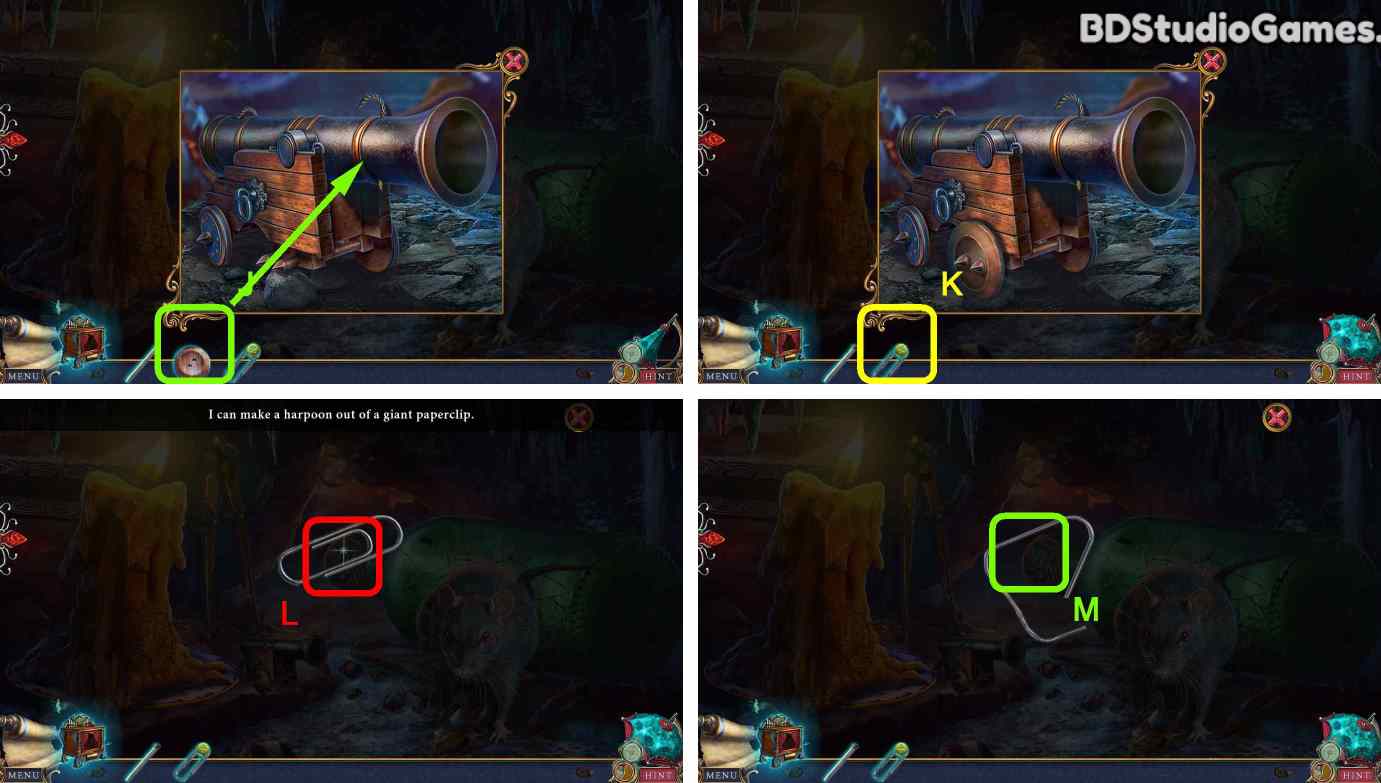
Use object on here. (J)
Click Here. (K)
Click Here. (L)
Click Here. (M)




 REFRESH