New Releases |
Hidden Object Games |
Match 3 Games |
Time Management Games |
Strategy Games |
Puzzle Games |
Card Games |
Action Games |
Word Games
Bridge to Another World: Through the Looking Glass Walkthrough
Bridge to Another World: Through the Looking Glass Walkthrough
* OS: Windows 7 / Vista / XP
* CPU: Pentium 3 1.0 GHz or Higher
* OS: Windows 7 / Vista / XP
* CPU: Pentium 3 1.0 GHz or Higher

Bridge to Another World: Through the Looking Glass Walkthrough
* OS: Windows 7 / Vista / XP
* CPU: Pentium 3 1.0 GHz or Higher
* OS: Windows 7 / Vista / XP
* CPU: Pentium 3 1.0 GHz or Higher
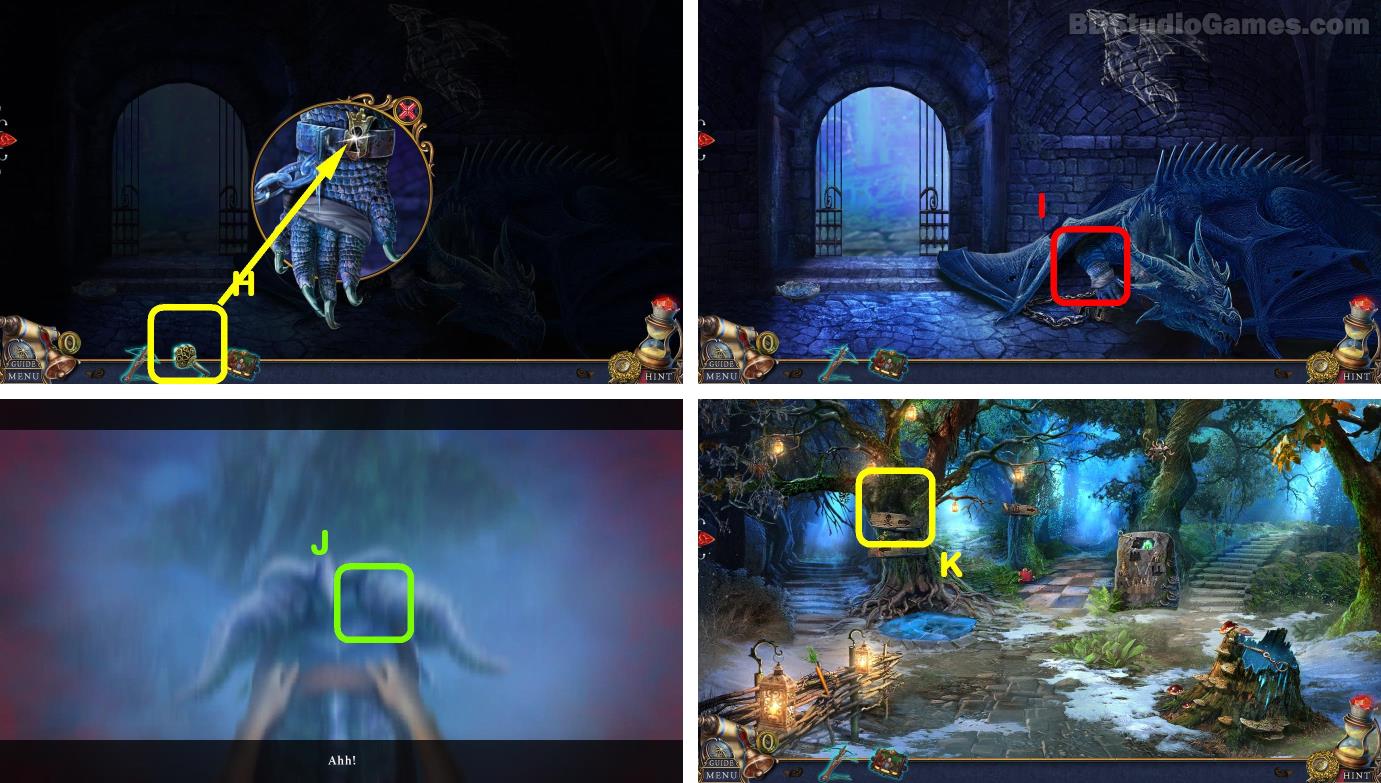
Use object on here. (H)
Click Here. (I)
Play mini game. (J)
Examine here. (K)
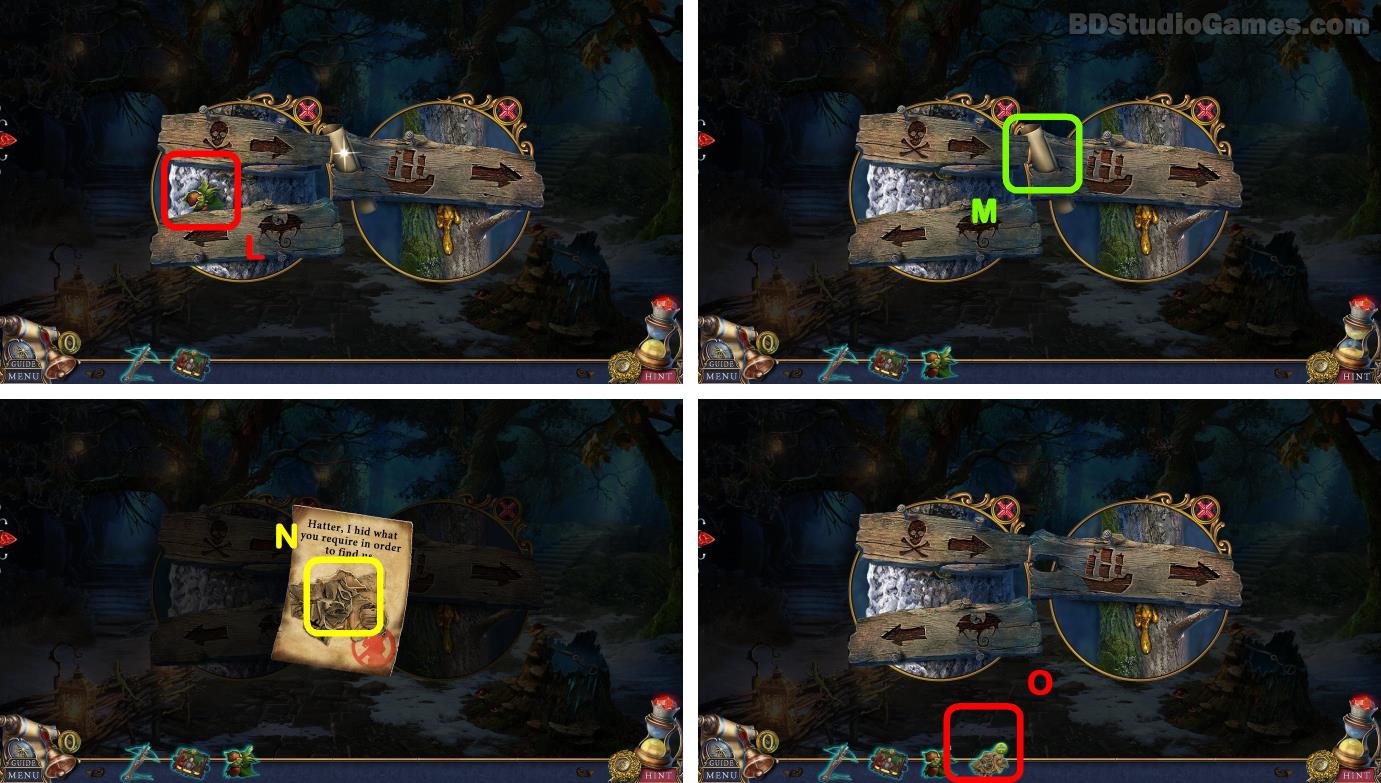
Take it. (L)
Examine here. (M)
Take it. (N)
Click Here. (O)
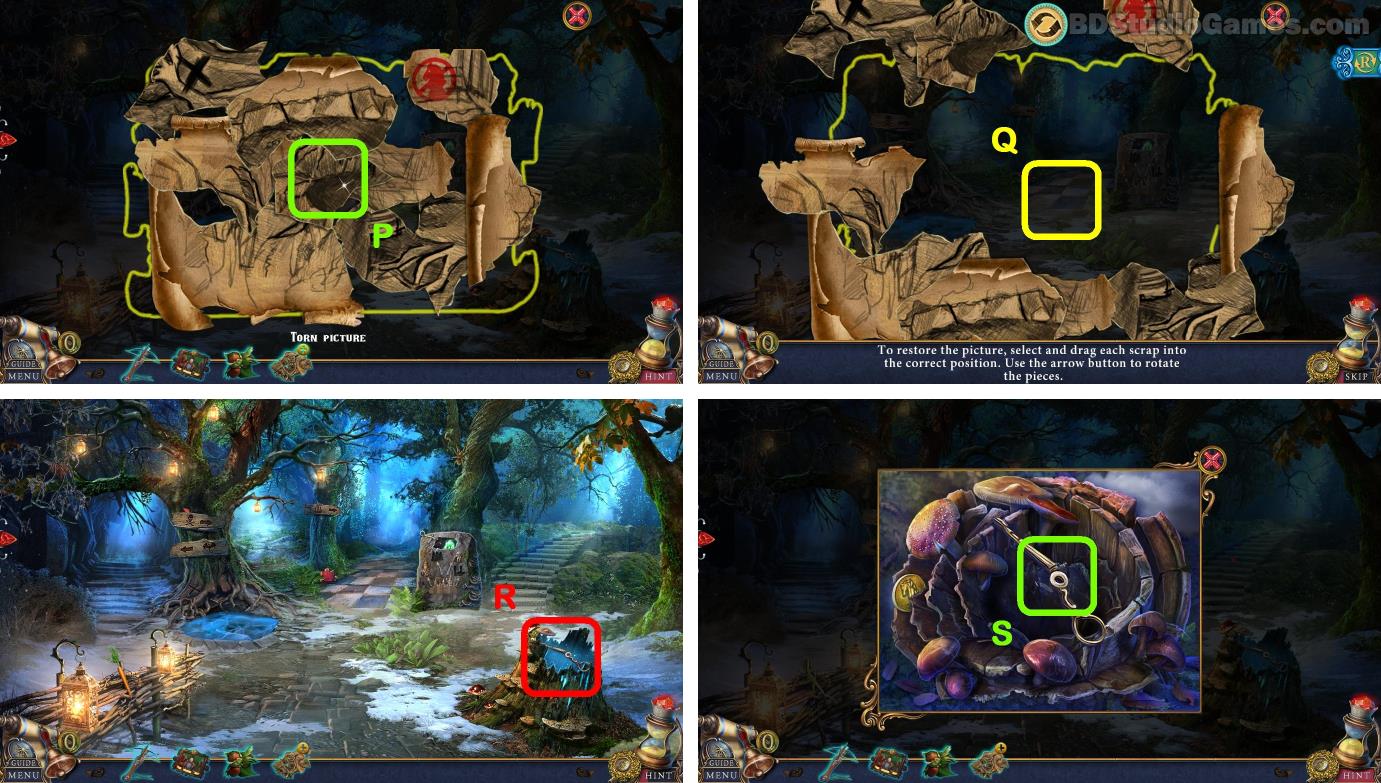
Click Here. (P)
Solve the puzzle. (Q)
Examine here. (R)
Take it. (S)
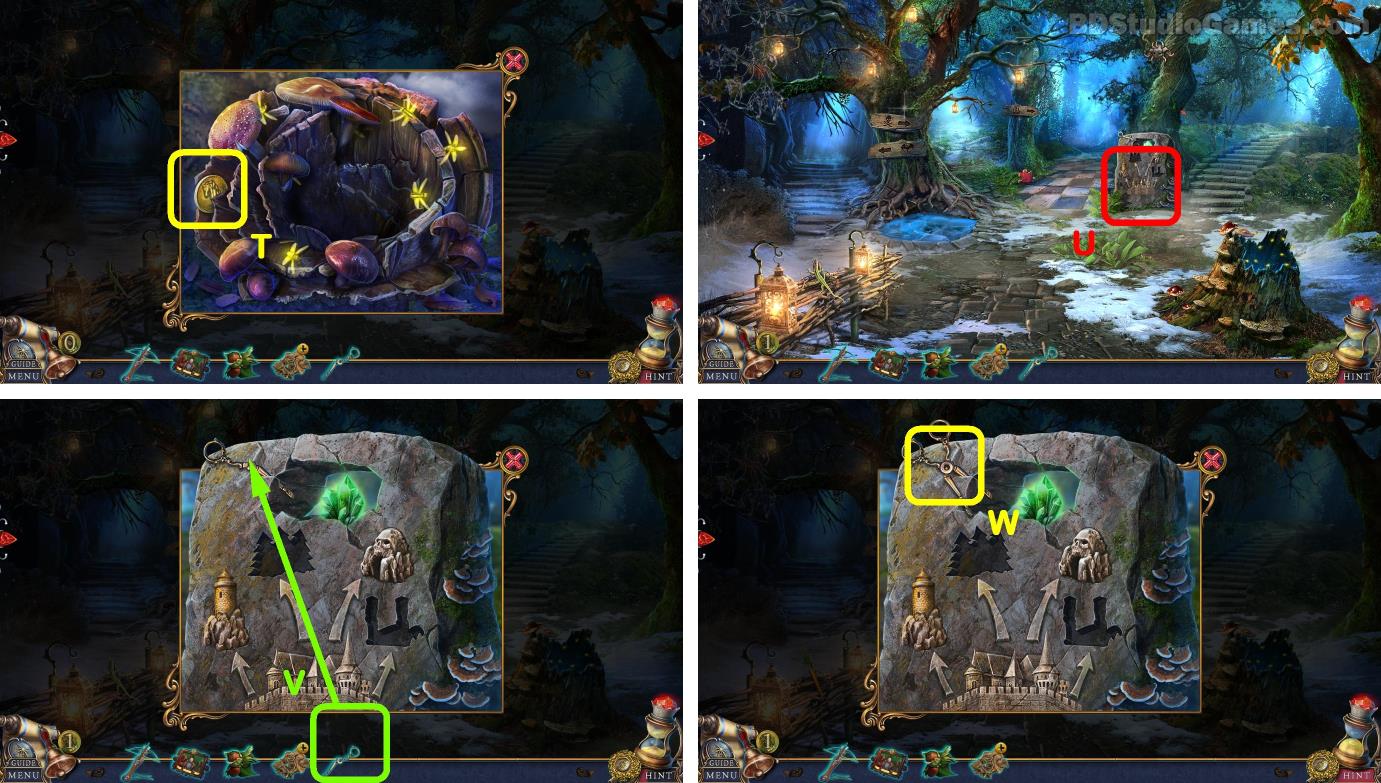
Take it. (T)
Examine here. (U)
Use object on here. (V)
Take it. (W)
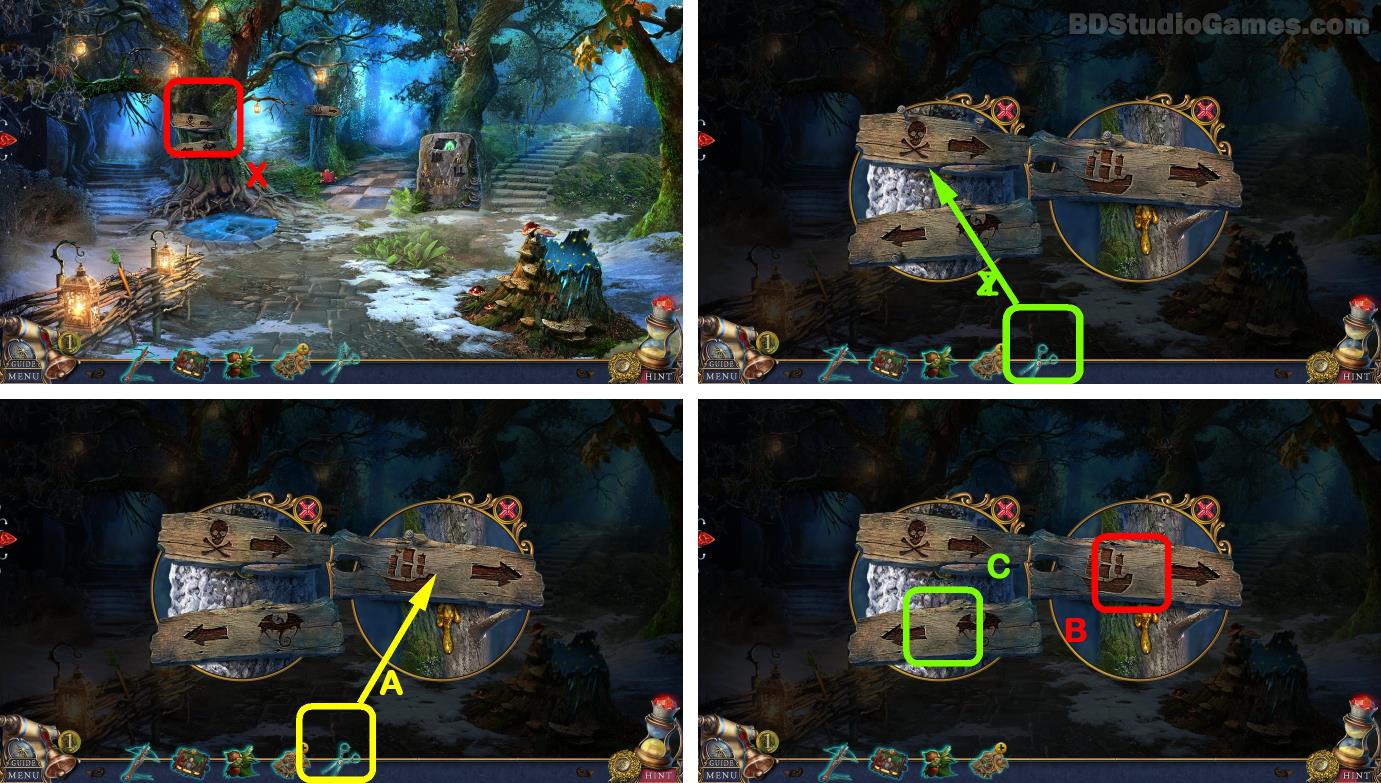
Examine here. (X)
Use object on here. (Y)
Use object on here. (Z)
Use object on here. (A)
Take it. (B)
Take it. (C)
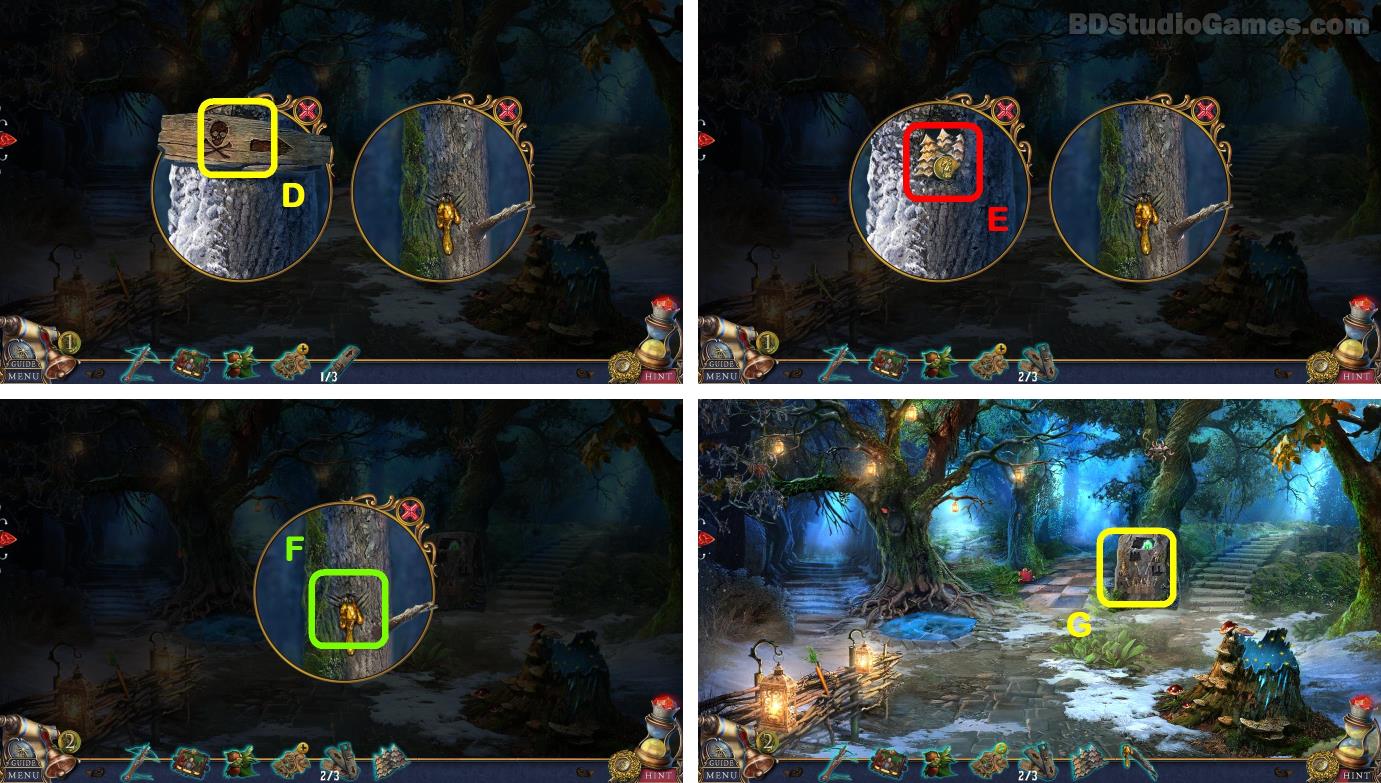
Take it. (D)
Take it. (E)
Take it. (F)
Examine here. (G)
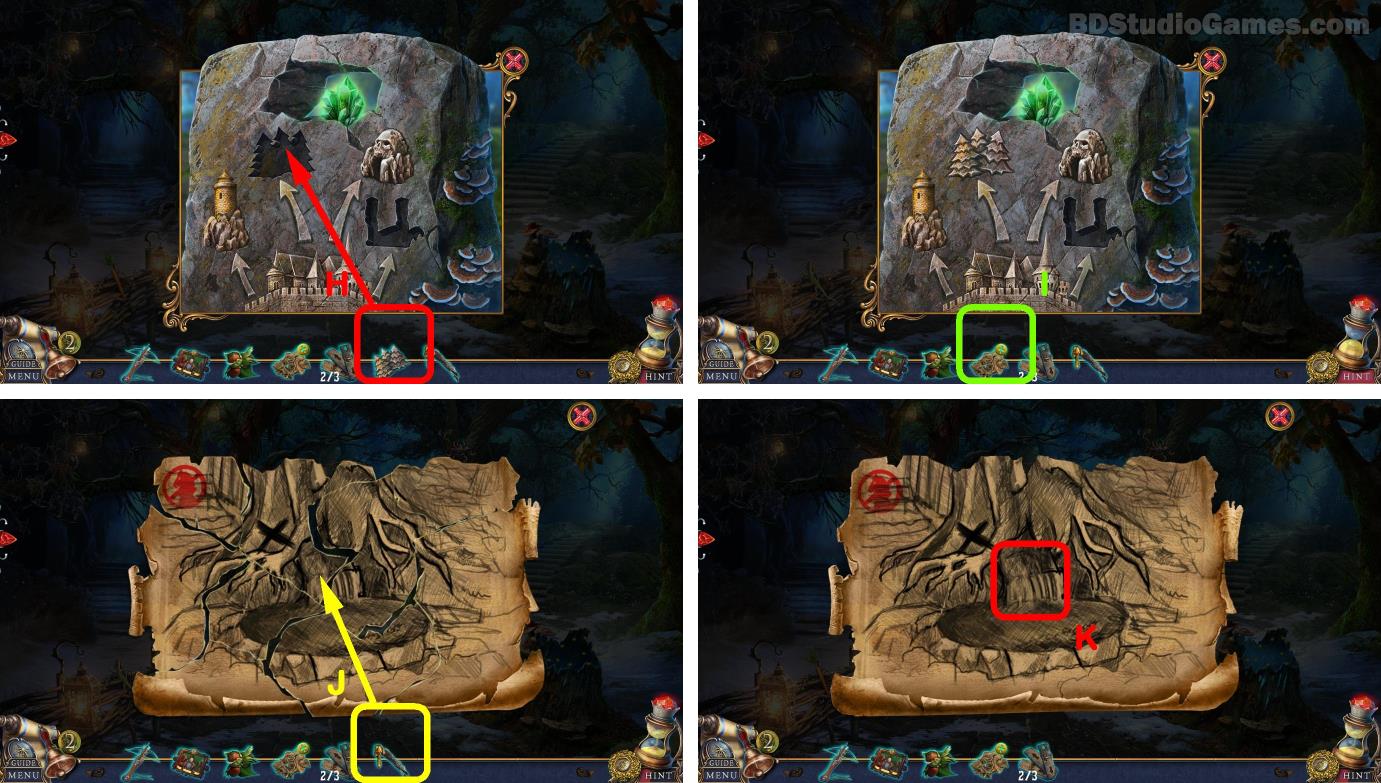
Use object on here. (H)
Click Here. (I)
Use object on here. (J)
Take it. (K)
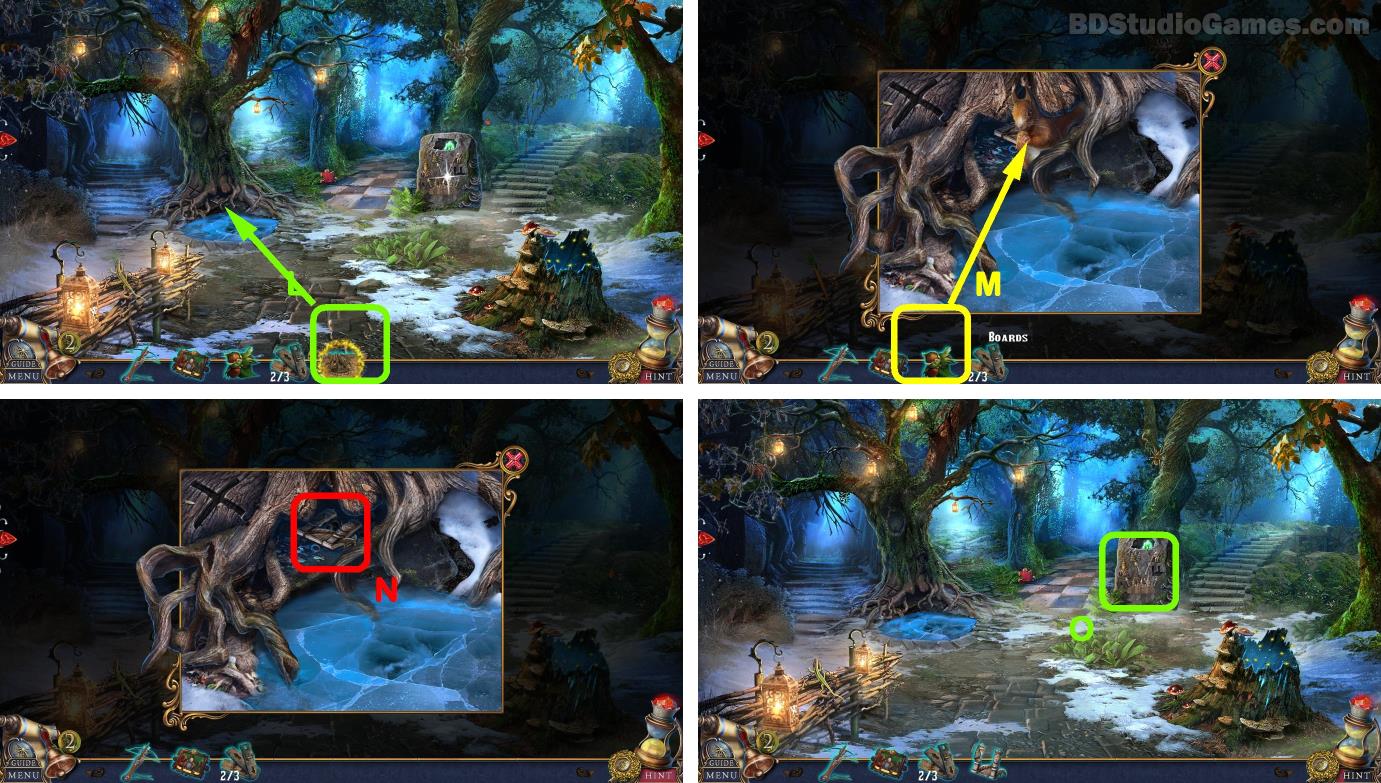
Use object on here. (L)
Use object on here. (M)
Take it. (N)
Examine here. (O)
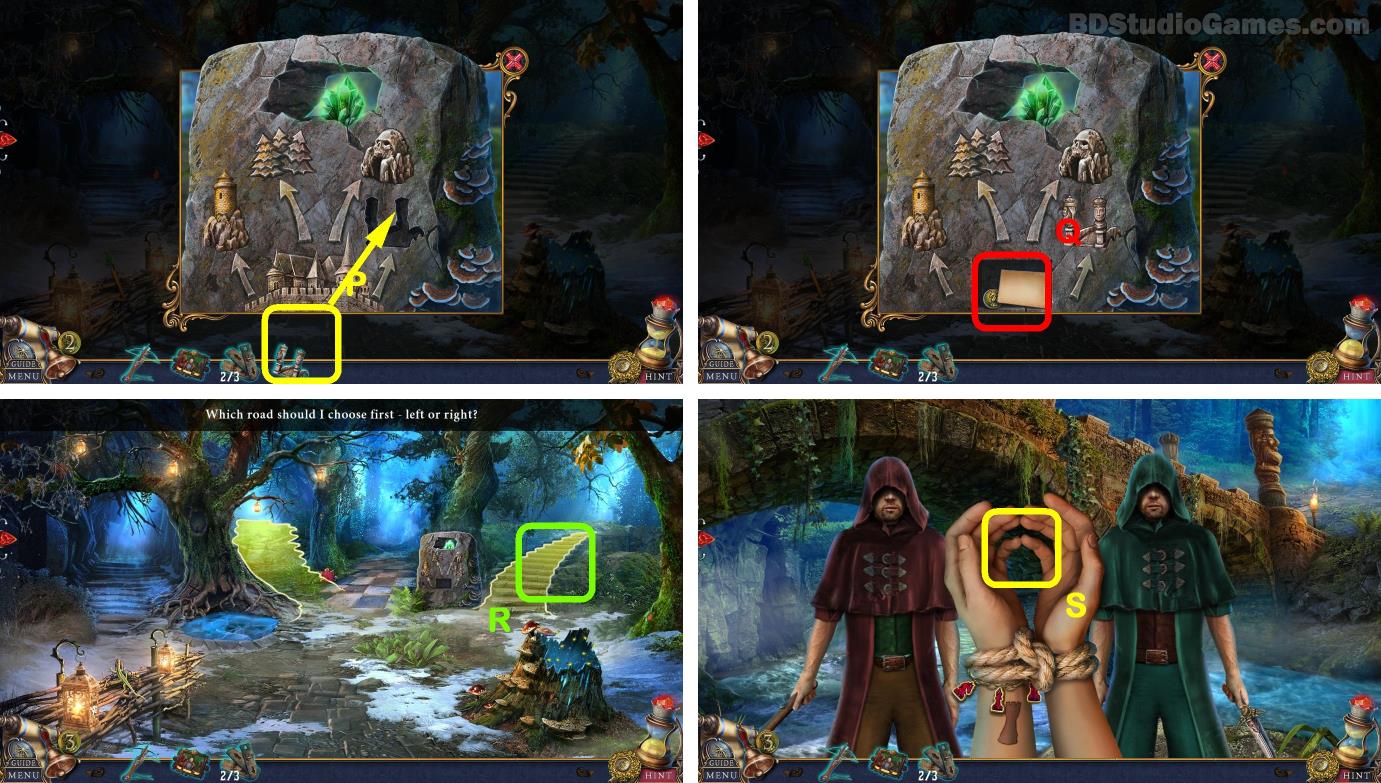
Use object on here. (P)
Take it. (Q)
Go Here. (R)
Click Here. (S)
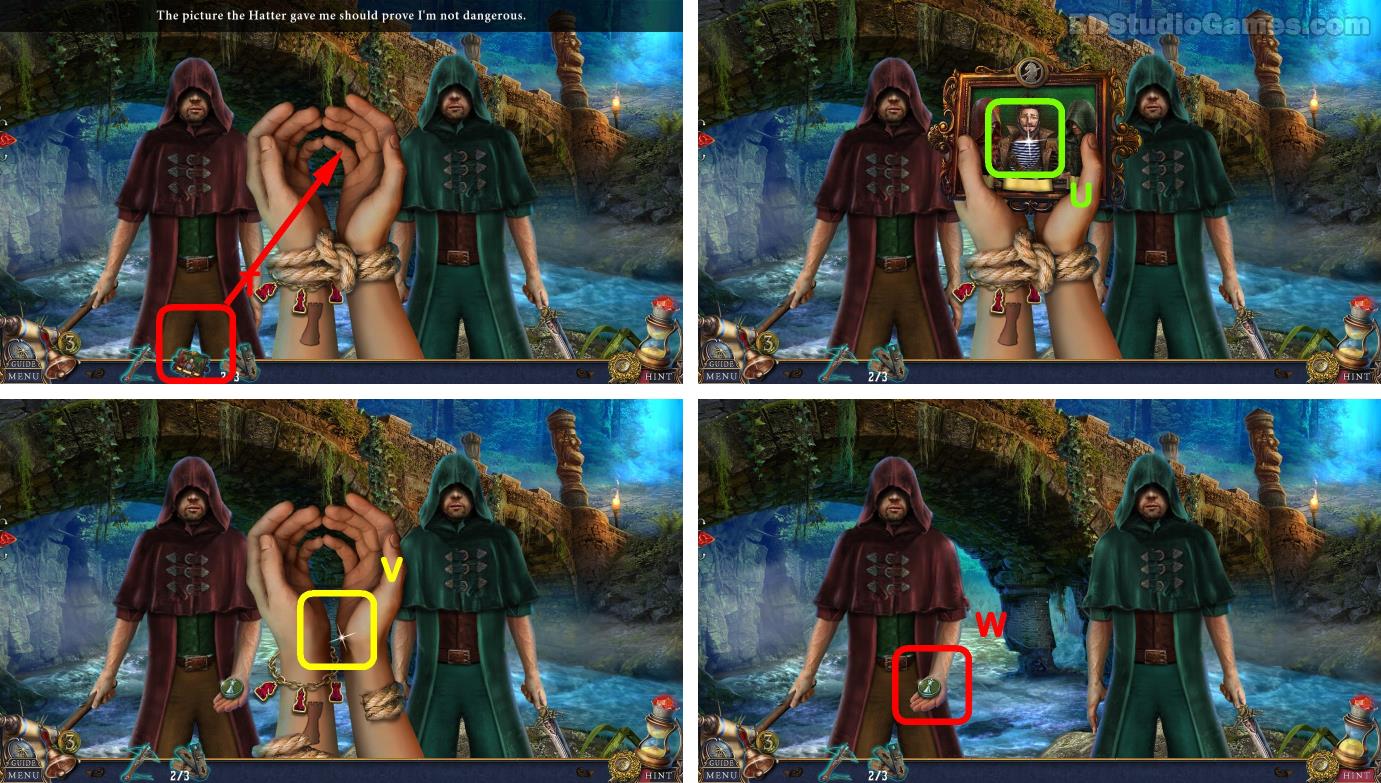
Use object on here. (T)
Click Here. (U)
Click Here. (V)
Take it. (W)
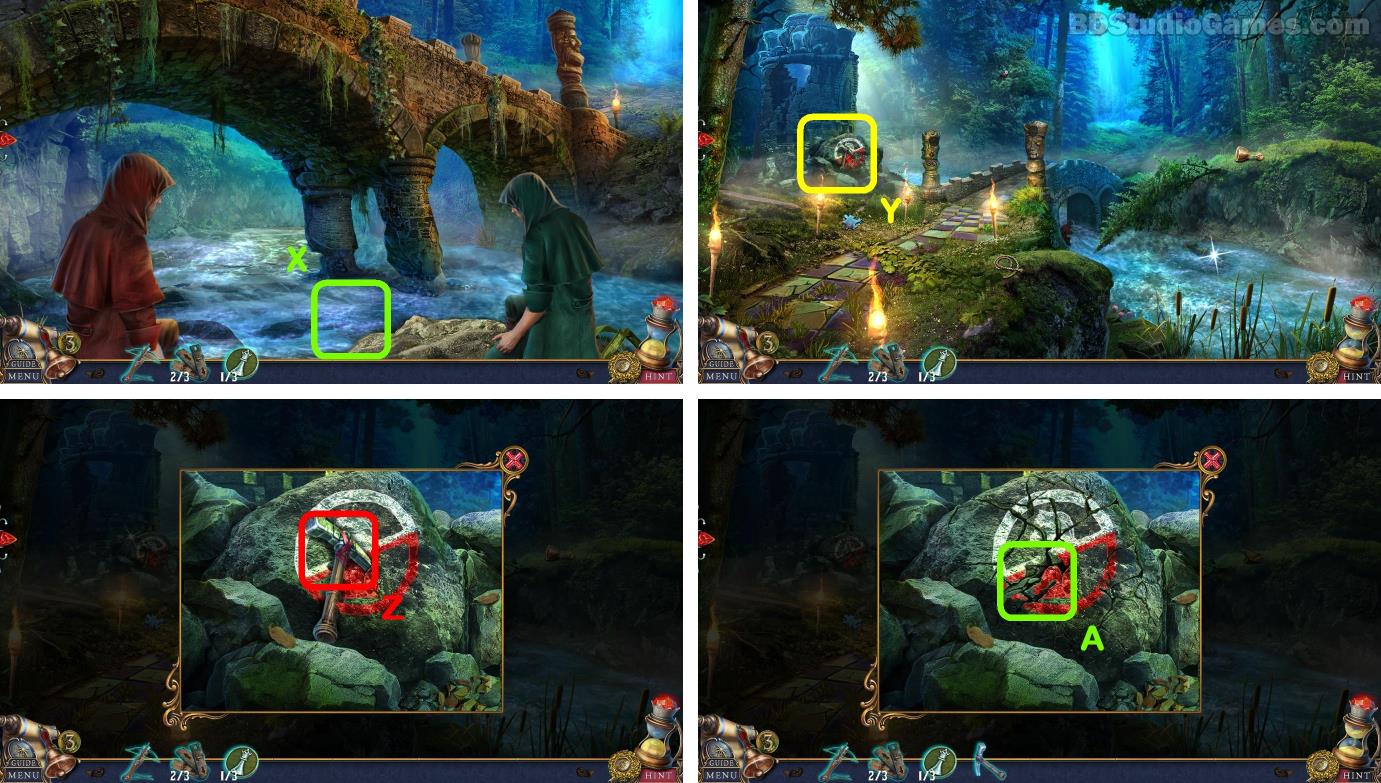
Go Here. (X)
Examine here. (Y)
Take it. (Z)
Click Here. (A)
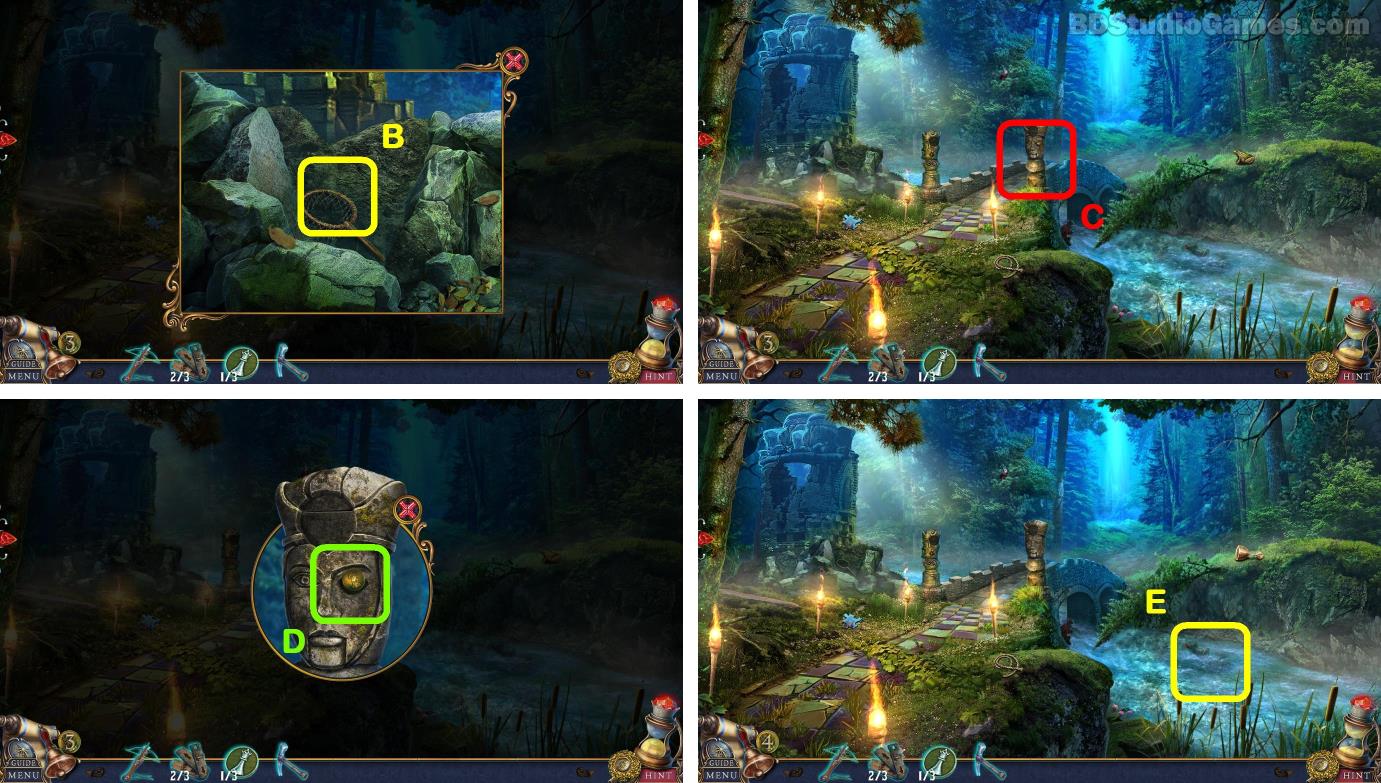
Click Here. (B)
Examine here. (C)
Take it. (D)
Examine here. (E)
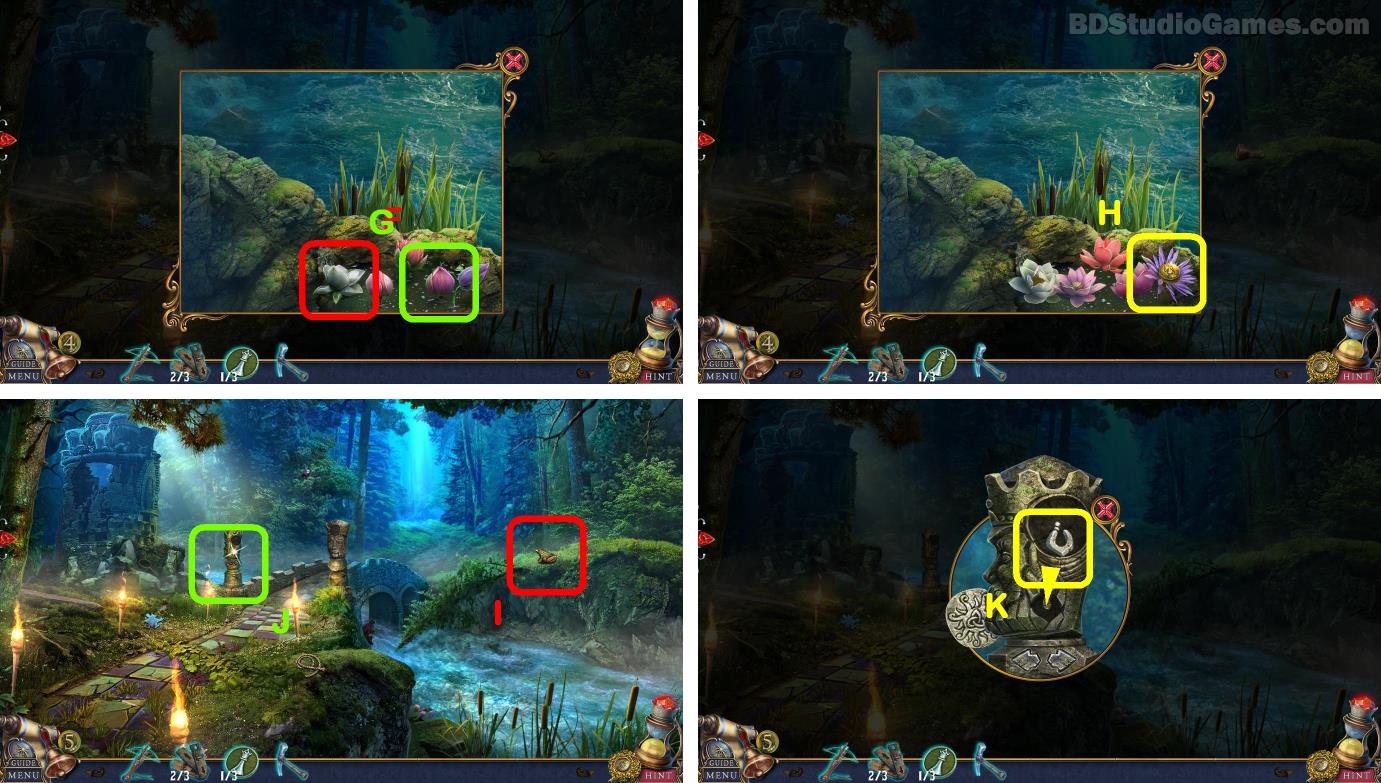
Click Here. (F)
Click Here. (G)
Take it. (H)
Click Here. (I)
Examine here. (J)
Use object on here. (K)
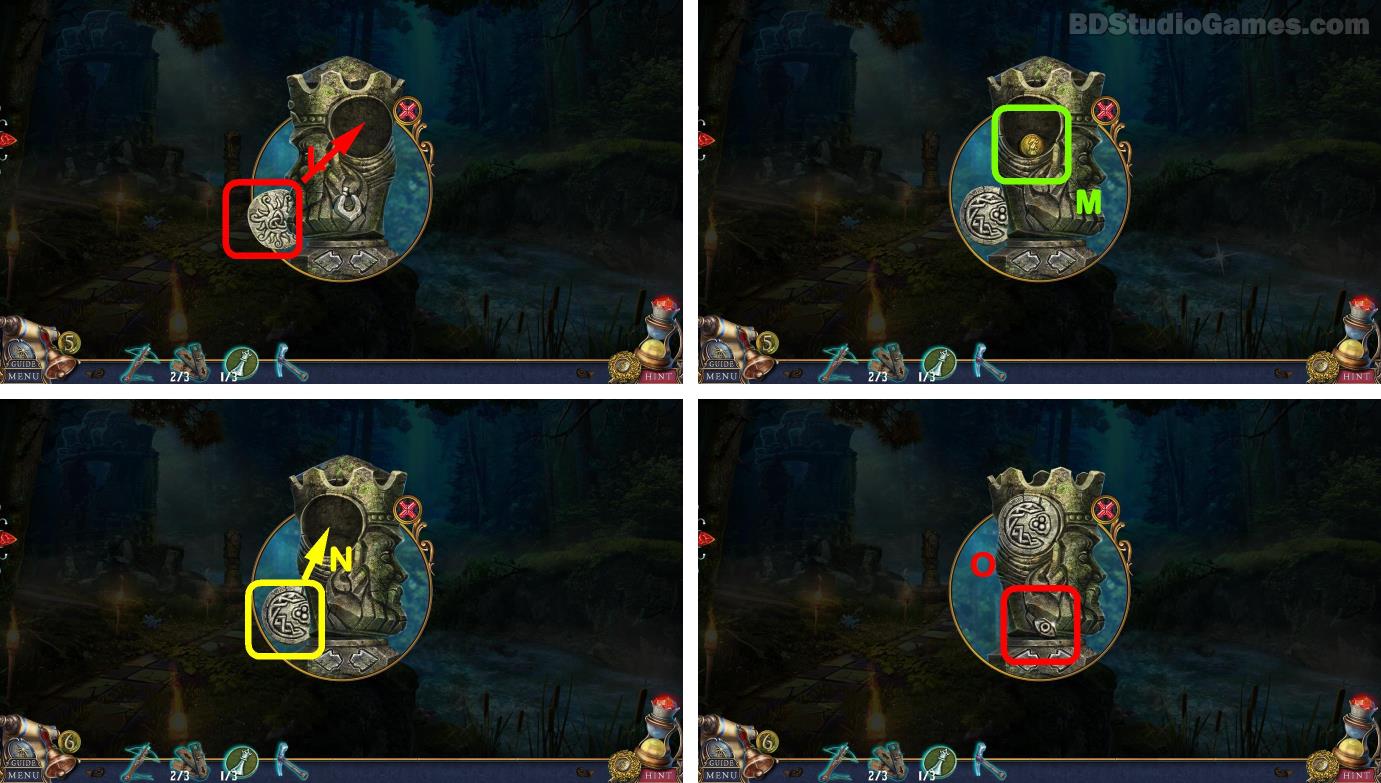
Use object on here. (L)
Take it. (M)
Use object on here. (N)
Take it. (O)
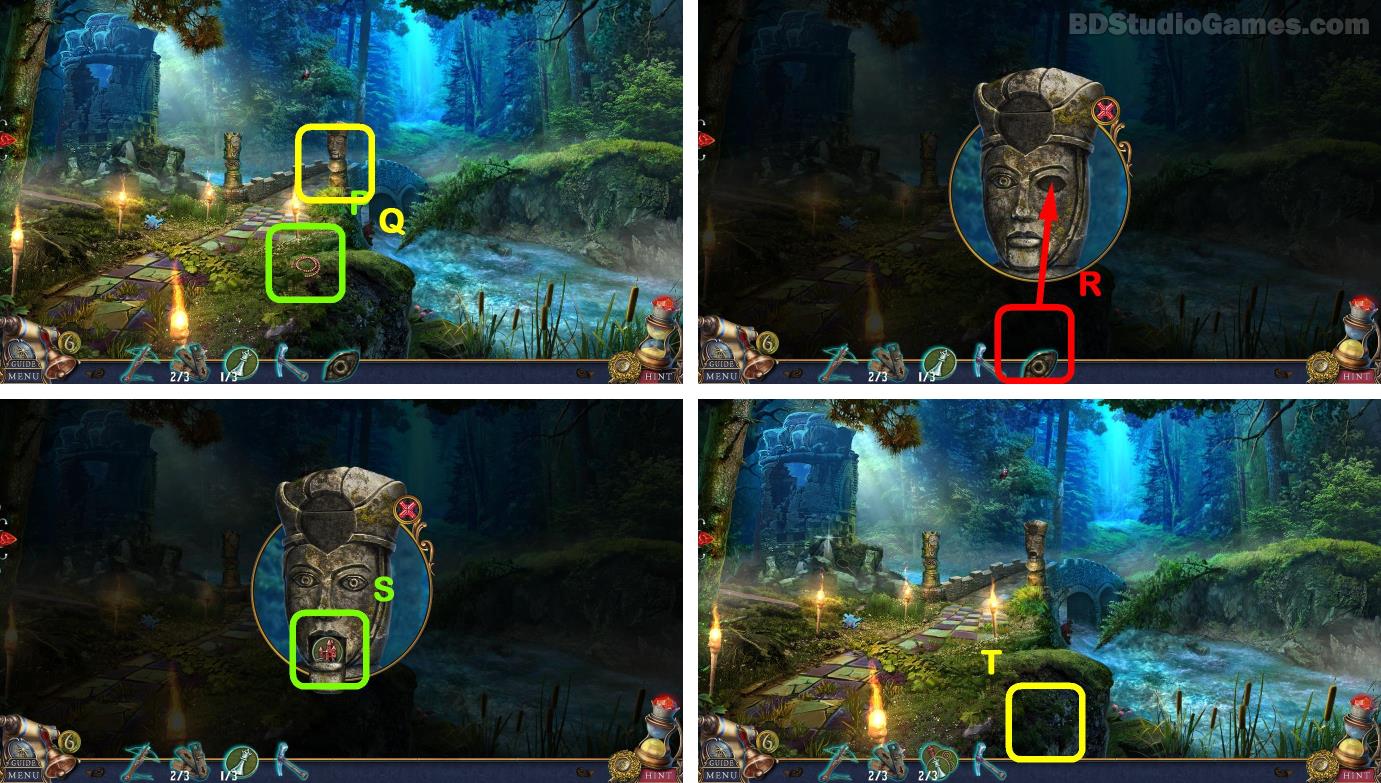
Click Here. (P)
Examine here. (Q)
Use object on here. (R)
Take it. (S)
Go Here. (T)
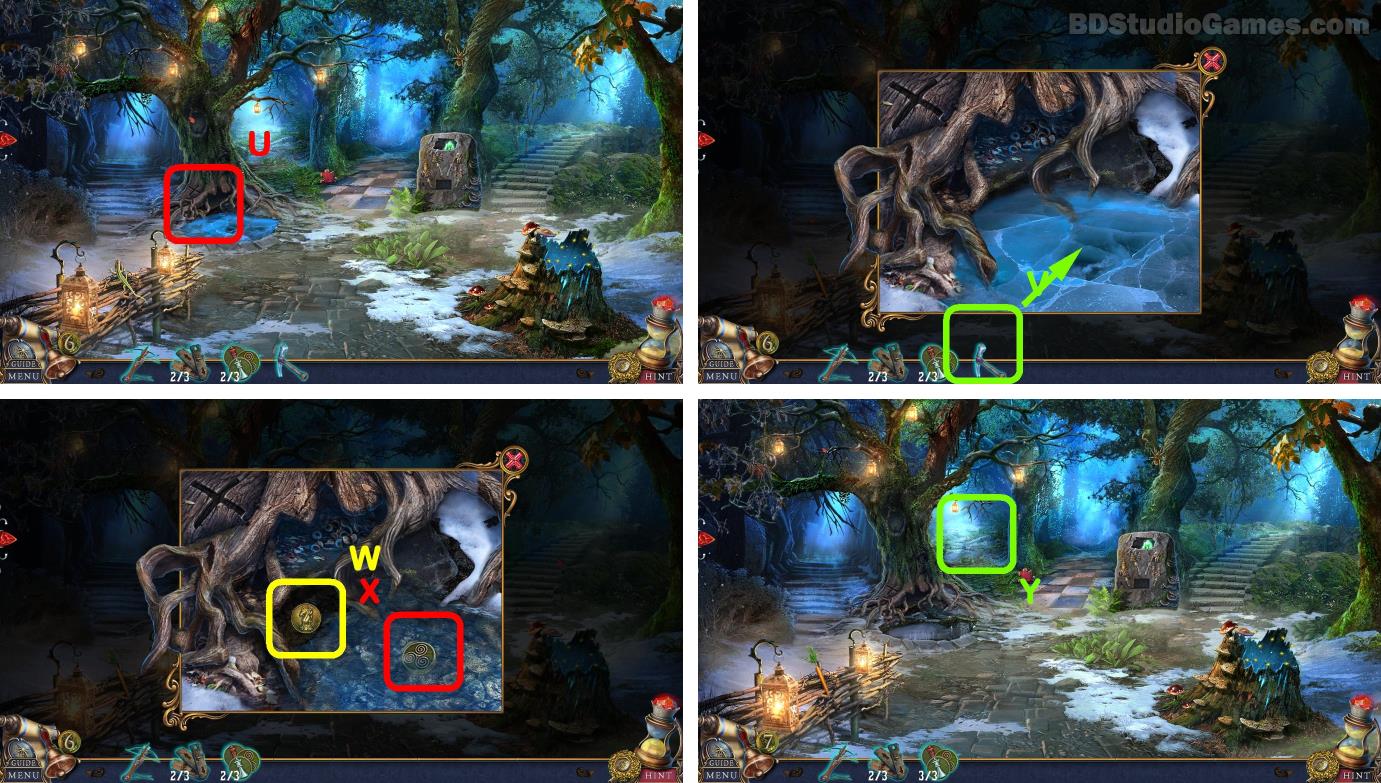
Examine here. (U)
Use object on here. (V)
Take it. (W)
Take it. (X)
Go Here. (Y)
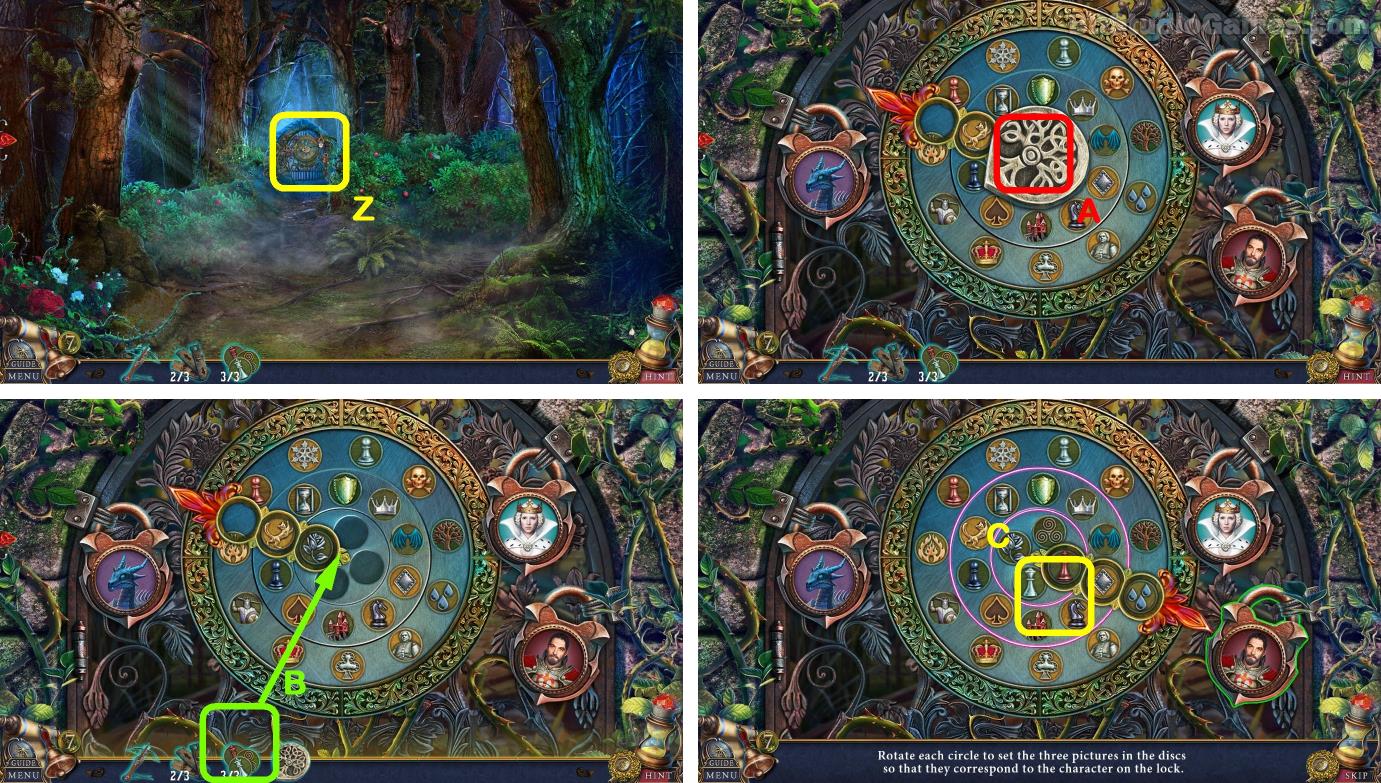
Examine here. (Z)
Take it. (A)
Use object on here. (B)
Solve the puzzle. (C)
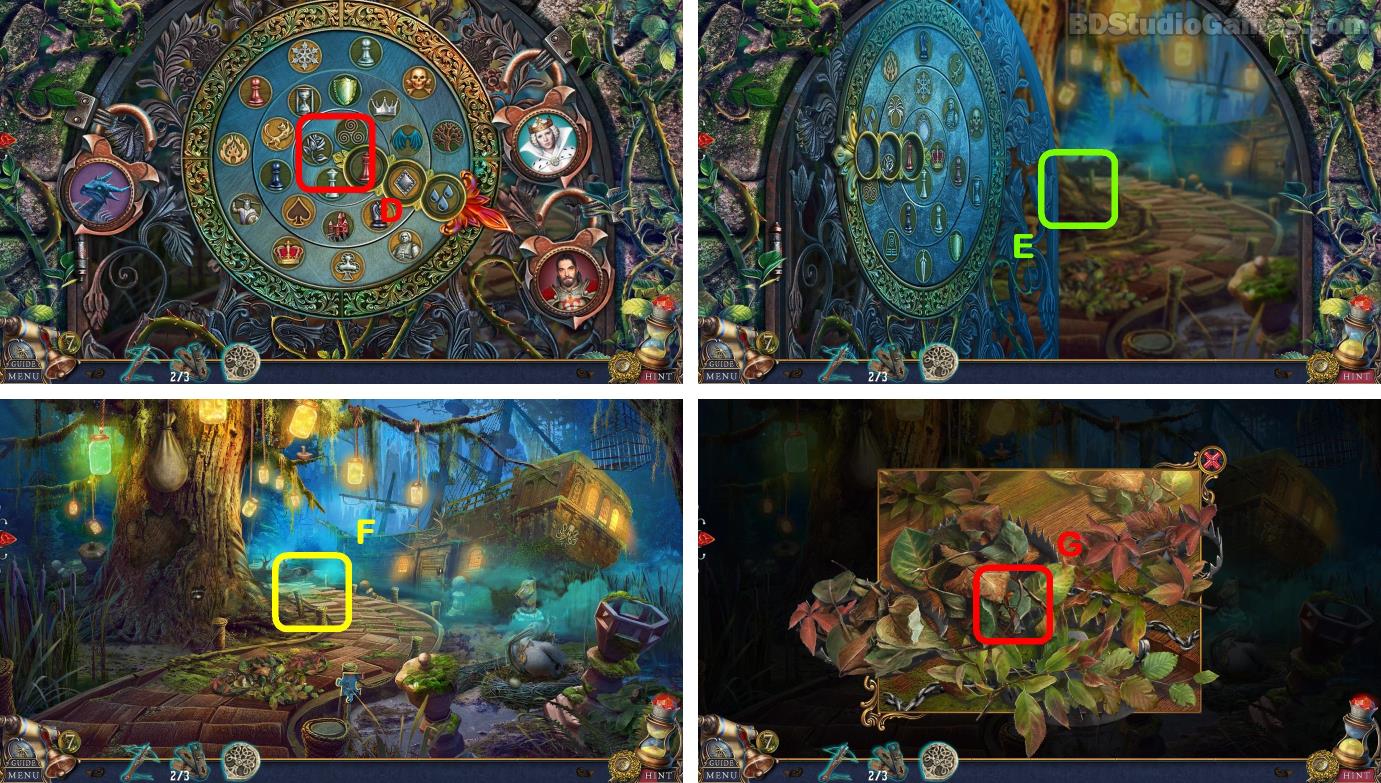
Click Here. (D)
Go Here. (E)
Examine here. (F)
Click Here. (G)
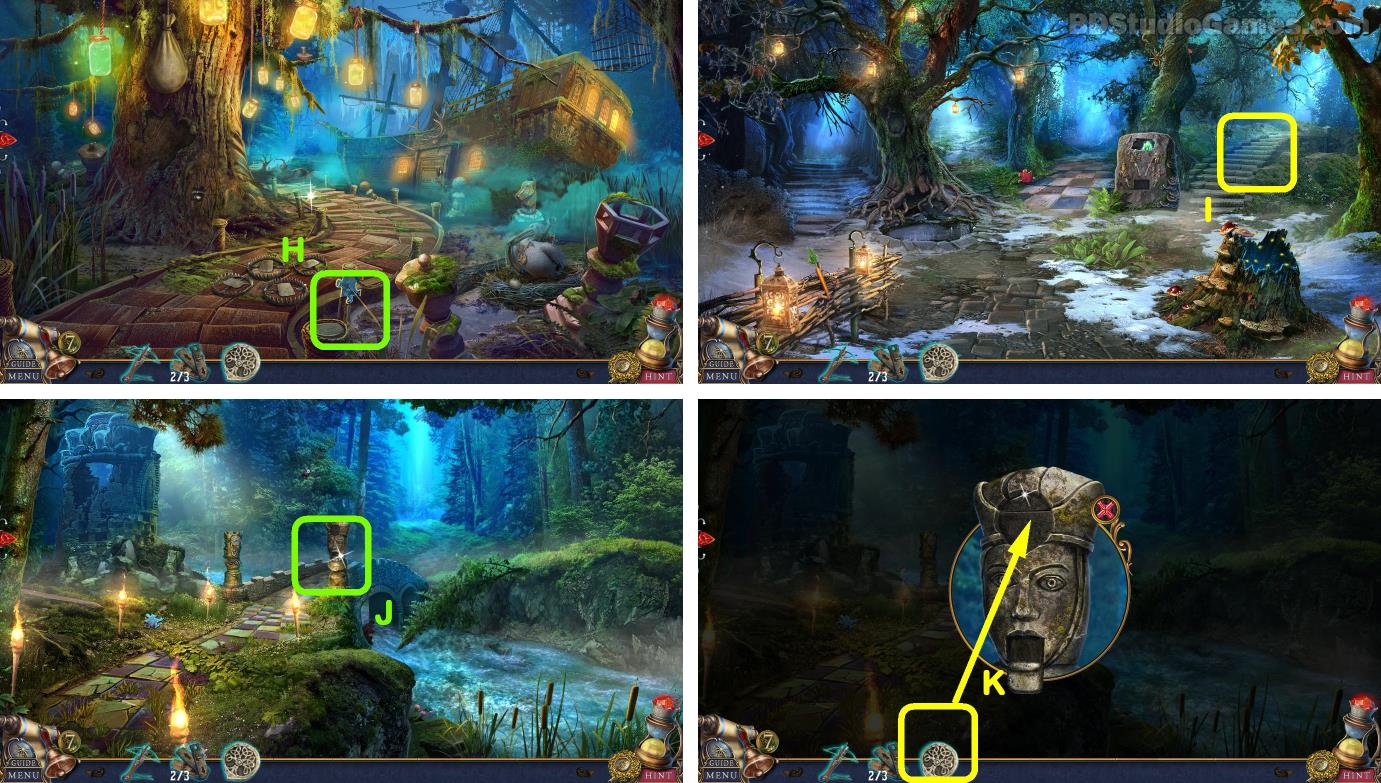
Go Here. (H)
Go Here. (I)
Come to this place.
Examine here. (J)
Use object on here. (K)
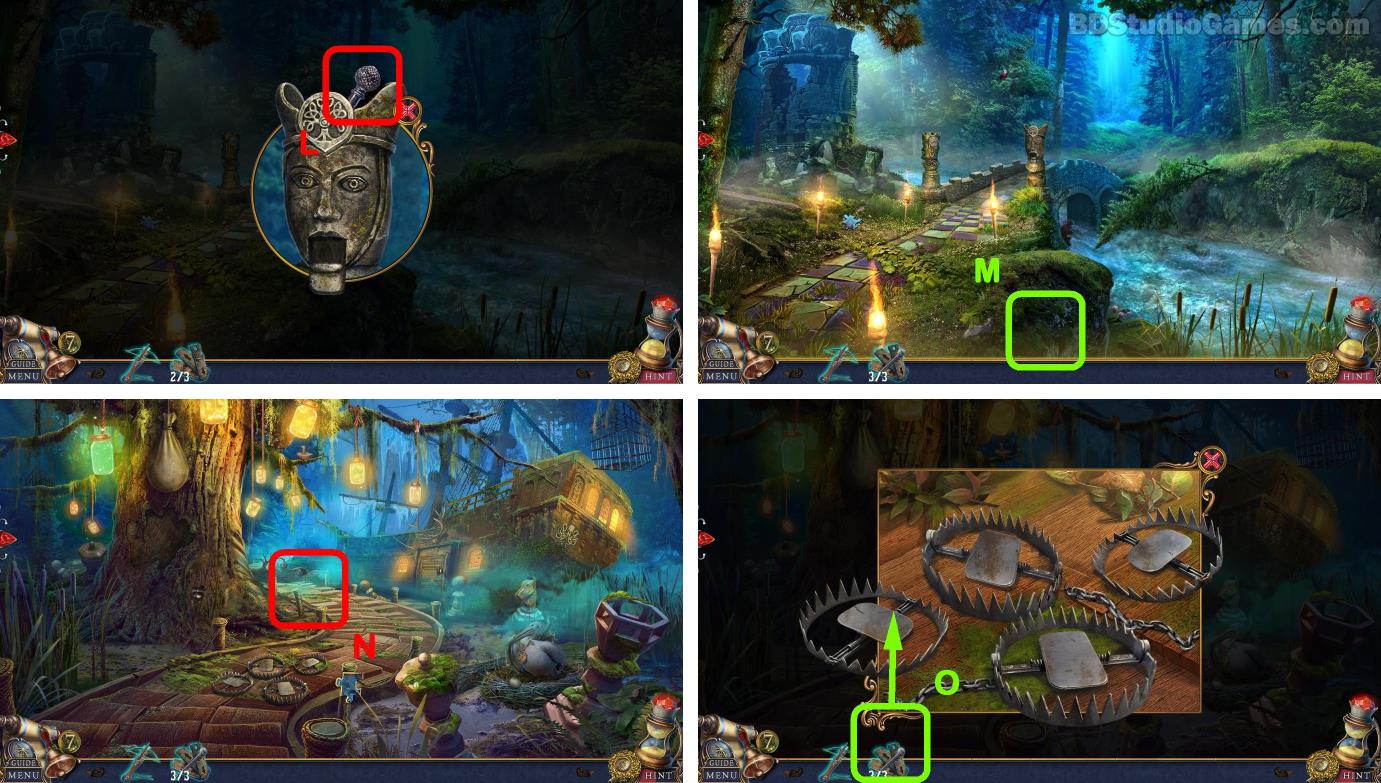
Take it. (L)
Go Here. (M)
Come to this place.
Examine here. (N)
Use object on here. (O)


 REFRESH