New Releases |
Hidden Object Games |
Match 3 Games |
Time Management Games |
Strategy Games |
Puzzle Games |
Card Games |
Action Games |
Word Games
Enchanted Kingdom: Descent of The Elders Walkthrough

Enchanted Kingdom: Descent of The Elders Walkthrough
* OS: Windows 7 / Vista / XP
* CPU: Pentium 3 1.0 GHz or Higher
* OS: Windows 7 / Vista / XP
* CPU: Pentium 3 1.0 GHz or Higher

Enchanted Kingdom: Descent of The Elders Walkthrough
* OS: Windows 7 / Vista / XP
* CPU: Pentium 3 1.0 GHz or Higher
* OS: Windows 7 / Vista / XP
* CPU: Pentium 3 1.0 GHz or Higher
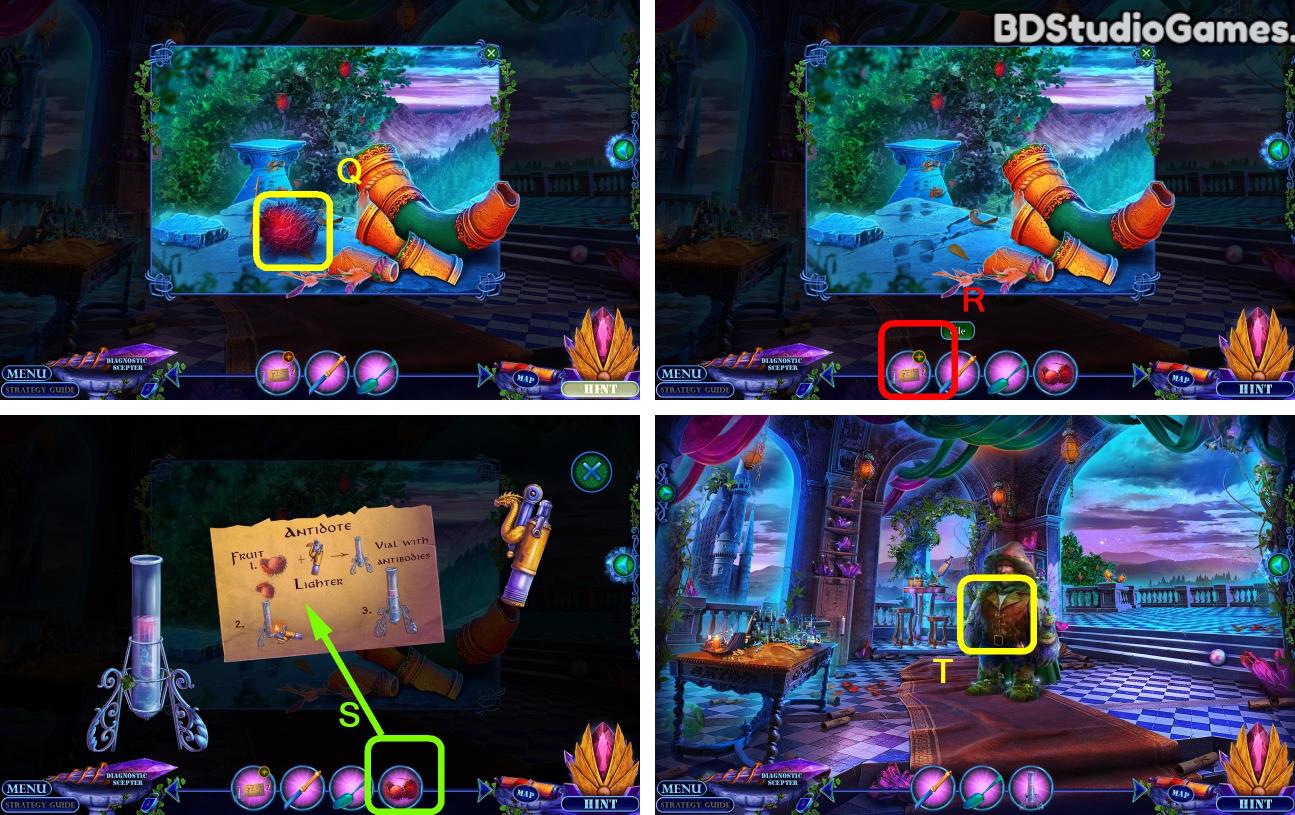
Take it. (Q)
Click Here. (R)
Use object on here. (S)
Examine here. (T)
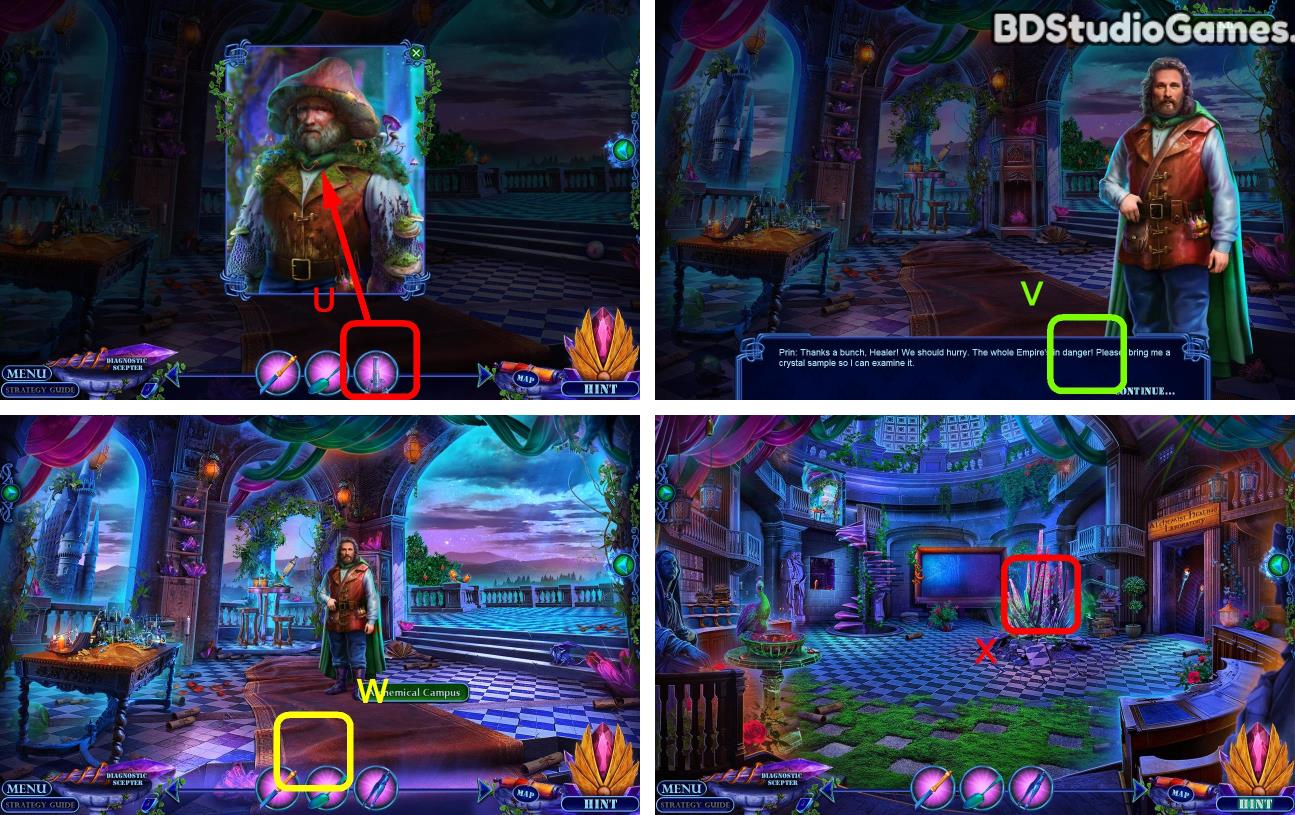
Use object on here. (U)
Click Here. (V)
Go Here. (W)
Examine here. (X)
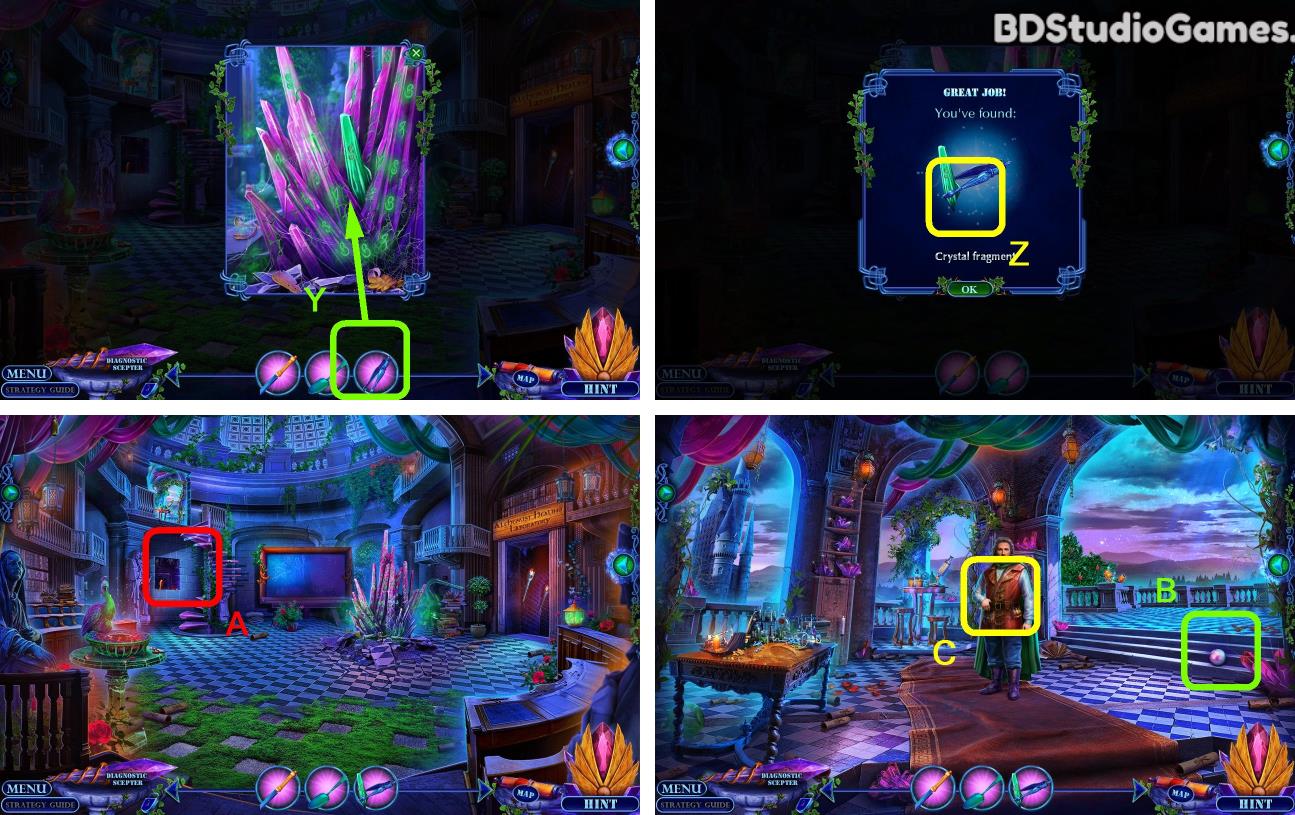
Use object on here. (Y)
Take it. (Z)
Go Here. (A)
Click Here. (B)
Examine here. (C)
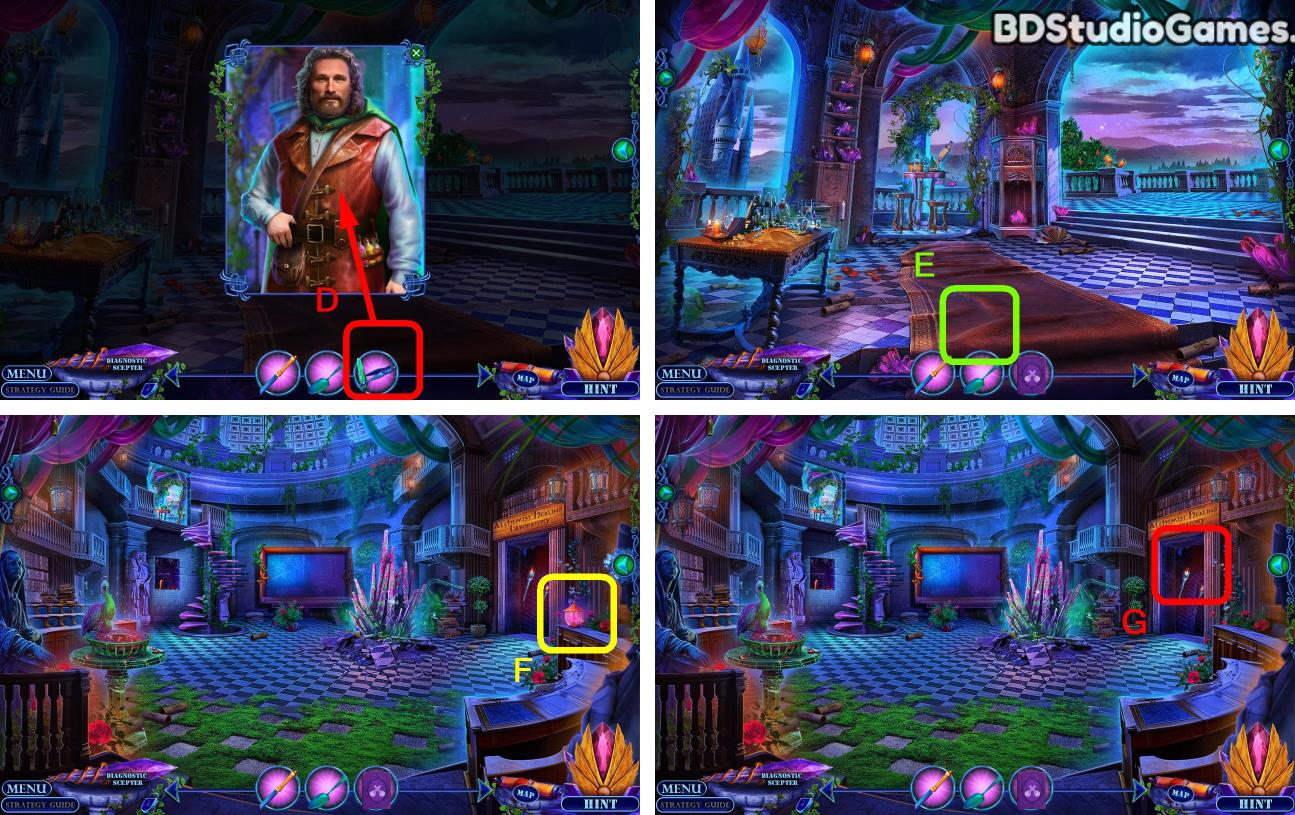
Use object on here. (D)
Go Here. (E)
Click Here. (F)
Go Here. (G)
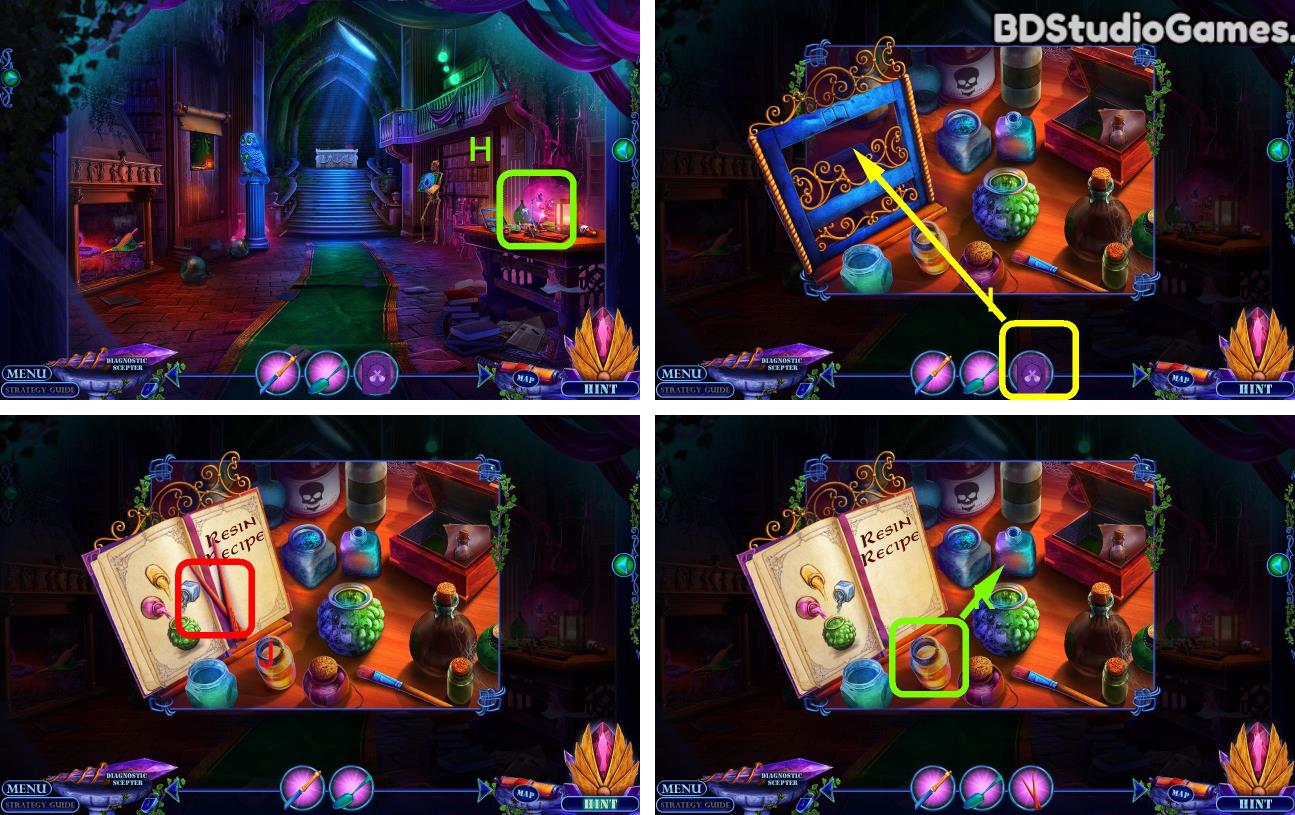
Examine here. (H)
Use object on here. (I)
Click Here. (J)
Use object on here. (K)
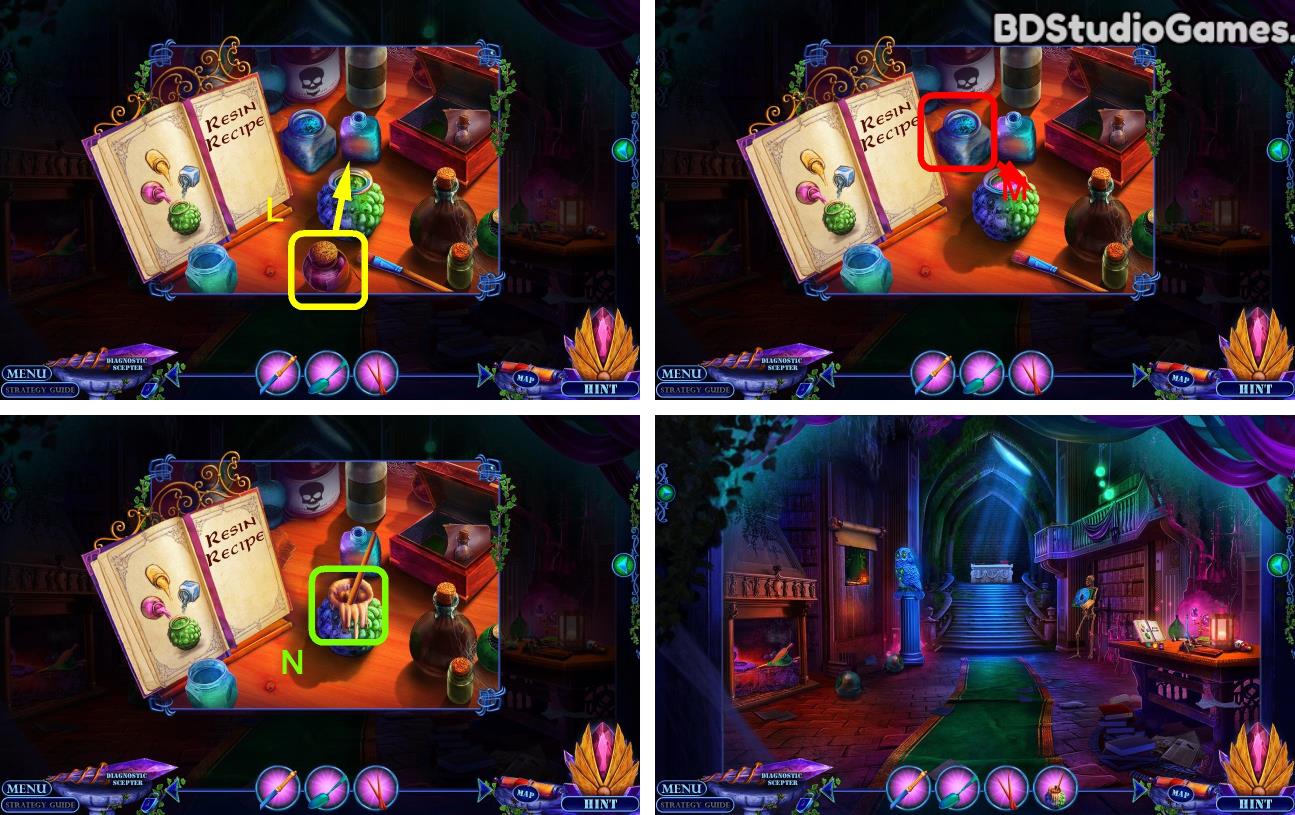
Use object on here. (L)
Use object on here. (M)
Take it. (N)
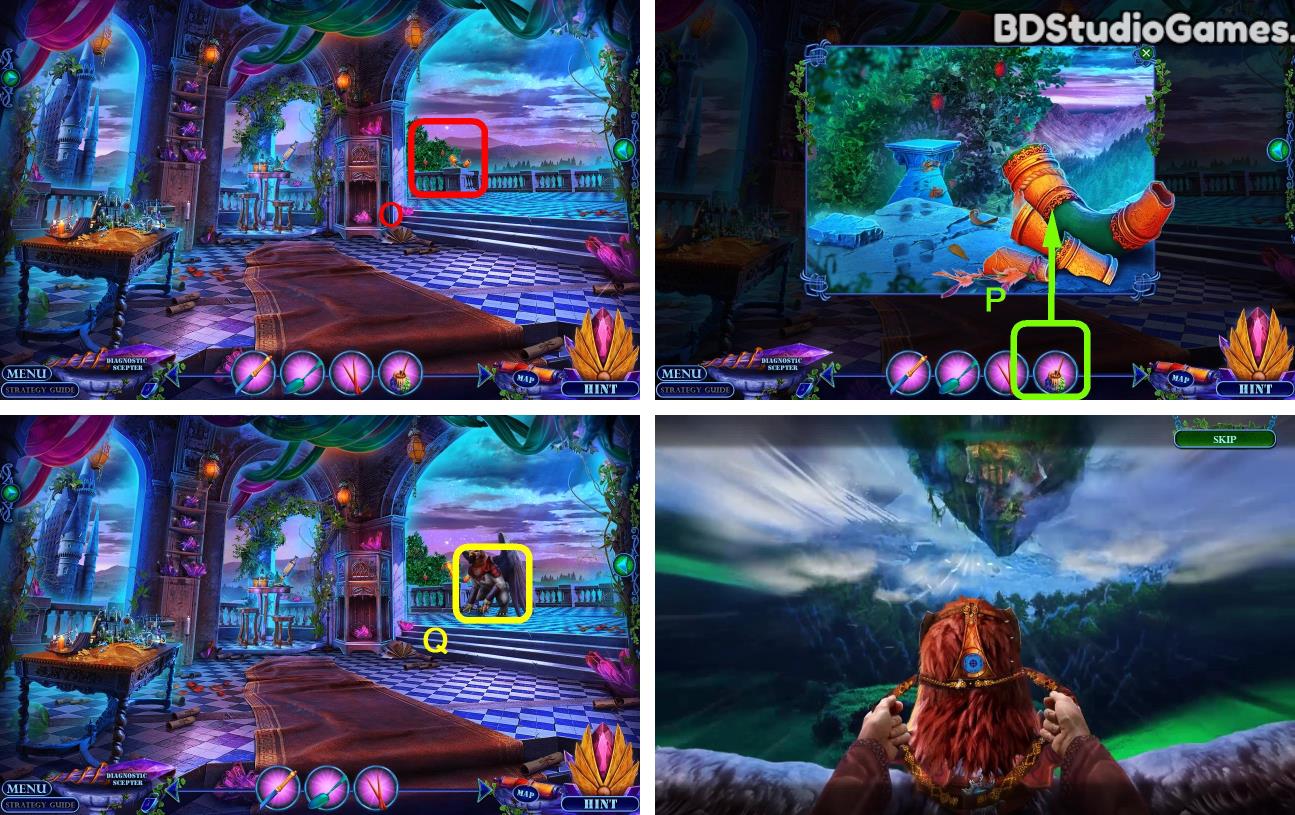
Come to this place.
Examine here. (O)
Use object on here. (P)
Go Here. (Q)
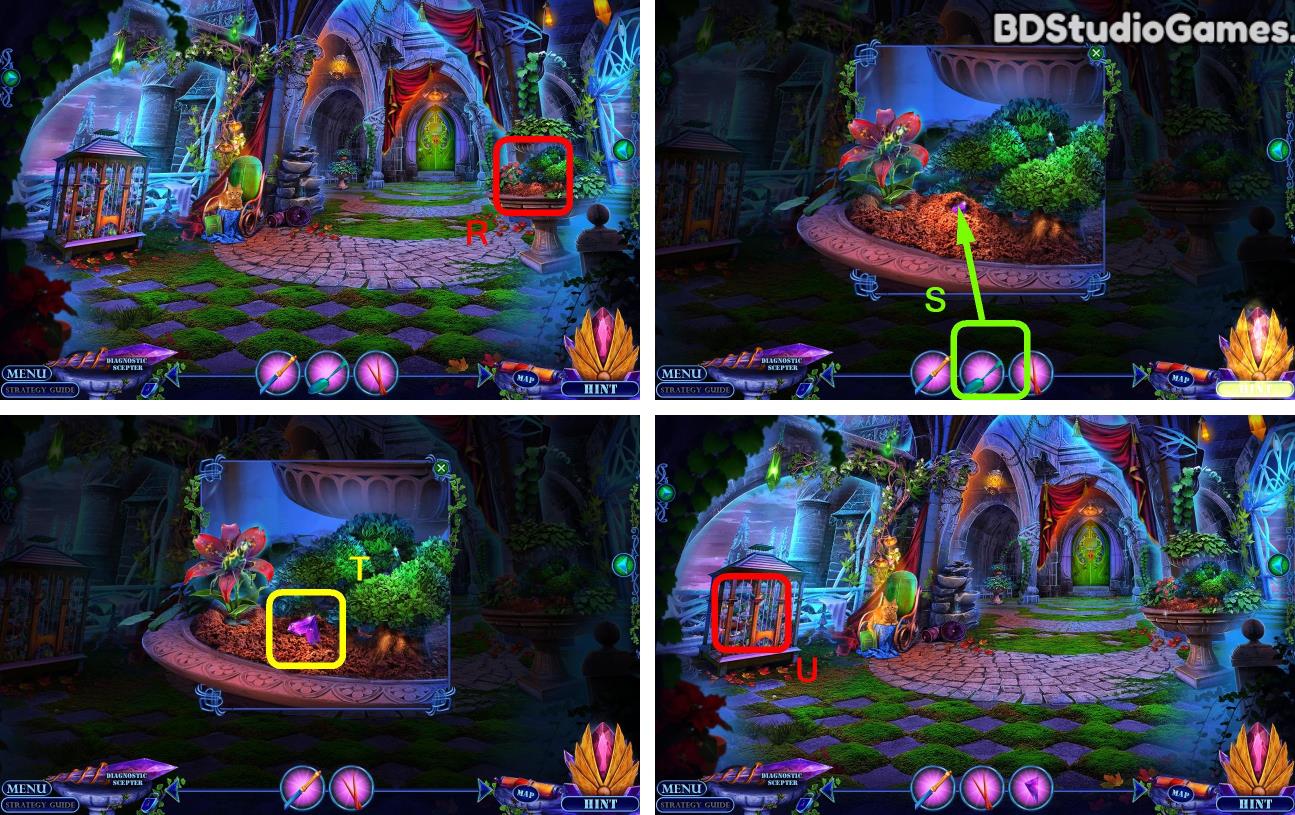
Examine here. (R)
Use object on here. (S)
Take it. (T)
Examine here. (U)
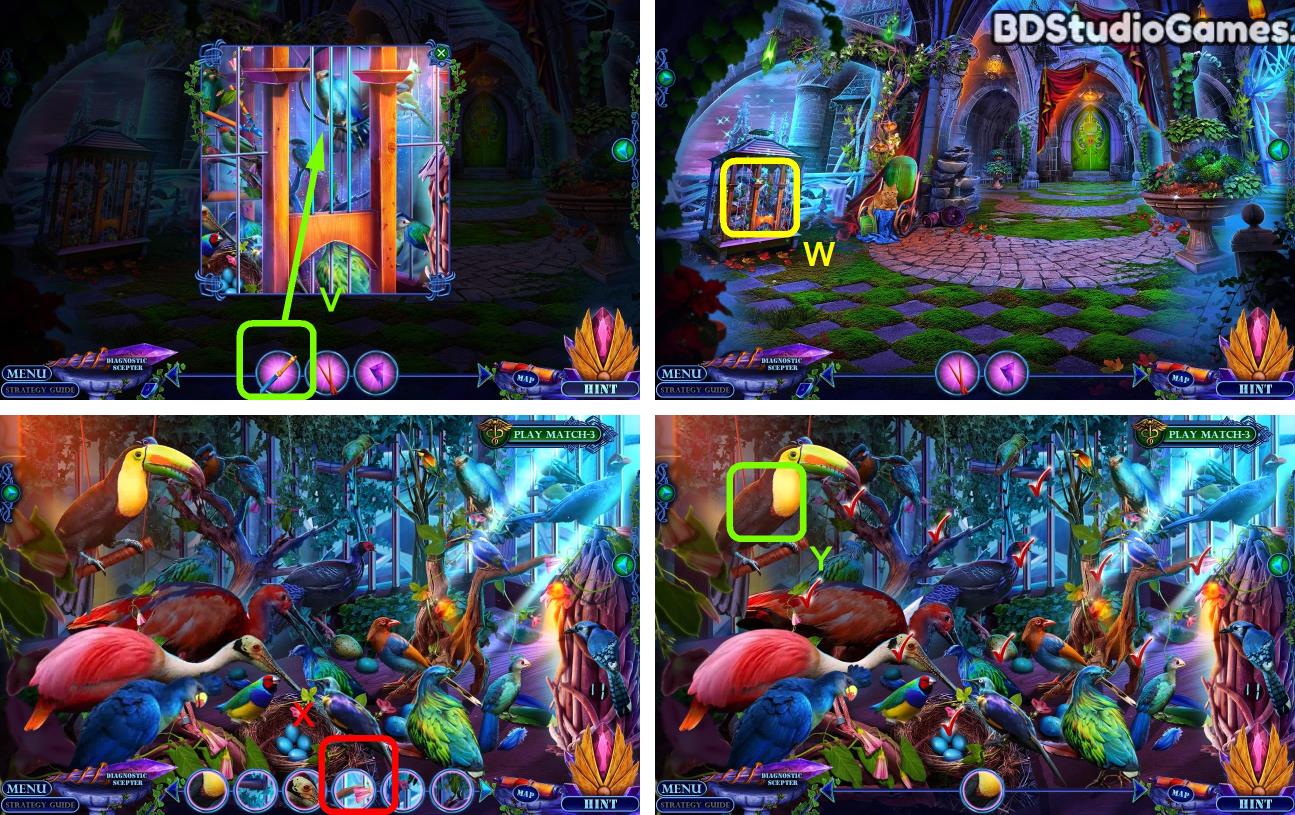
Use object on here. (V)
Go Here. (W)
Find all hidden objects. (X)
Click Here. (Y)
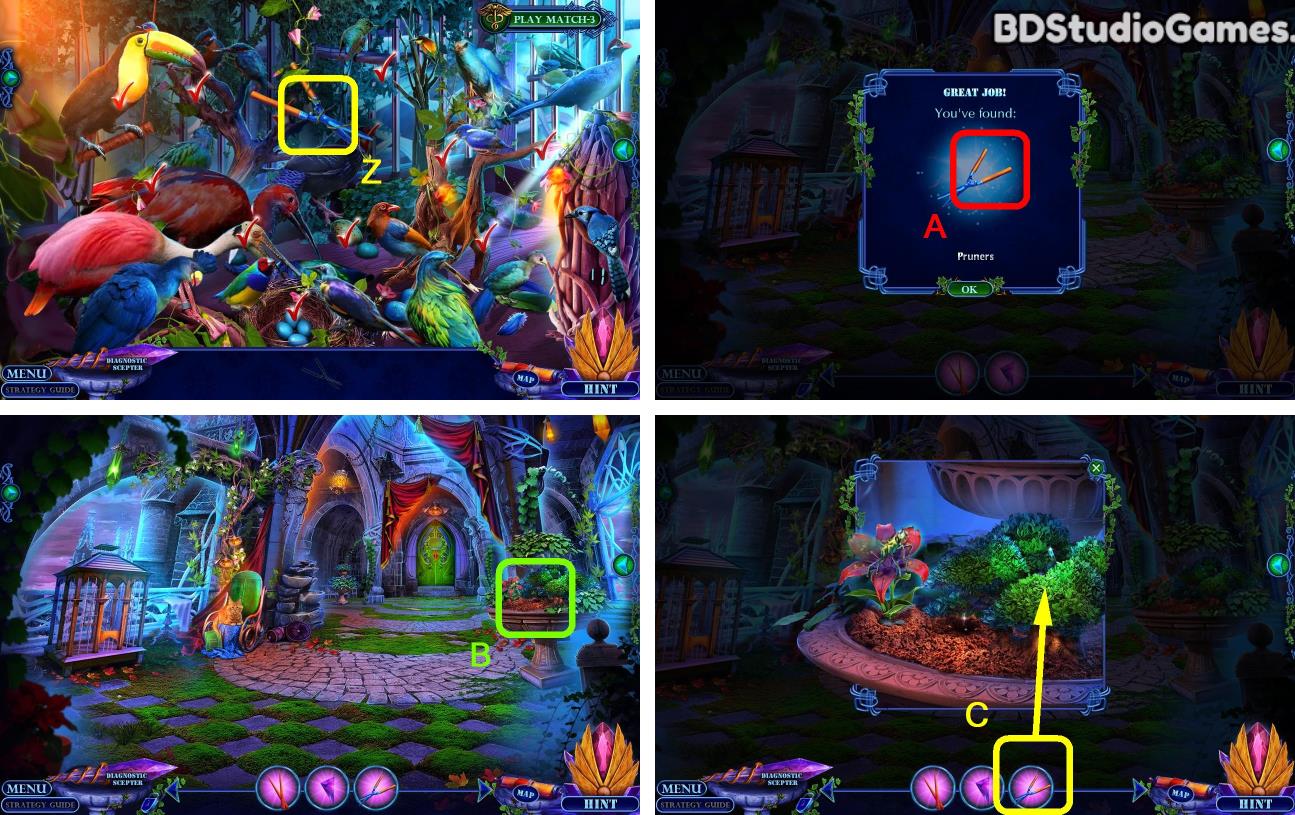
Take it. (Z)
Take it. (A)
Examine here. (B)
Use object on here. (C)
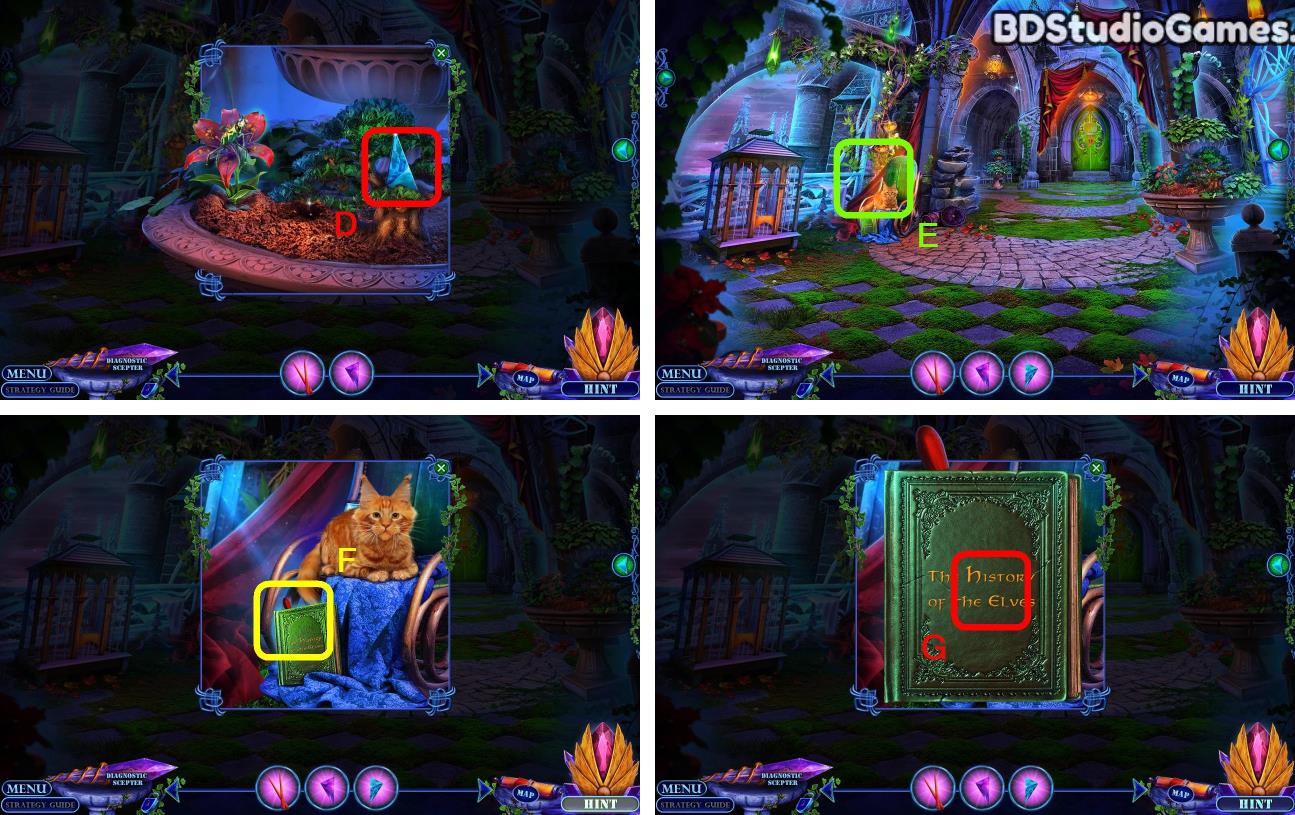
Take it. (D)
Examine here. (E)
Click Here. (F)
Click Here. (G)
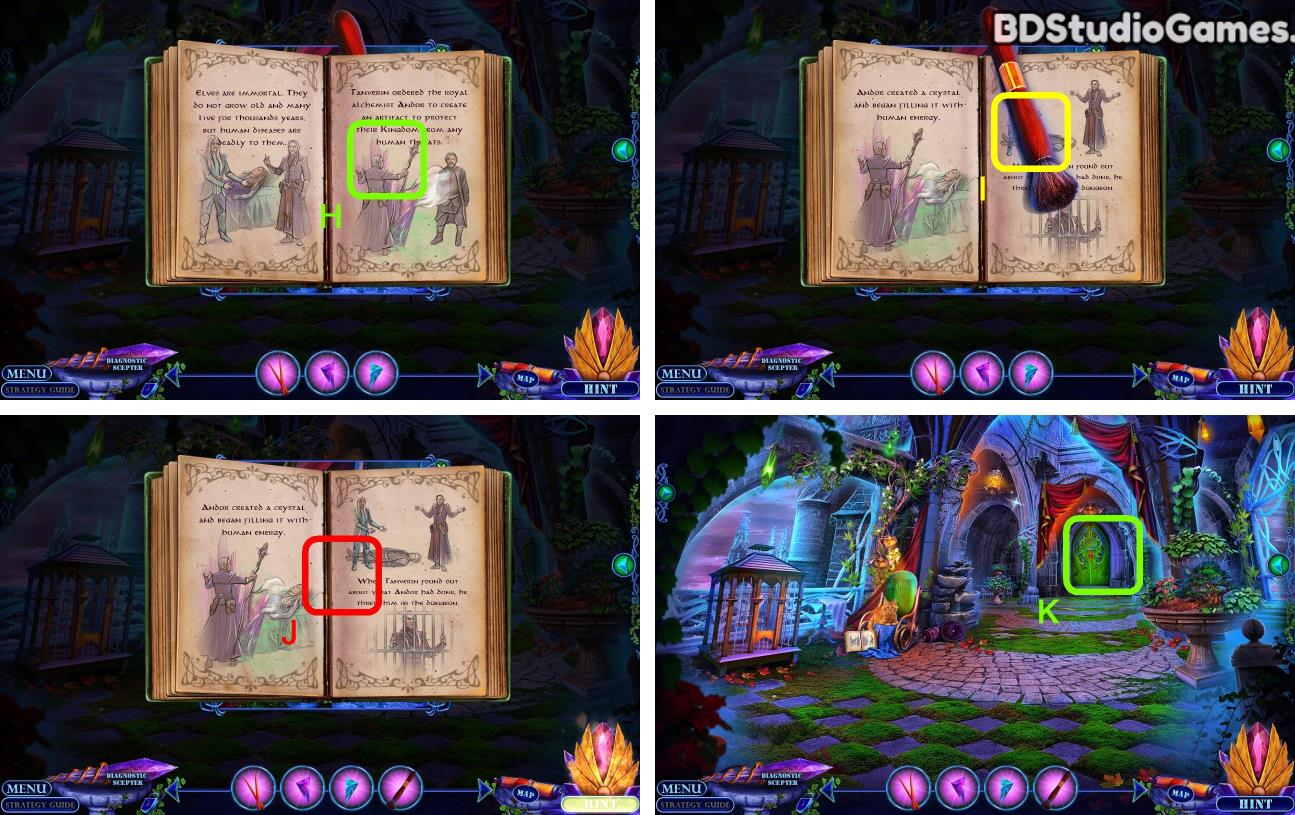
Click Here. (H)
Take it. (I)
Click Here. (J)
Examine here. (K)
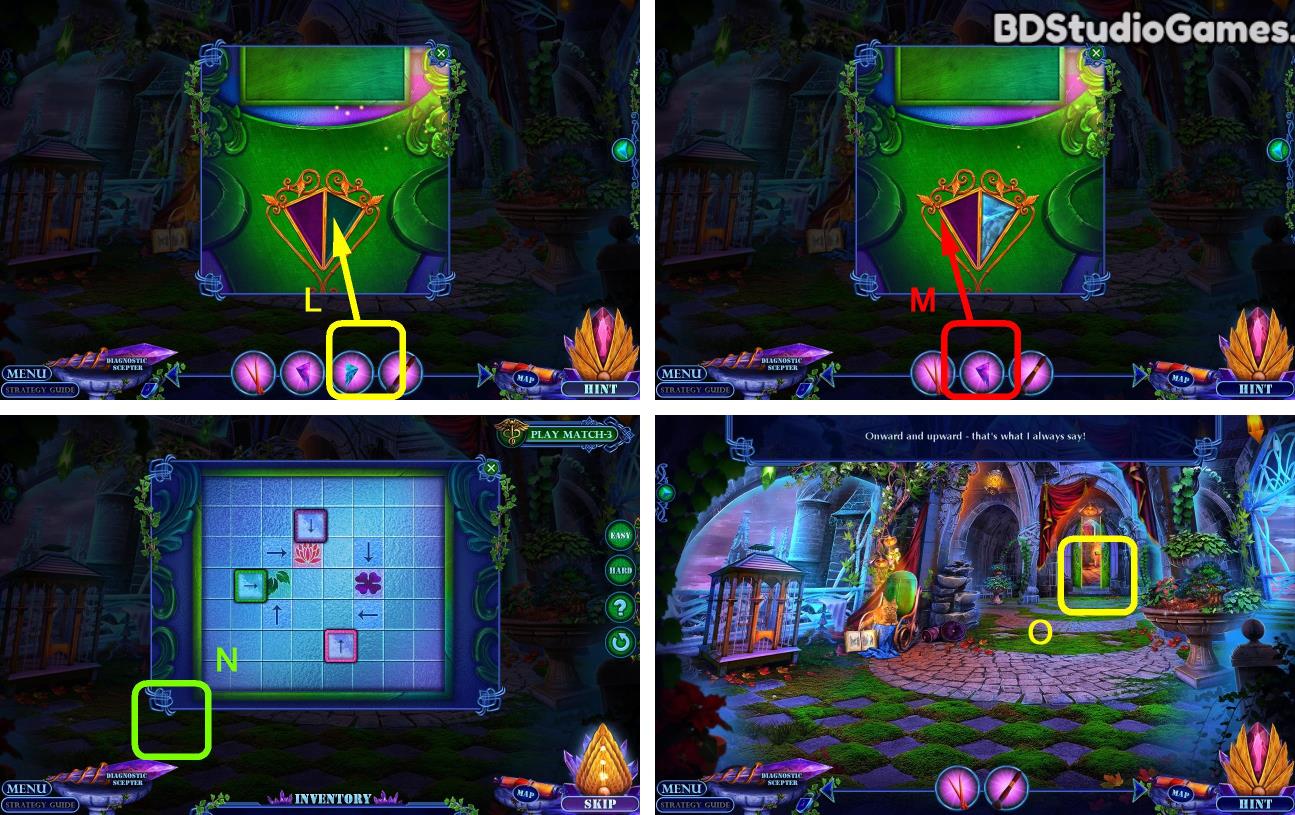
Use object on here. (L)
Use object on here. (M)
Solve the puzzle. (N)
Go Here. (O)
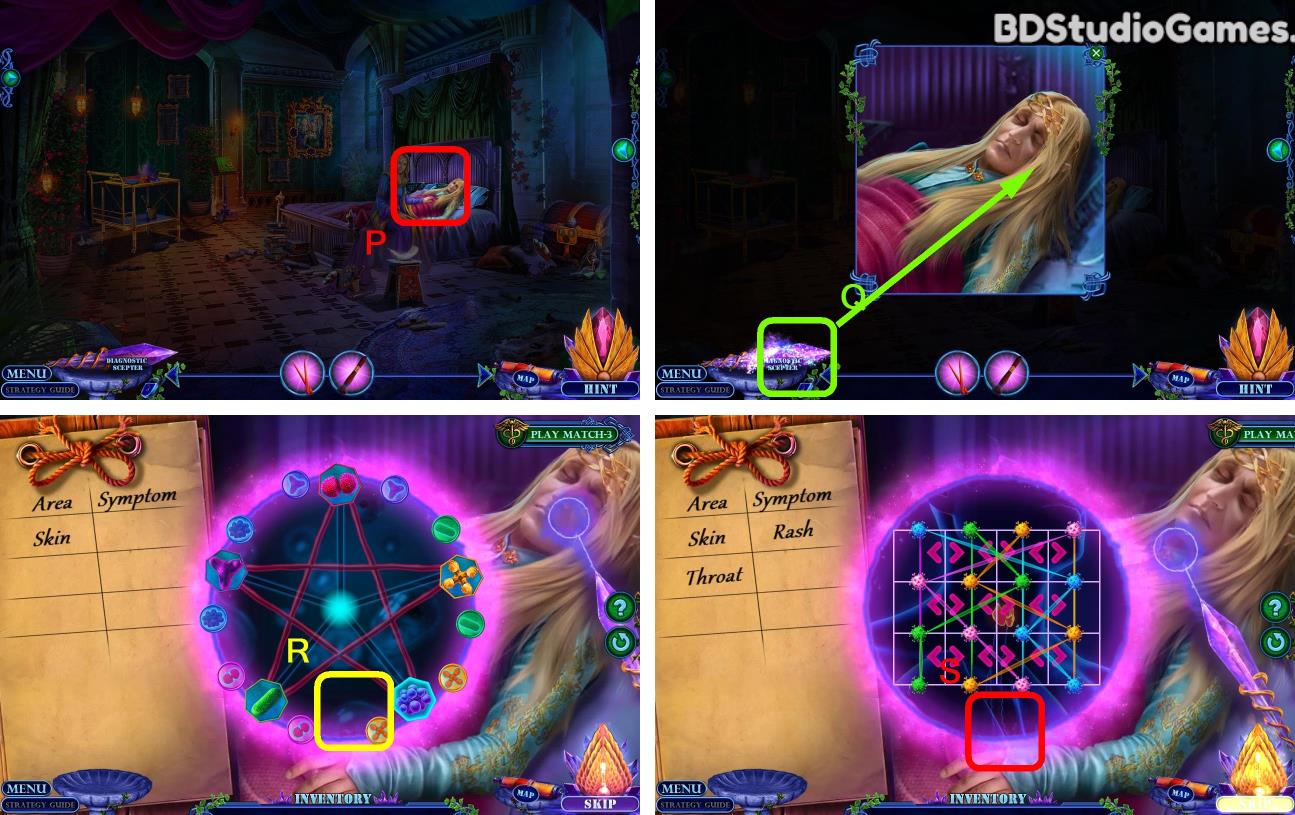
Click Here. (P)
Use object on here. (Q)
Solve the puzzle. (R)
Solve the puzzle. (S)
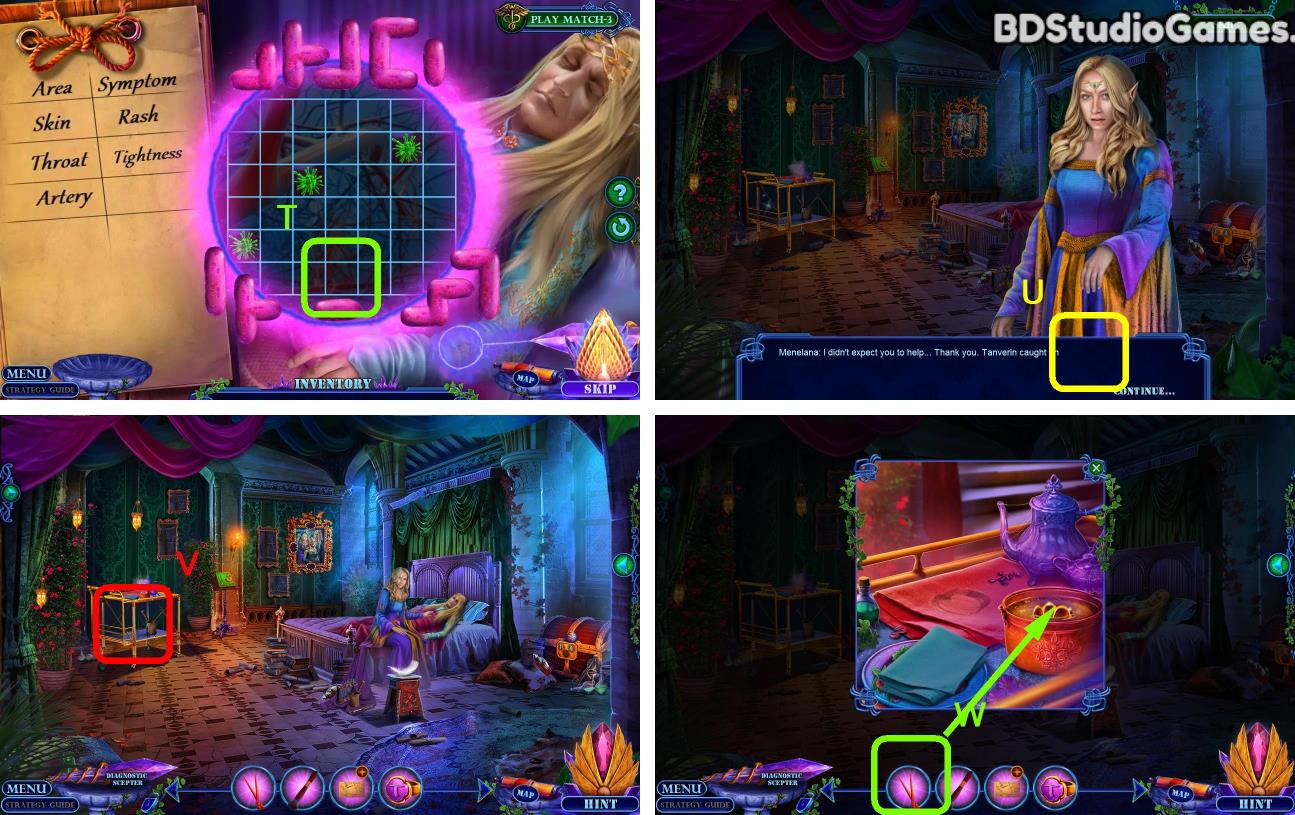
Solve the puzzle. (T)
Click Here. (U)
Examine here. (V)
Use object on here. (W)
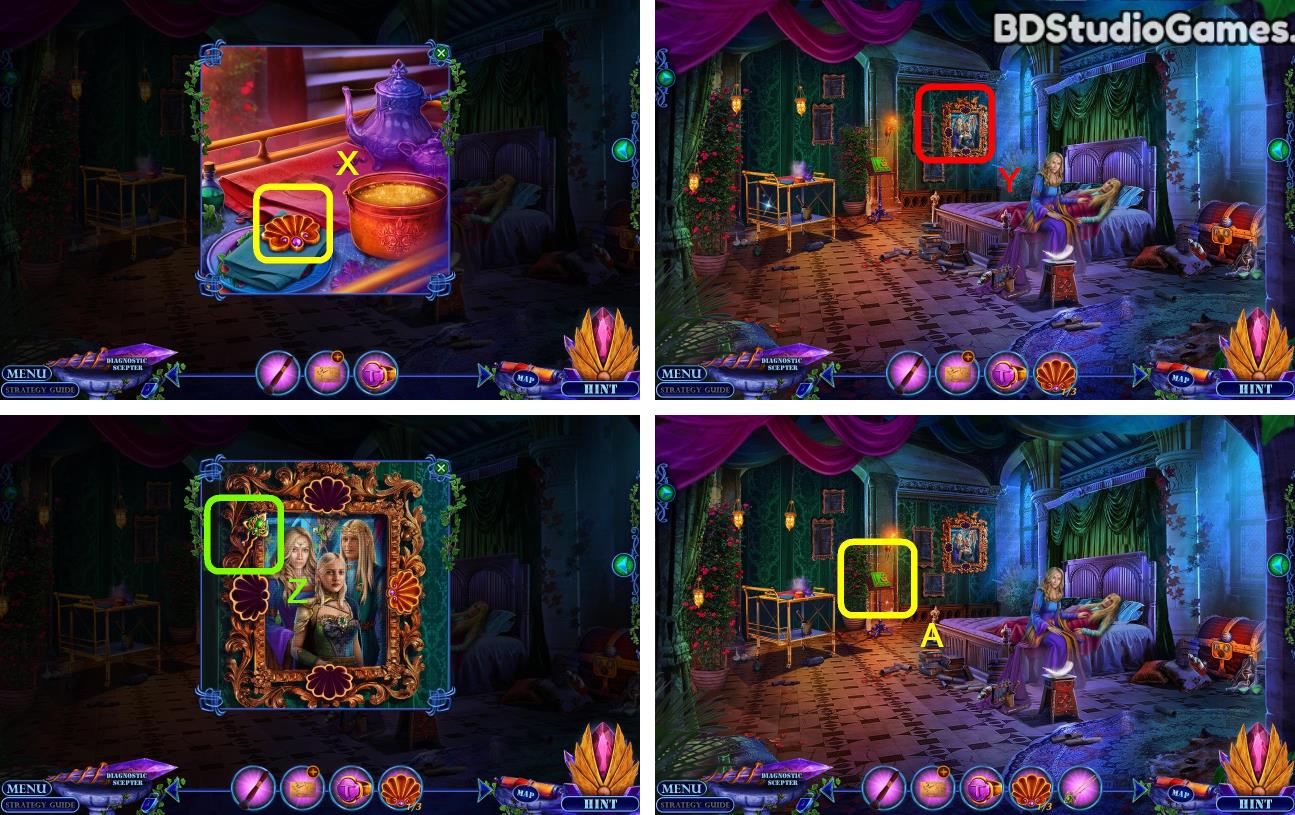
Take it. (X)
Examine here. (Y)
Take it. (Z)
Examine here. (A)
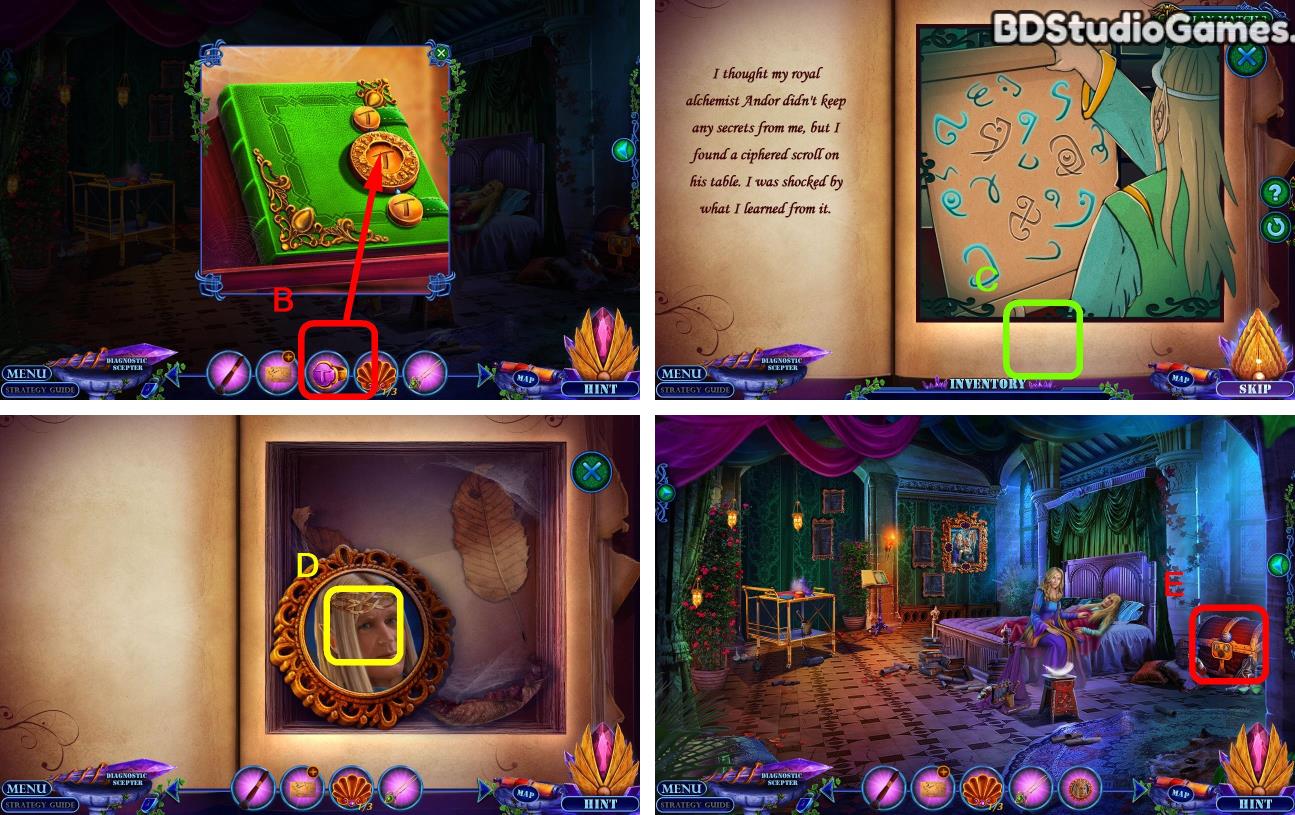
Use object on here. (B)
Solve the puzzle. (C)
Take it. (D)
Examine here. (E)
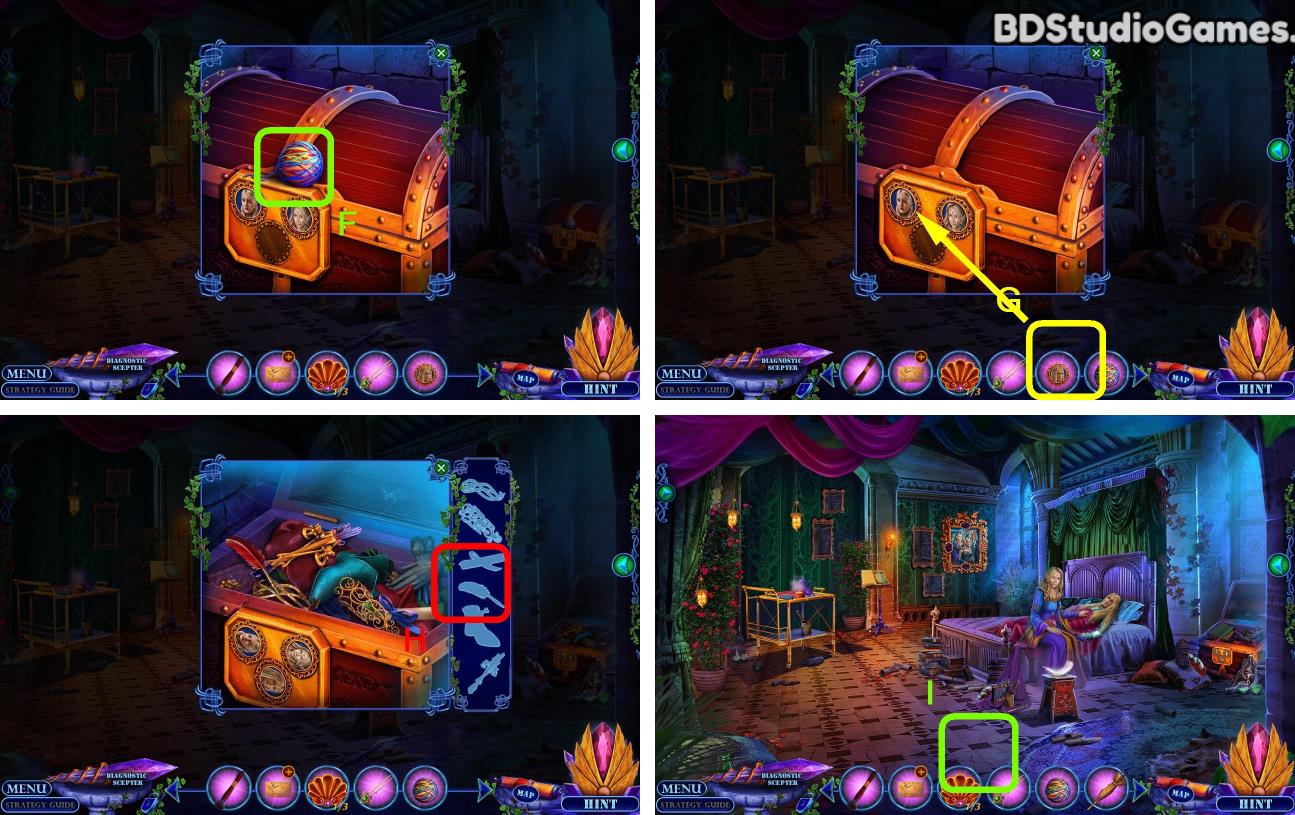
Take it. (F)
Use object on here. (G)
Find all hidden objects. (H)
Go Here. (I)
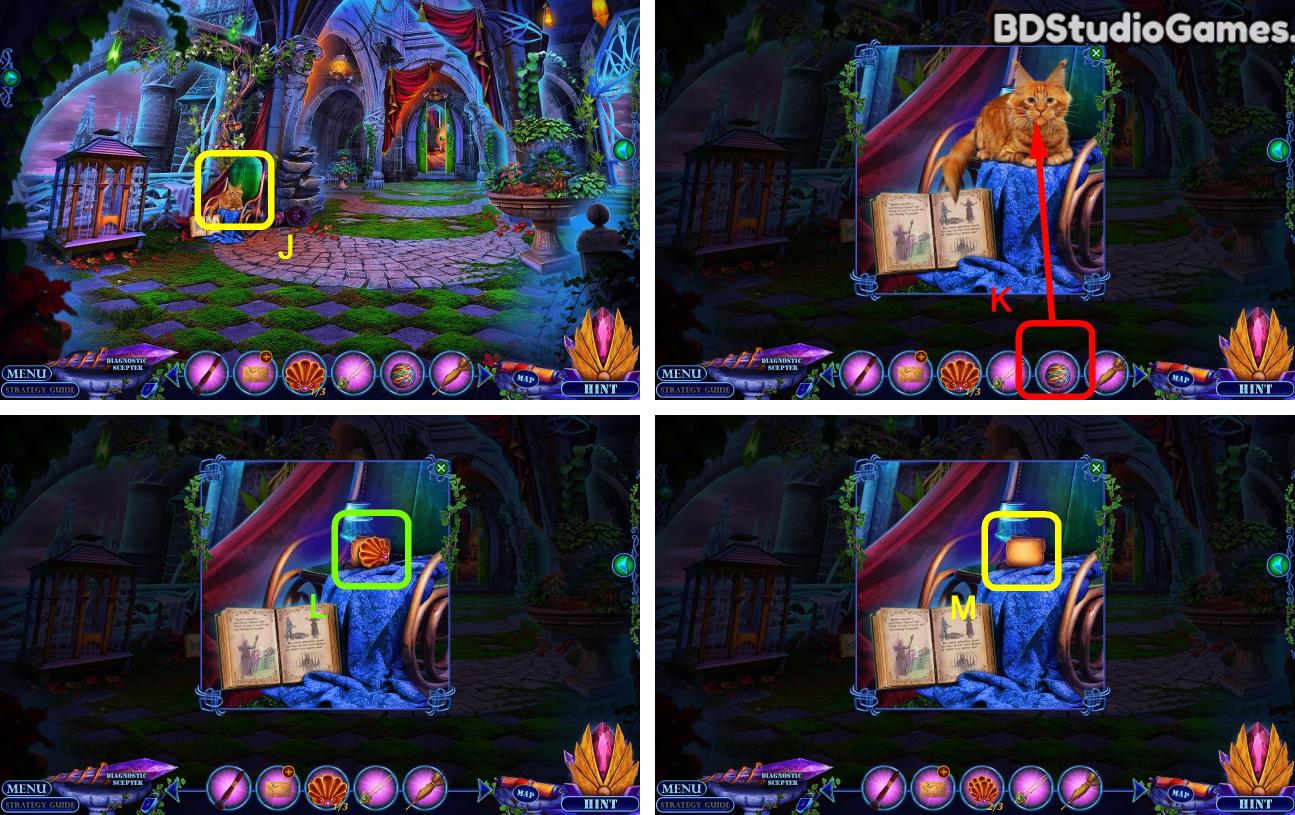
Examine here. (J)
Use object on here. (K)
Take it. (L)
Click Here. (M)
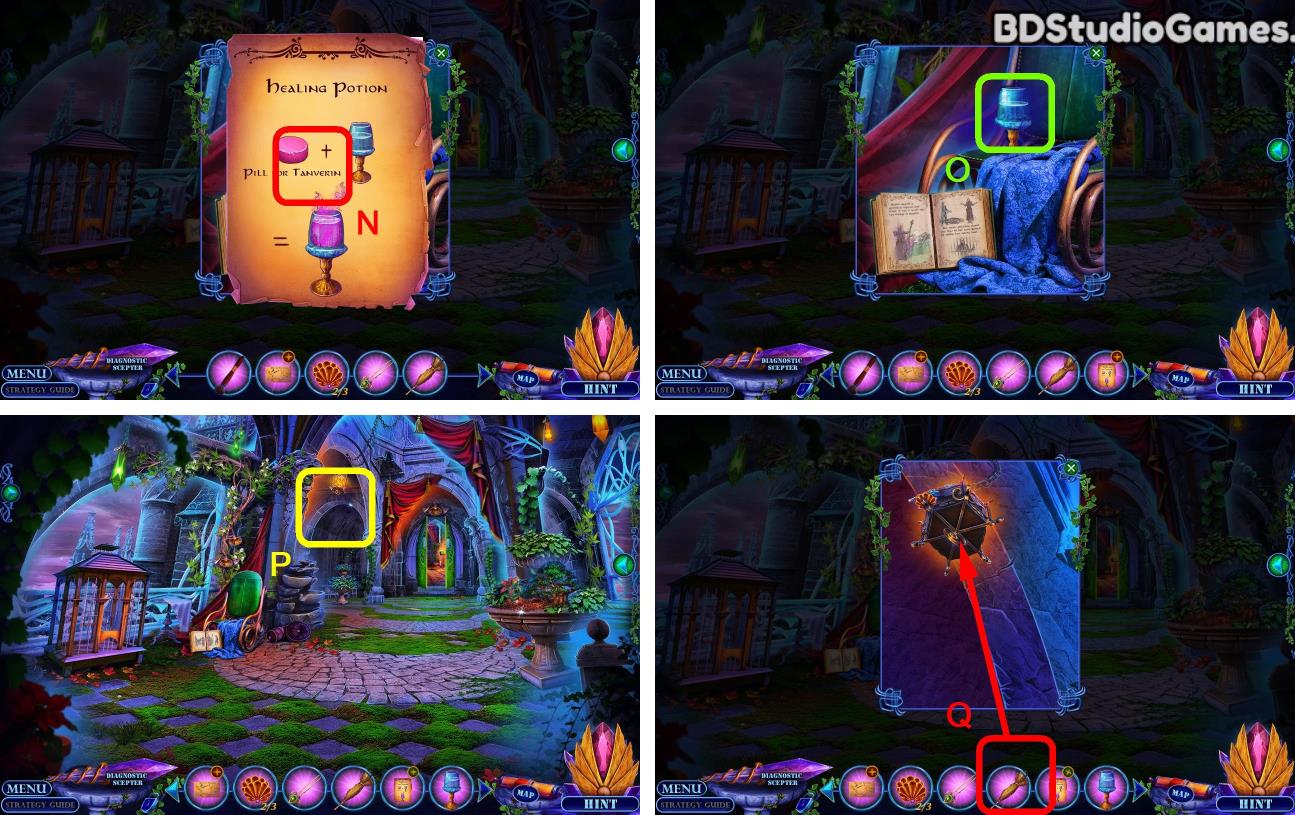
Click Here. (N)
Take it. (O)
Examine here. (P)
Use object on here. (Q)



 REFRESH