New Releases |
Hidden Object Games |
Match 3 Games |
Time Management Games |
Strategy Games |
Puzzle Games |
Card Games |
Action Games |
Word Games
Hallowed Legends: Ship of Bones Walkthrough 19

Hallowed Legends: Ship of Bones Walkthrough 19
* OS: Windows 7 / Vista / XP
* CPU: Pentium 3 1.0 GHz or Higher
* OS: Windows 7 / Vista / XP
* CPU: Pentium 3 1.0 GHz or Higher

Hallowed Legends: Ship of Bones Walkthrough 19
* OS: Windows 7 / Vista / XP
* CPU: Pentium 3 1.0 GHz or Higher
* OS: Windows 7 / Vista / XP
* CPU: Pentium 3 1.0 GHz or Higher
Hallowed Legends: Ship of Bones Walkthrough 19 Screenshots, Videos:


Follow our crystal clear walkthrough and helpful tricks to get you through the rough spots! Click the button to download full walkthrough.
Place the rune on its matching location (V).
Back out.
Place the rune on its matching location (W).
You should now have a lit Book of Fire.
Go to the Museum entrance.
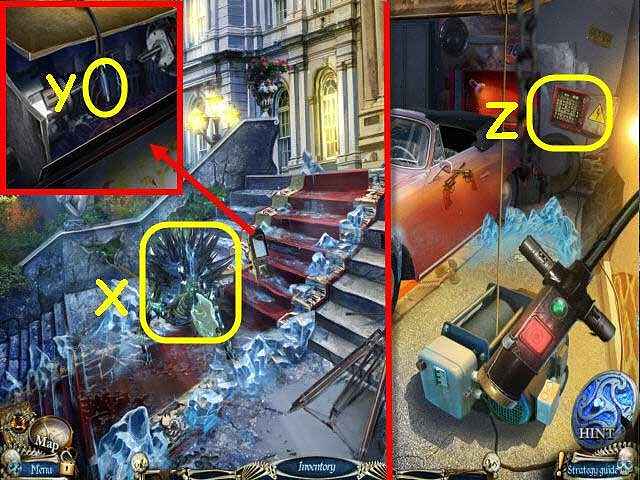
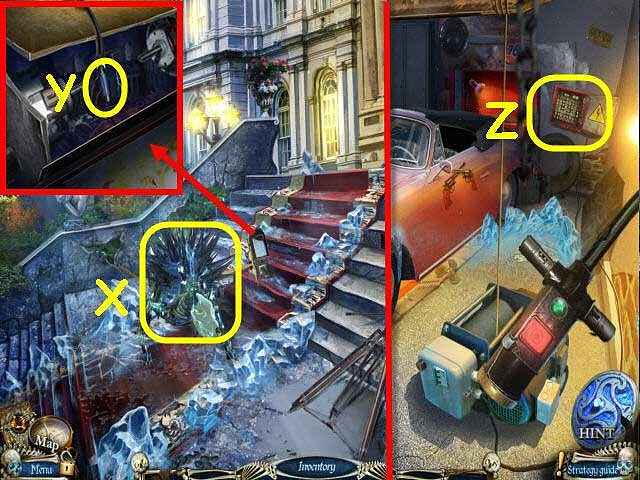
Use the Book of Fire on the ice monster (X).
Examine the device and use the RUBBER GLOVES to move the wires; take the FUSE 3/3 (Y).
Go into the Garage.
Examine the electrical panel and place the 3 FUSES on it to trigger a puzzle (Z).
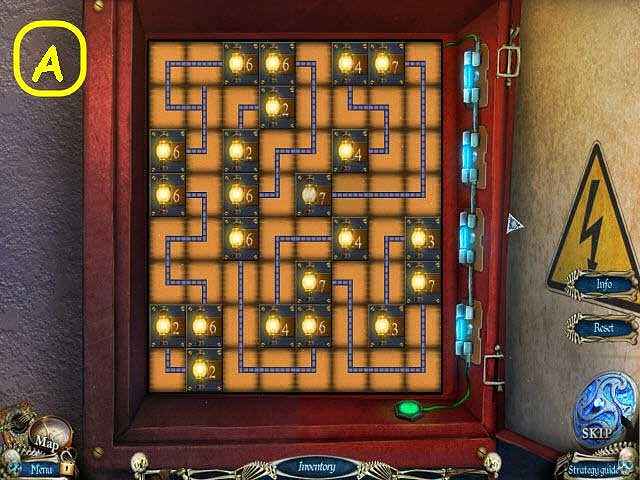
Connect the circuits.
See screenshot for solution (A).


 REFRESH