New Releases |
Hidden Object Games |
Match 3 Games |
Time Management Games |
Strategy Games |
Puzzle Games |
Card Games |
Action Games |
Word Games
Haunted Legends: The Call of Despair Walkthrough

Haunted Legends: The Call of Despair Walkthrough
* OS: Windows 7 / Vista / XP
* CPU: Pentium 3 1.0 GHz or Higher
* OS: Windows 7 / Vista / XP
* CPU: Pentium 3 1.0 GHz or Higher

Haunted Legends: The Call of Despair Walkthrough
* OS: Windows 7 / Vista / XP
* CPU: Pentium 3 1.0 GHz or Higher
* OS: Windows 7 / Vista / XP
* CPU: Pentium 3 1.0 GHz or Higher
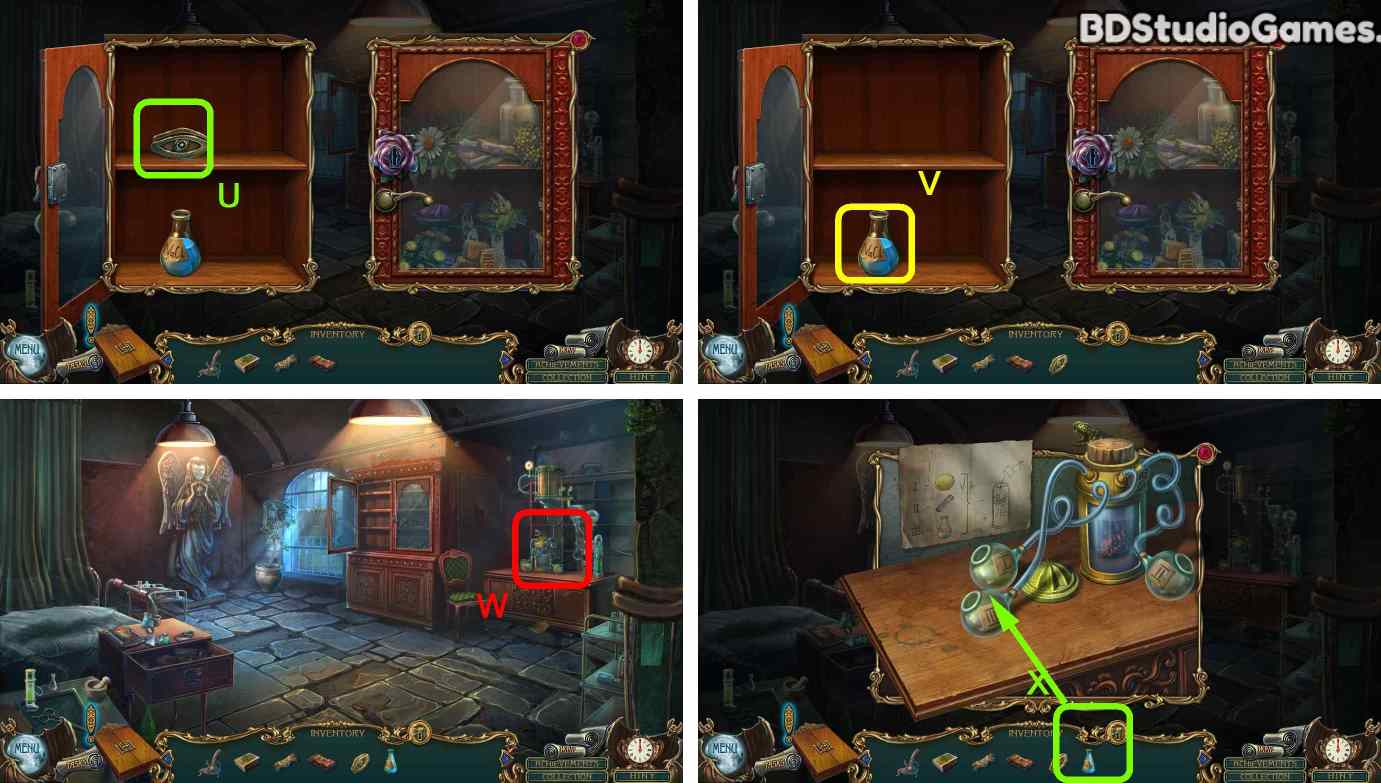
Take it. (U)
Take it. (V)
Examine here. (W)
Use object on here. (X)
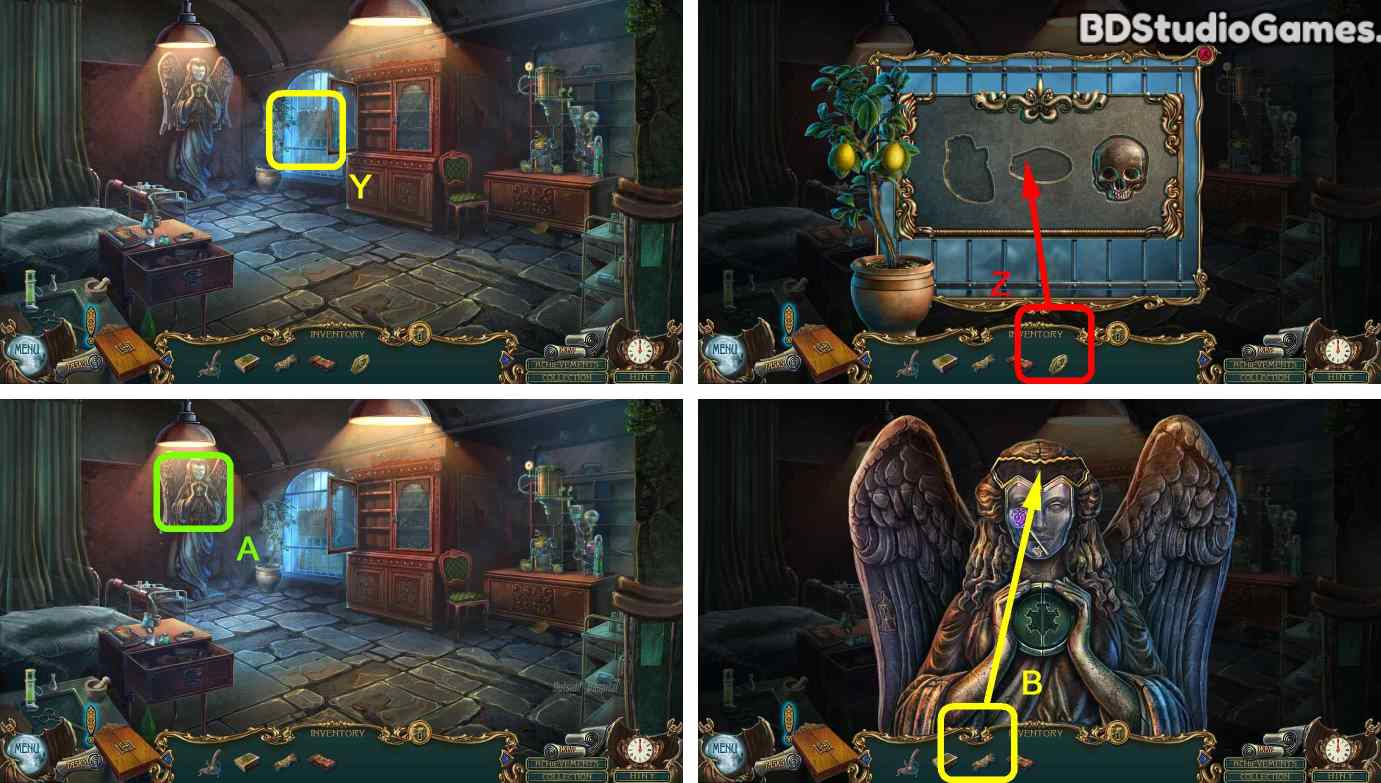
Examine here. (Y)
Use object on here. (Z)
Examine here. (A)
Use object on here. (B)
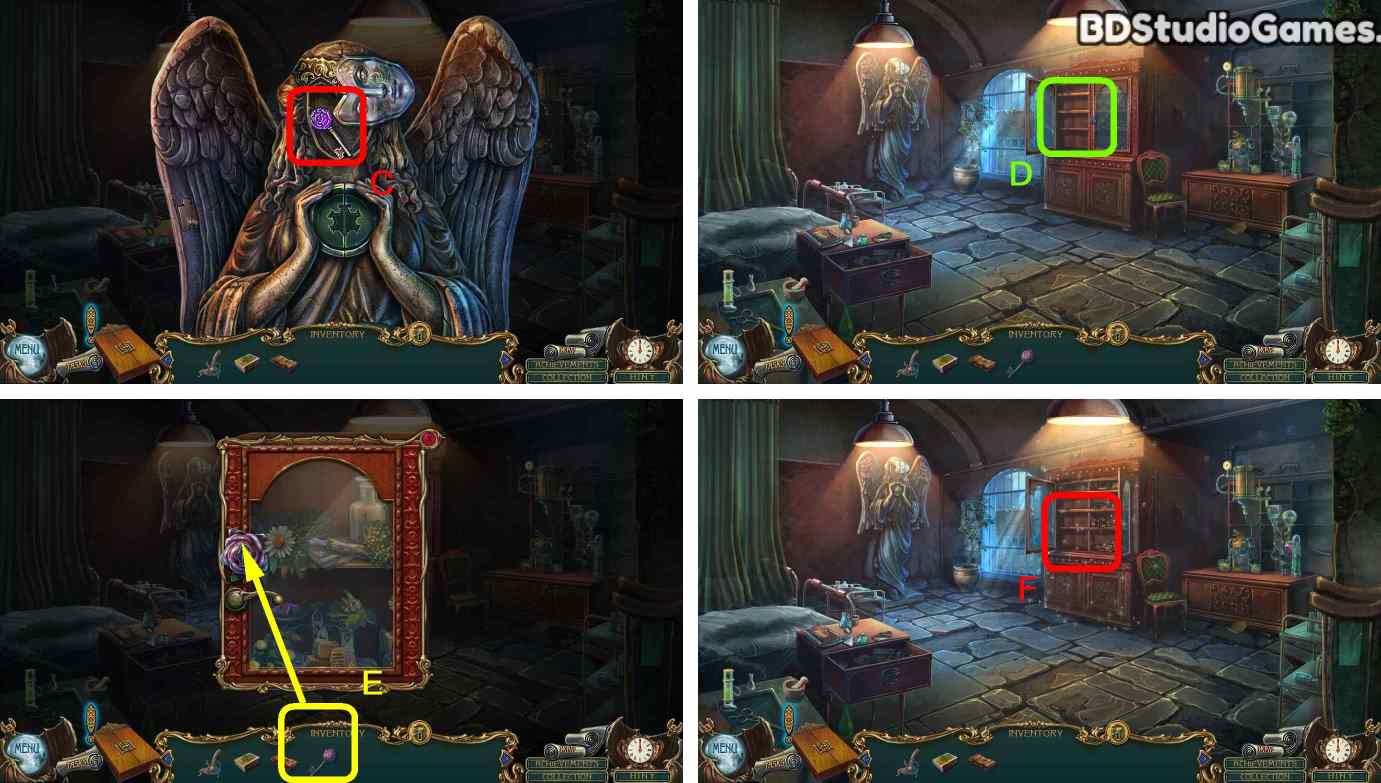
Take it. (C)
Examine here. (D)
Use object on here. (E)
Go Here. (F)
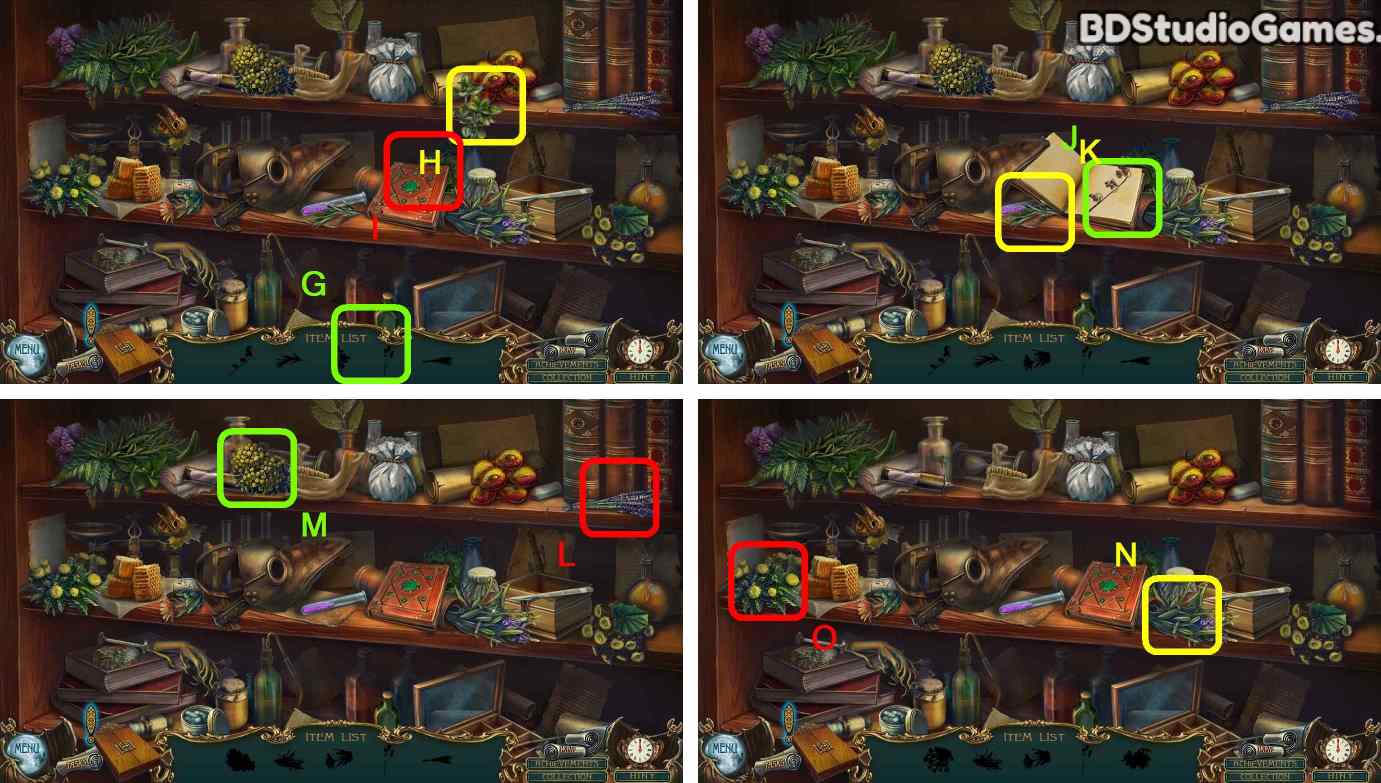
Find all hidden objects. (G)
Click Here. (H)
Click Here. (I)
Click Here. (J)
Click Here. (K)
Click Here. (L)
Click Here. (M)
Click Here. (N)
Click Here. (O)
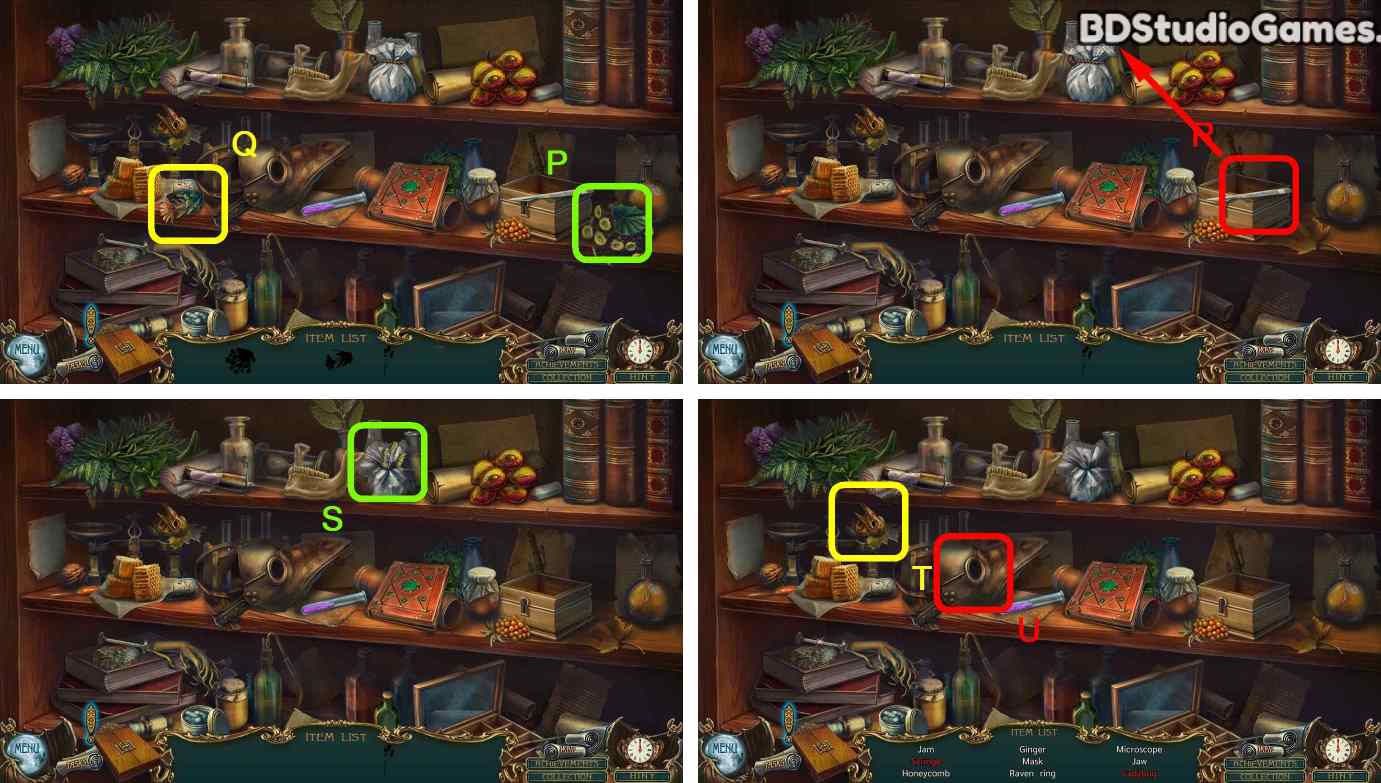
Click Here. (P)
Click Here. (Q)
Use object on here. (R)
Click Here. (S)
Click Here. (T)
Click Here. (U)
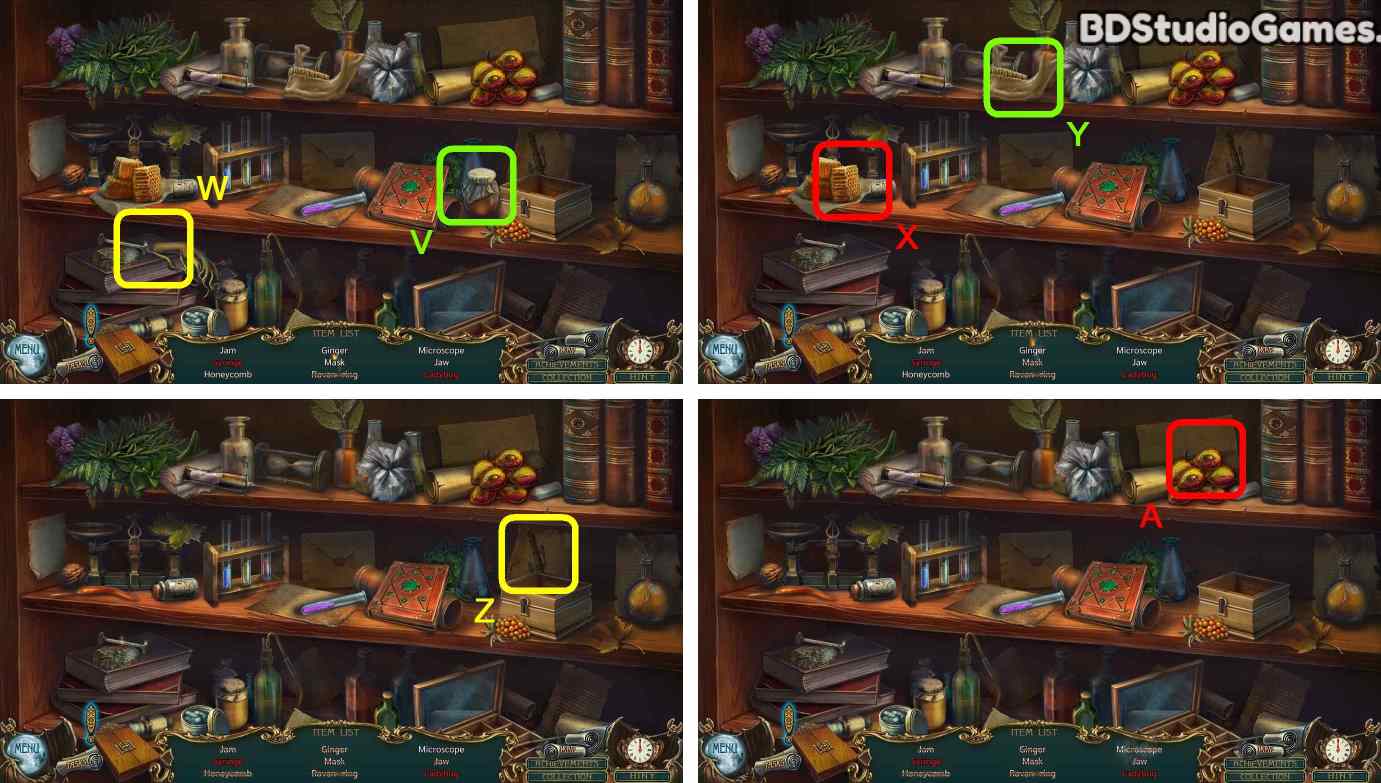
Click Here. (V)
Click Here. (W)
Click Here. (X)
Click Here. (Y)
Click Here. (Z)
Click Here. (A)
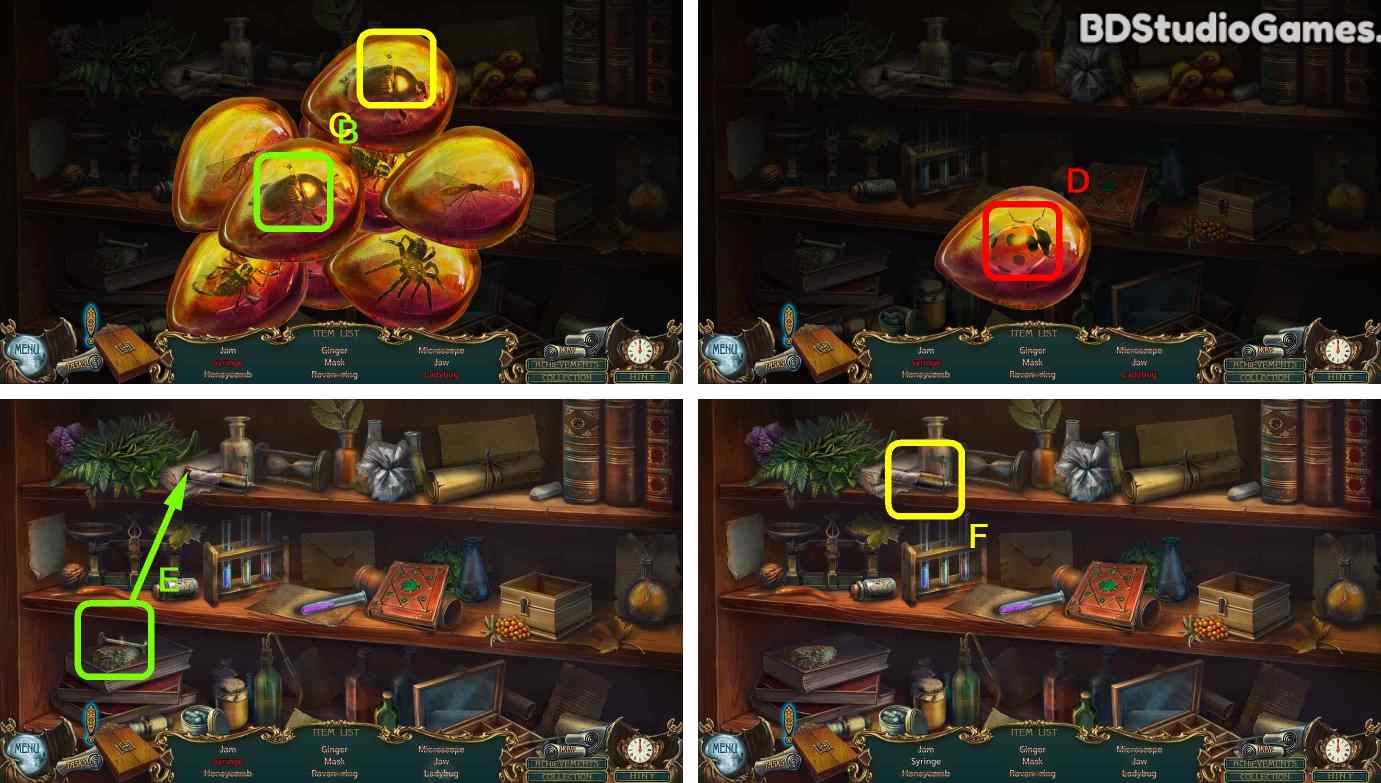
Click Here. (B)
Click Here. (C)
Click Here. (D)
Use object on here. (E)
Click Here. (F)
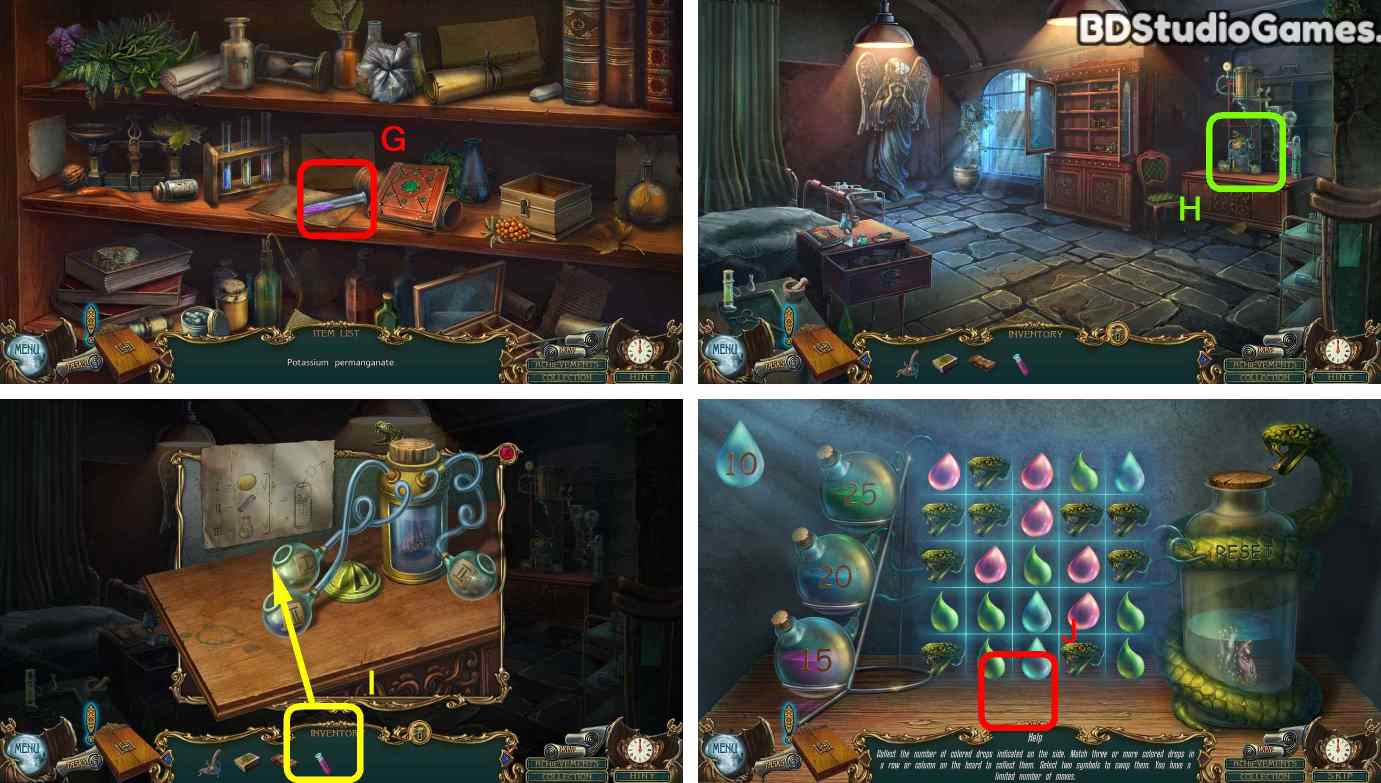
Take it. (G)
Examine here. (H)
Use object on here. (I)
Play mini game. (J)
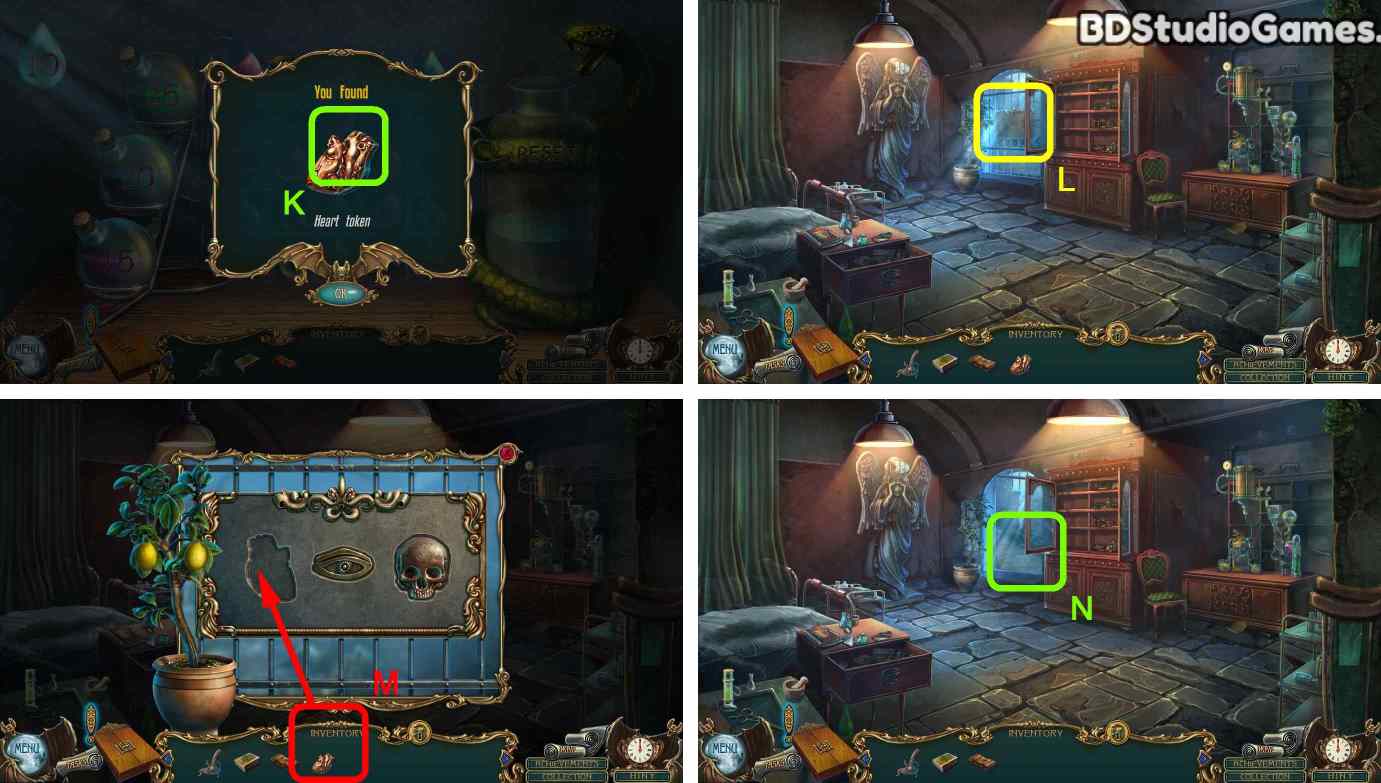
Take it. (K)
Examine here. (L)
Use object on here. (M)
Go Here. (N)
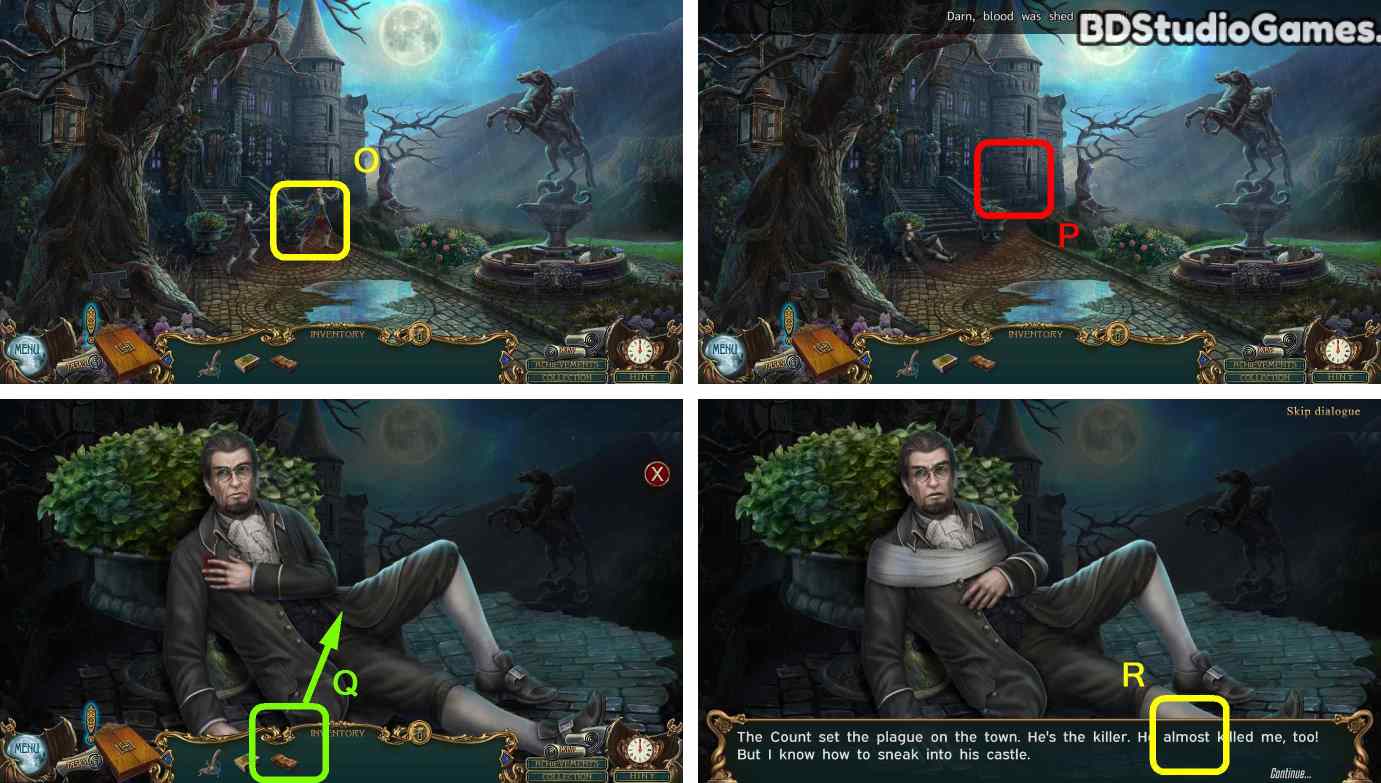
Click Here. (O)
Click Here. (P)
Use object on here. (Q)
Click Here. (R)
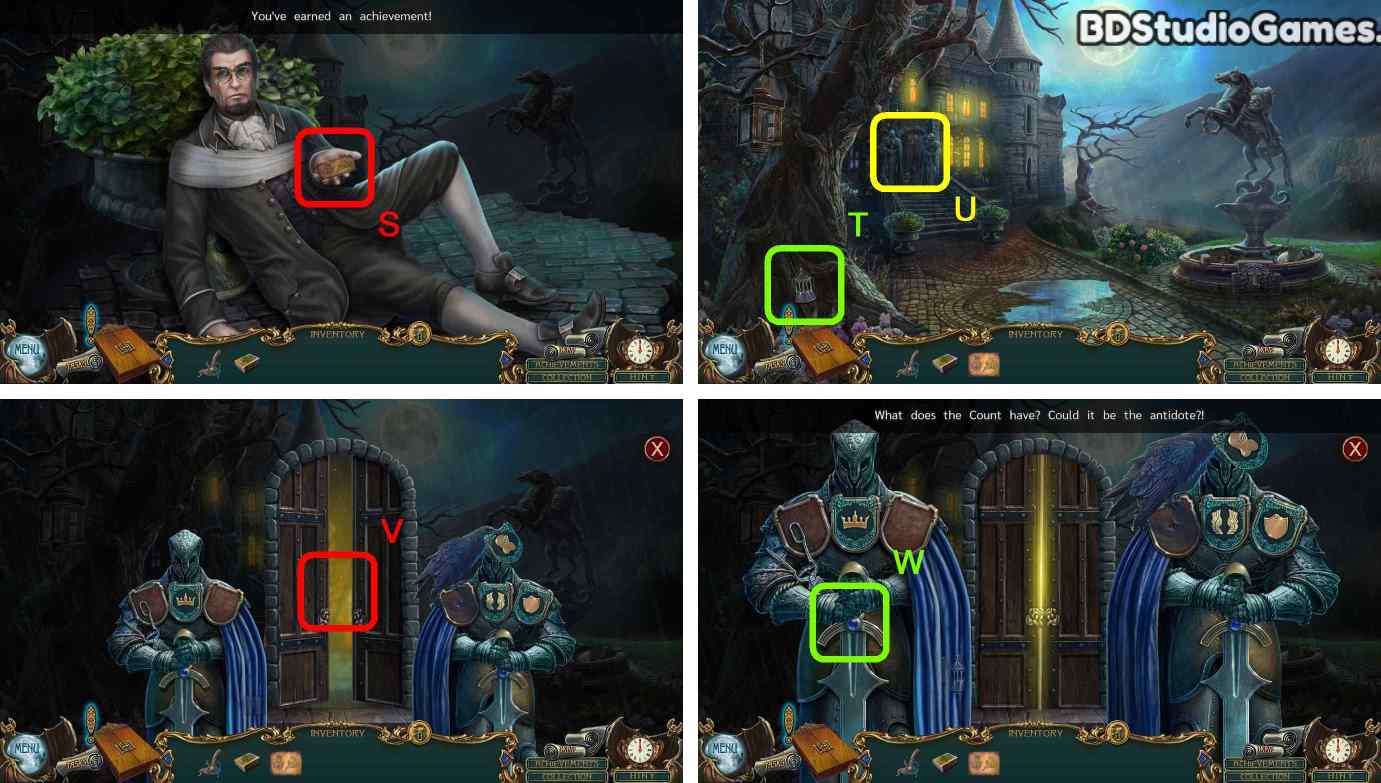
Take it. (S)
Click Here. (T)
Examine here. (U)
Click Here. (V)
Take it. (W)
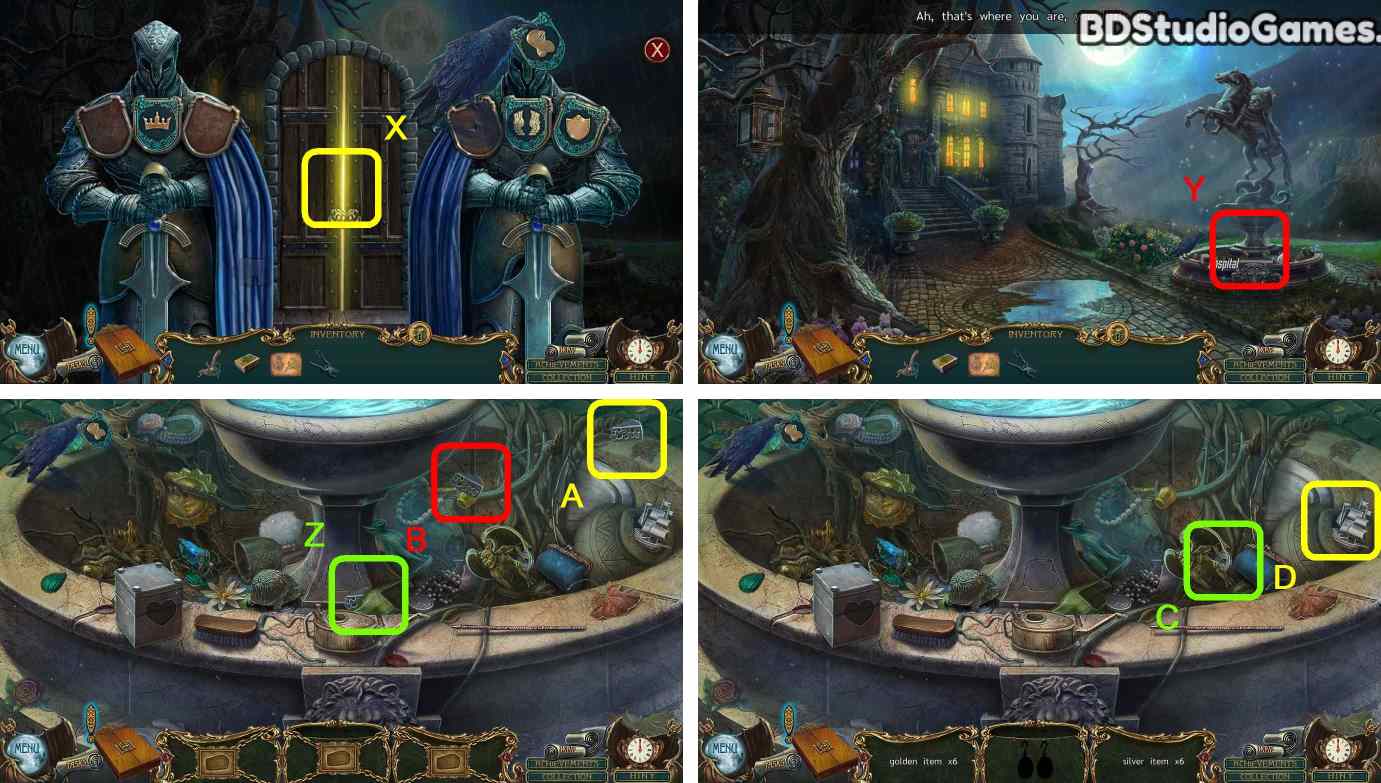
Click Here. (X)
Go Here. (Y)
Click Here. (Z)
Click Here. (A)
Click Here. (B)
Click Here. (C)
Click Here. (D)
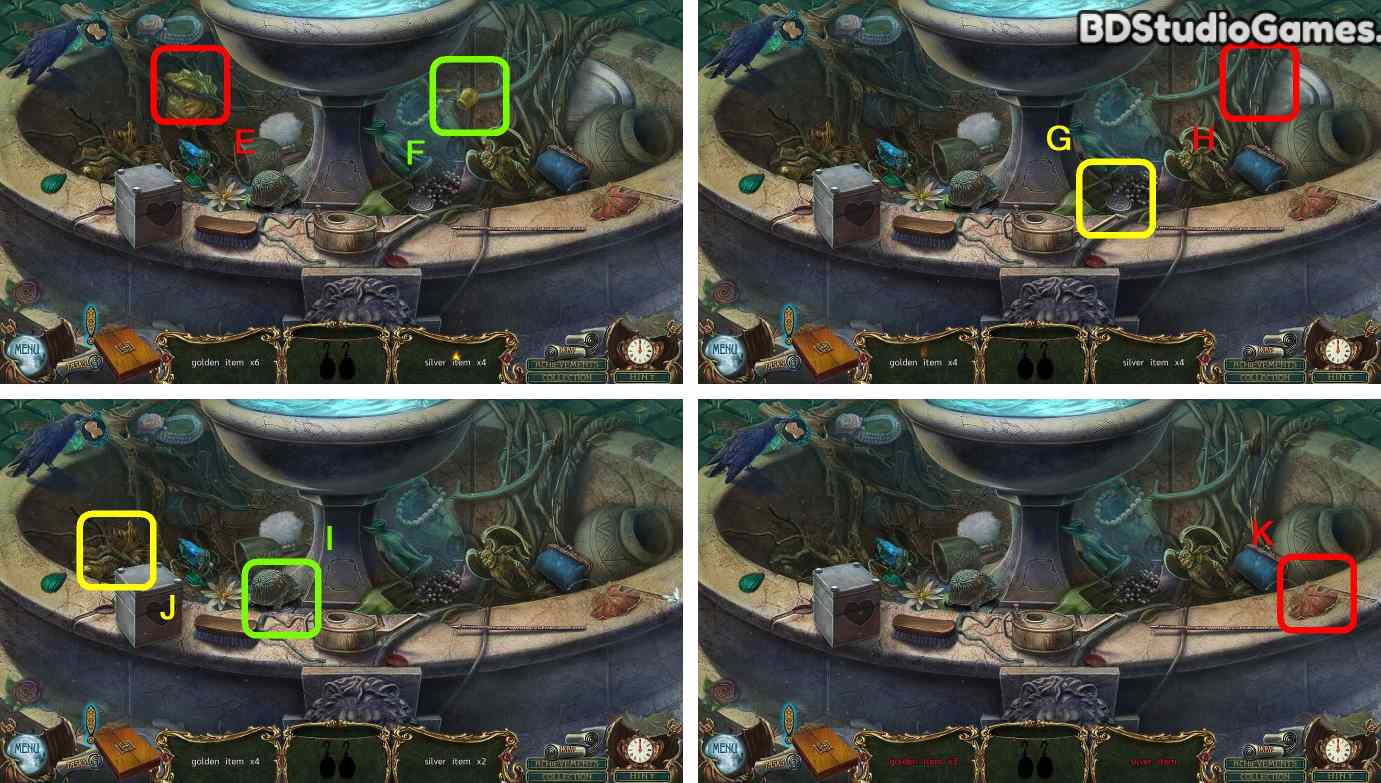
Click Here. (E)
Click Here. (F)
Click Here. (G)
Click Here. (H)
Click Here. (I)
Click Here. (J)
Click Here. (K)
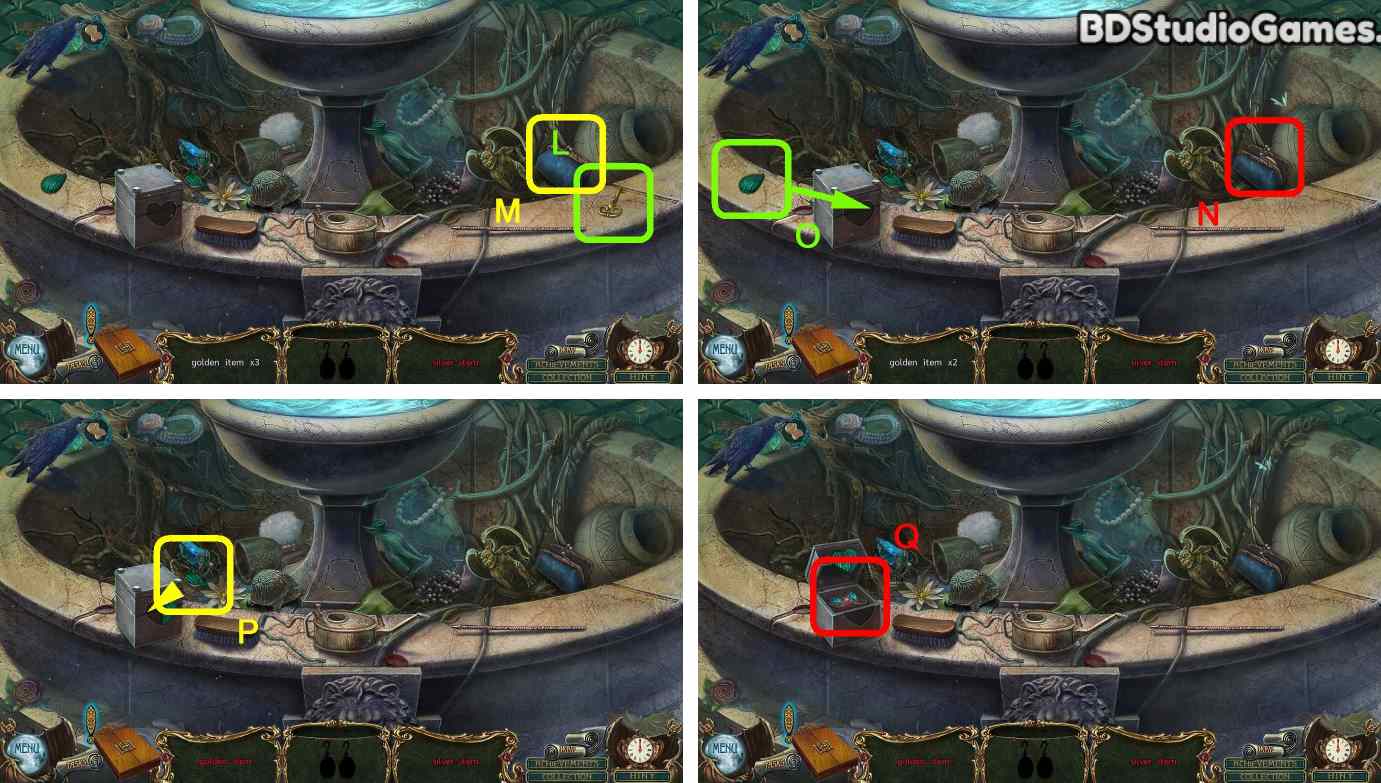
Click Here. (L)
Click Here. (M)
Click Here. (N)
Use object on here. (O)
Use object on here. (P)
Click Here. (Q)
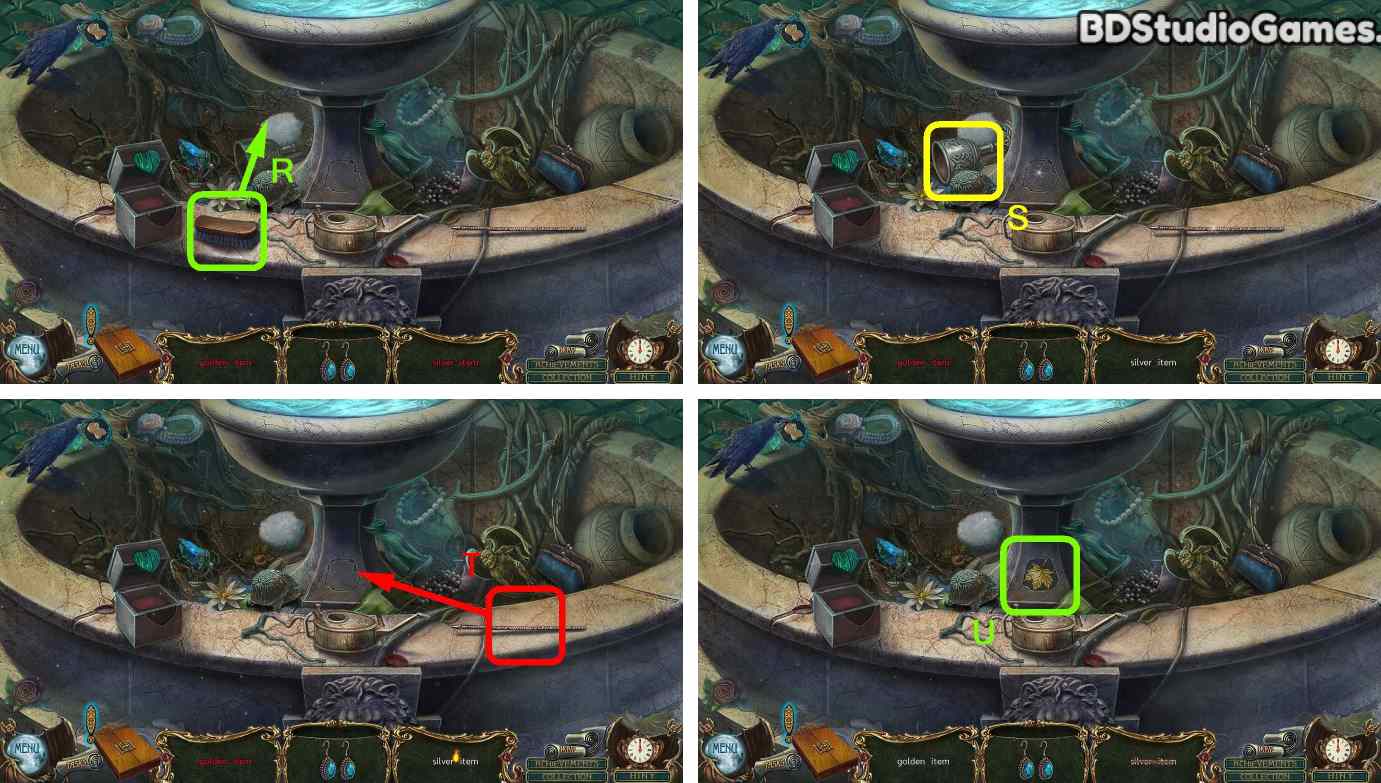
Use object on here. (R)
Click Here. (S)
Use object on here. (T)
Click Here. (U)
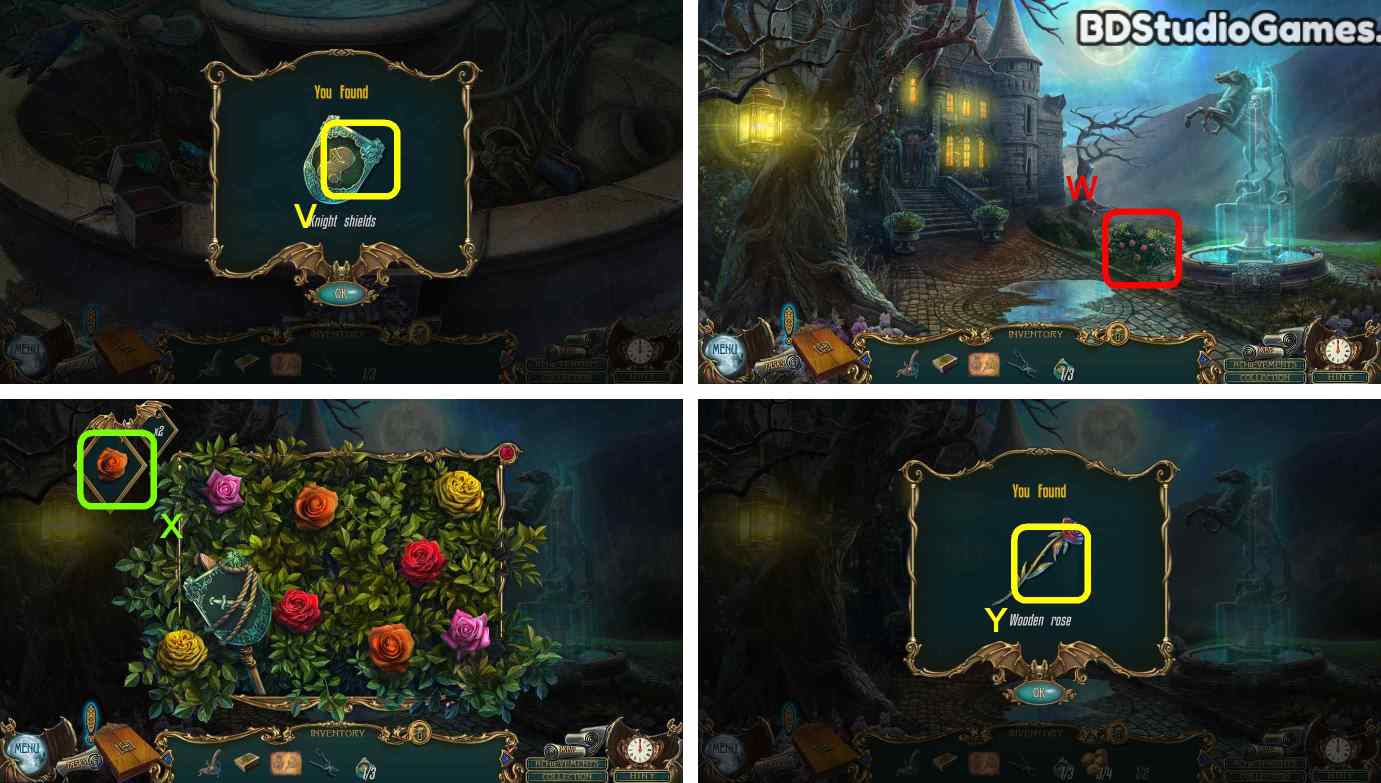
Take it. (V)
Examine here. (W)
Find all hidden objects. (X)
Take it. (Y)
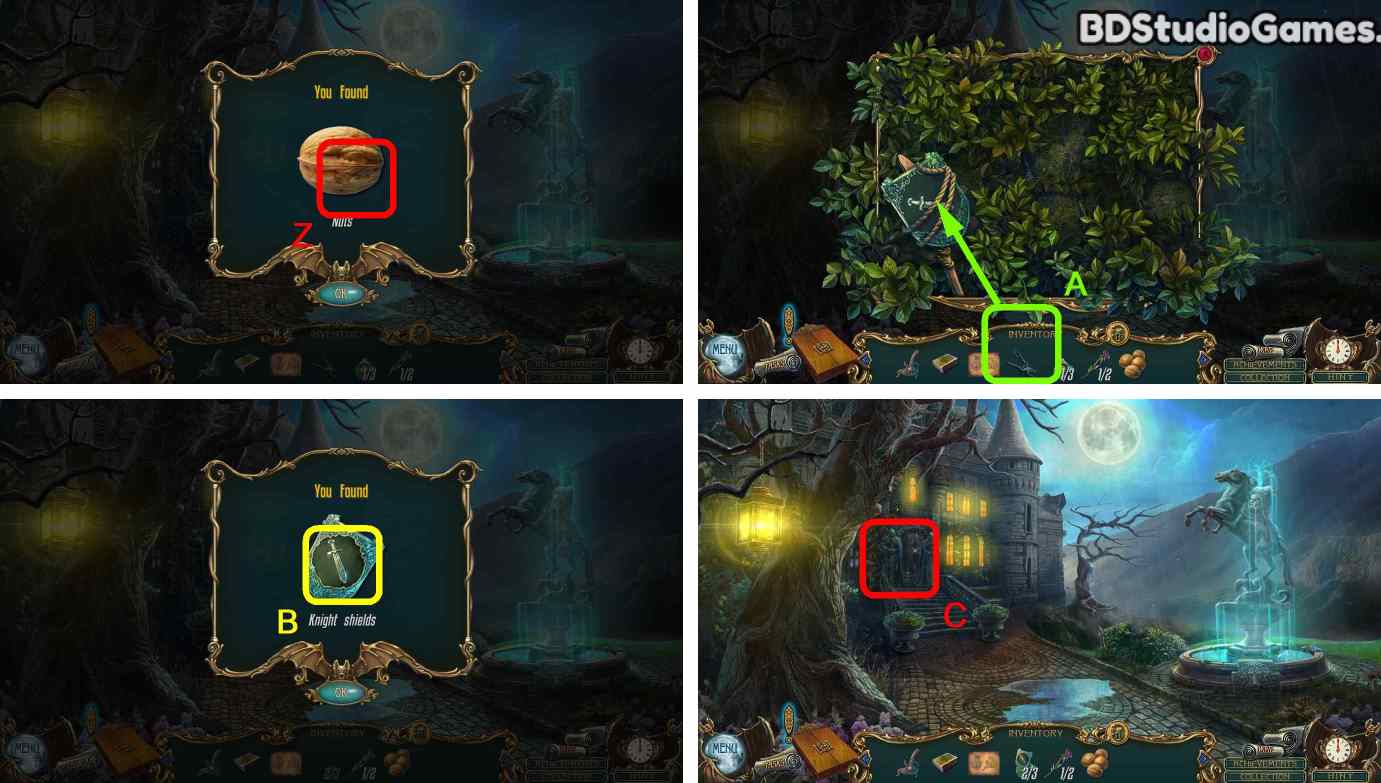
Take it. (Z)
Use object on here. (A)
Take it. (B)
Examine here. (C)
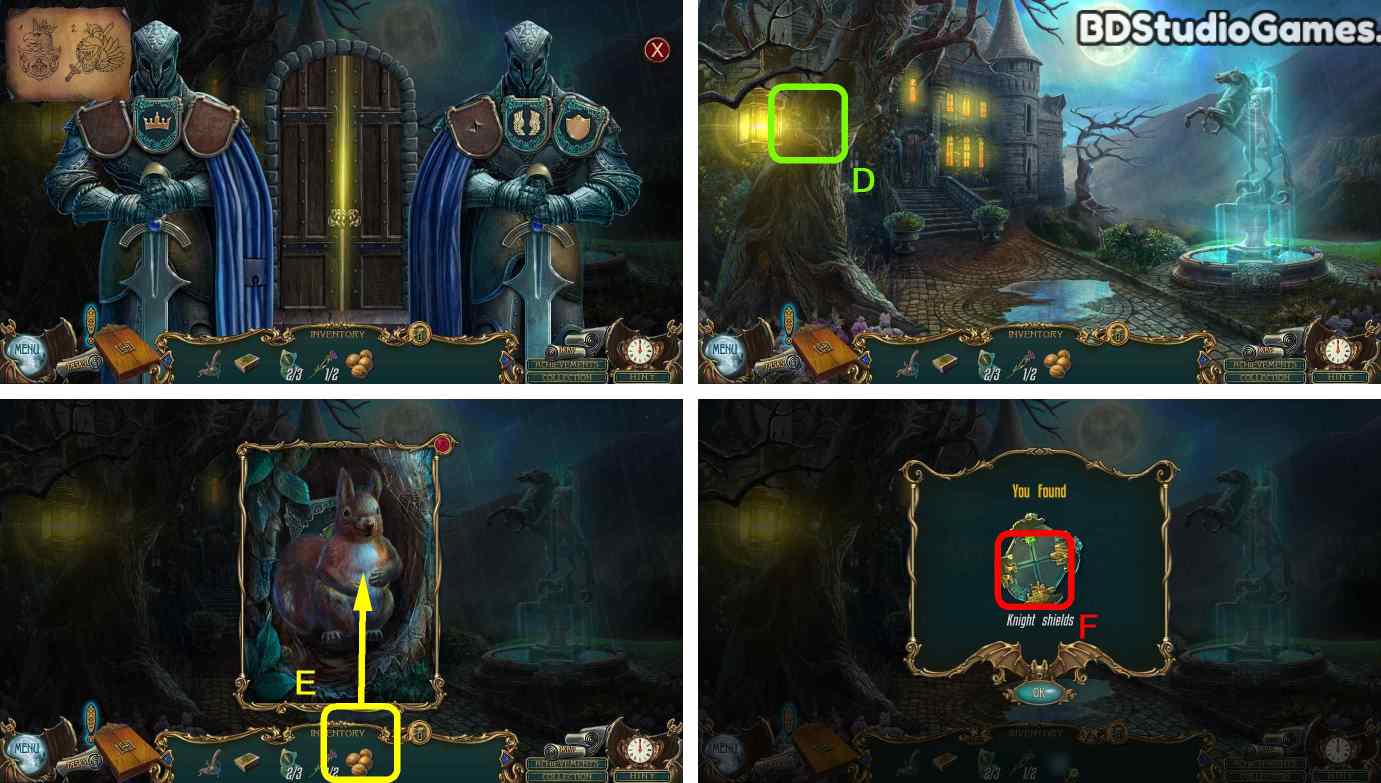
Examine here. (D)
Use object on here. (E)
Take it. (F)
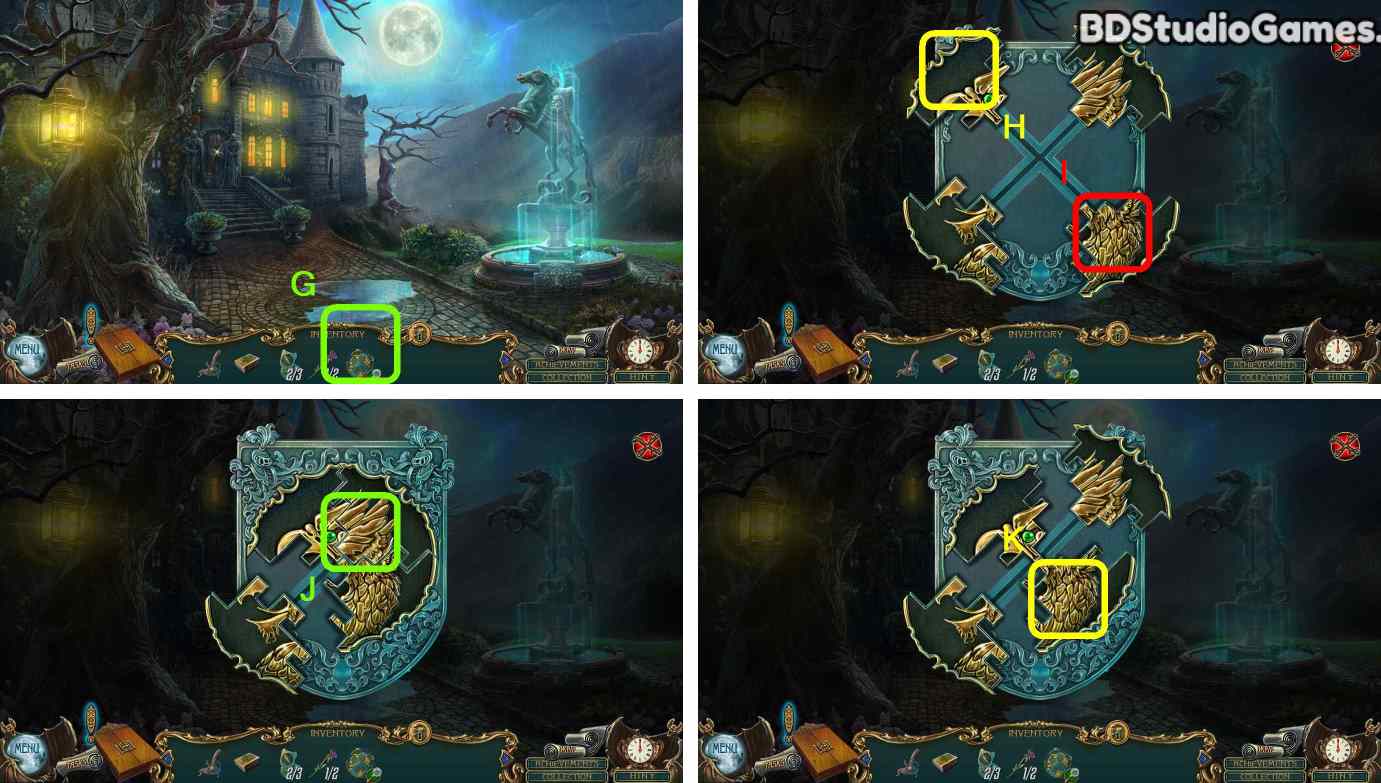
Click Here. (G)
Click Here. (H)
Click Here. (I)
Click Here. (J)
Click Here. (K)
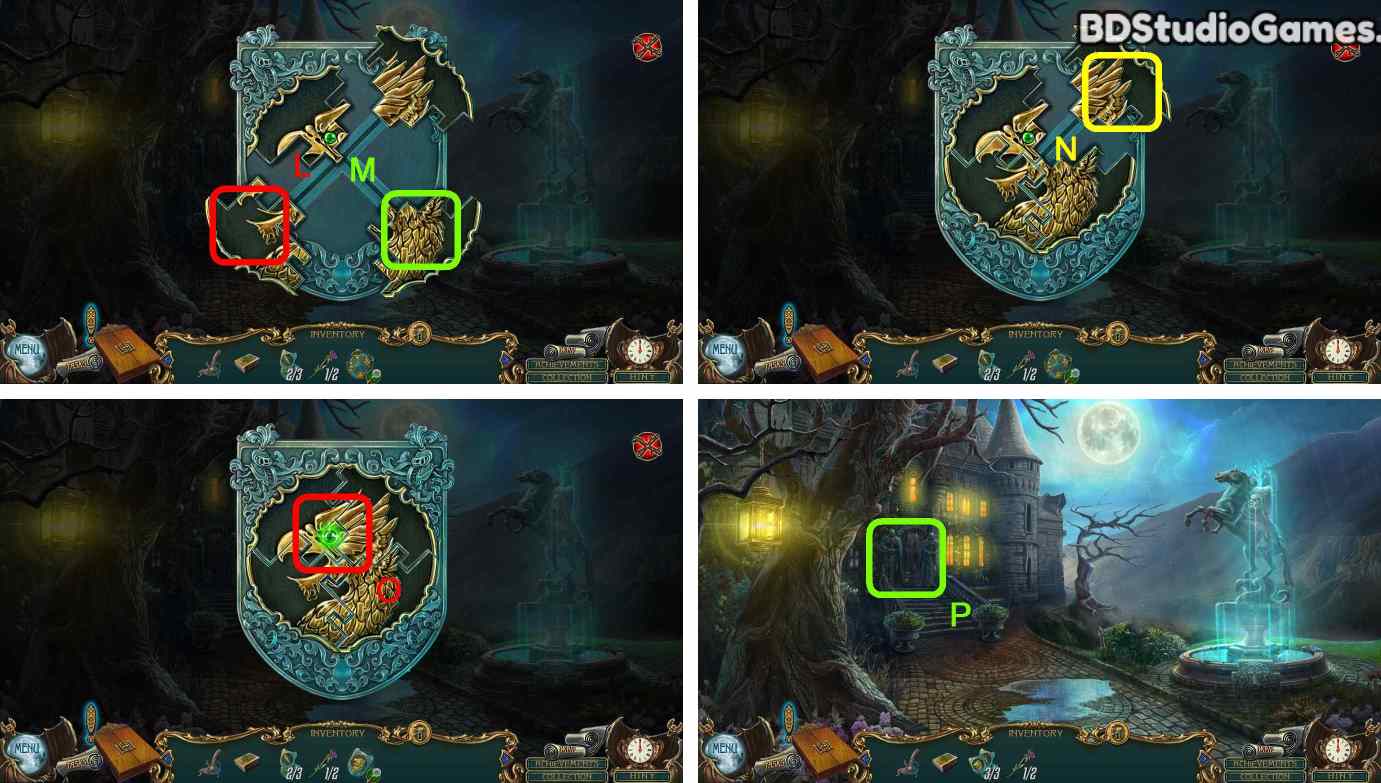
Click Here. (L)
Click Here. (M)
Click Here. (N)
Take it. (O)
Examine here. (P)


 REFRESH