New Releases |
Hidden Object Games |
Match 3 Games |
Time Management Games |
Strategy Games |
Puzzle Games |
Card Games |
Action Games |
Word Games
Into the Haze Walkthrough

Into the Haze Walkthrough
* OS: Windows 7 / Vista / XP
* CPU: Pentium 3 1.0 GHz or Higher
* OS: Windows 7 / Vista / XP
* CPU: Pentium 3 1.0 GHz or Higher

Into the Haze Walkthrough
* OS: Windows 7 / Vista / XP
* CPU: Pentium 3 1.0 GHz or Higher
* OS: Windows 7 / Vista / XP
* CPU: Pentium 3 1.0 GHz or Higher
Into the Haze Walkthrough Introduction:
Into the Haze is a great hidden object game published by Big Fish Games. This detailed walkthrough includes 200 screenshots and 800 steps, use this walkthrough as a guide when you play the game. Our editors take times to play the game, capture screenshots, mark the interactive area on the image, please share this walkthrough on your facebook or twitter pages and let more hidden object game fans know it.
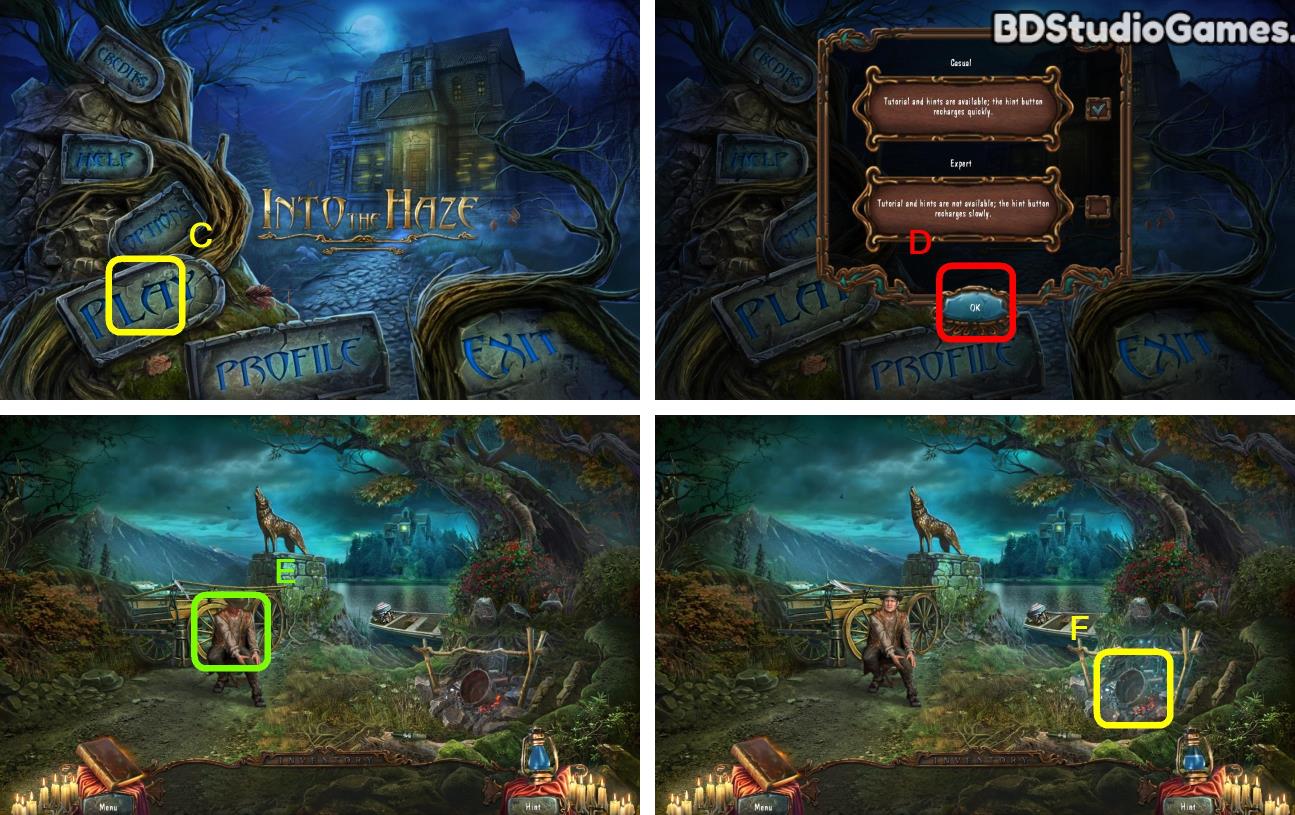
Click Here. (C)
Click Here. (D)
Click Here. (E)
Go Here. (F)
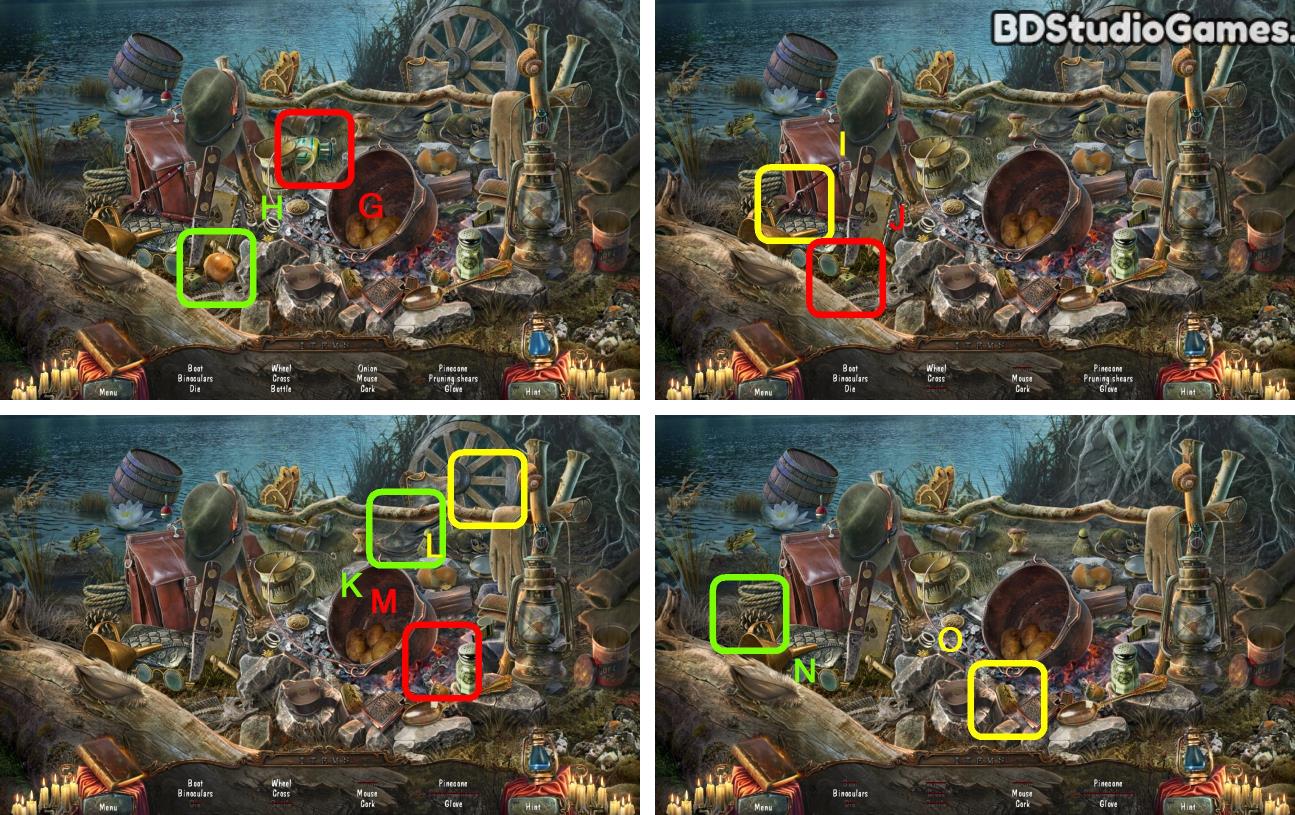
Click Here. (G)
Click Here. (H)
Click Here. (I)
Click Here. (J)
Click Here. (K)
Click Here. (L)
Click Here. (M)
Click Here. (N)
Click Here. (O)
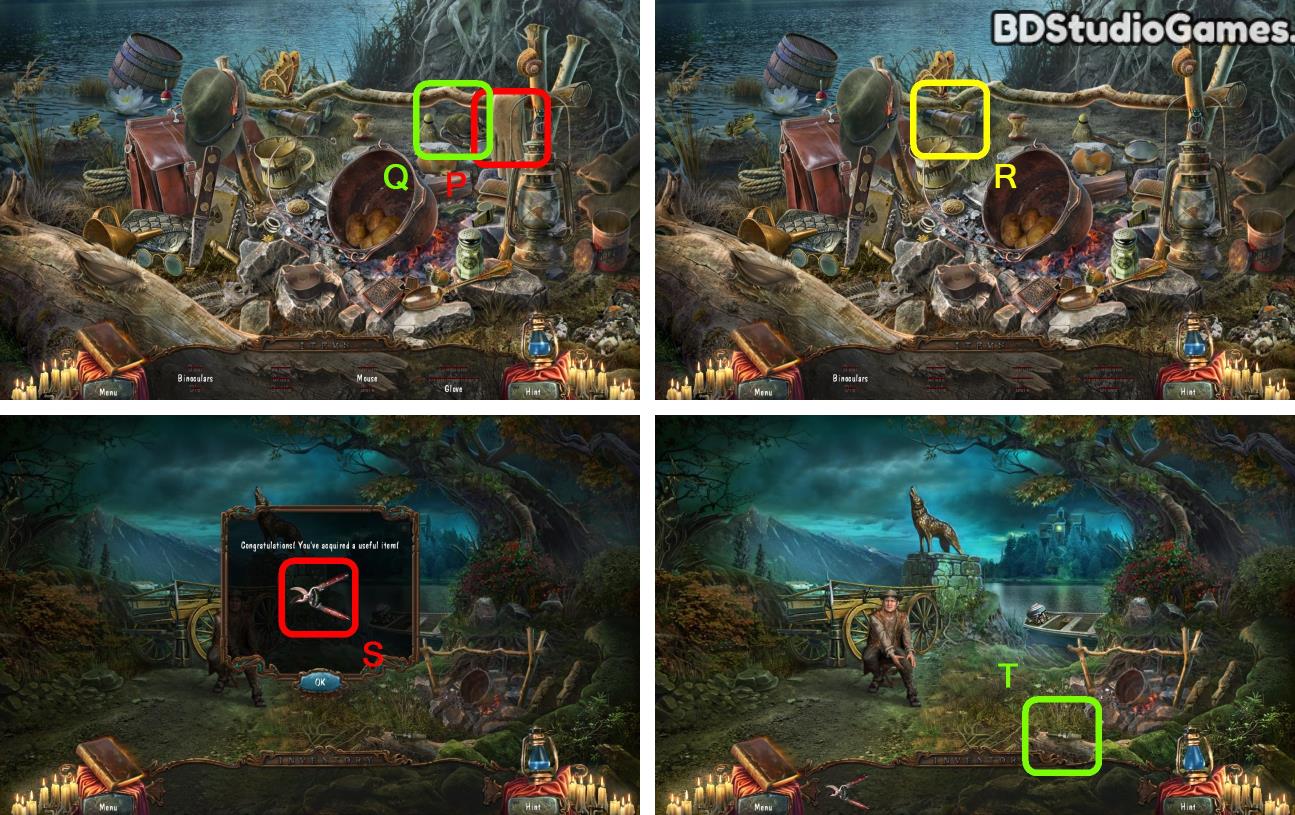
Click Here. (P)
Click Here. (Q)
Click Here. (R)
Take it. (S)
Take it. (T)
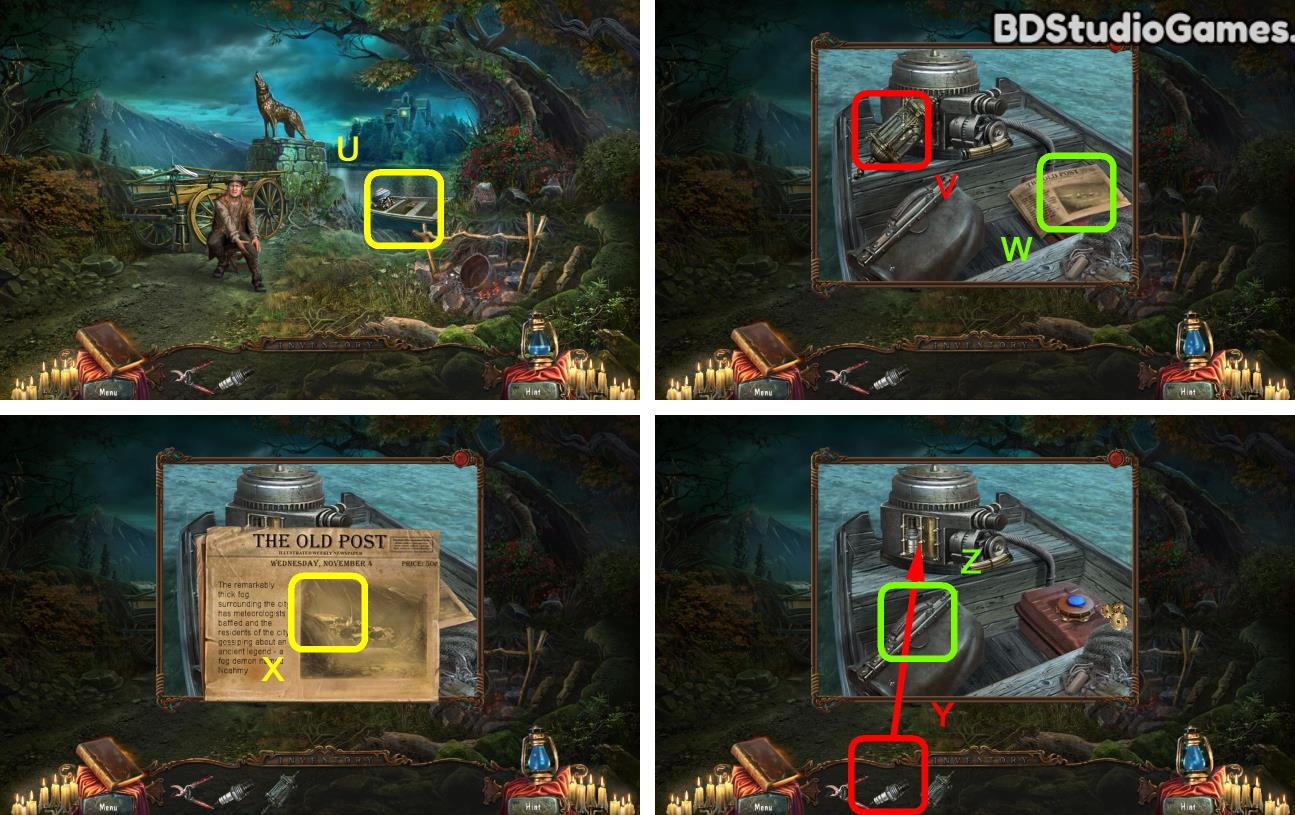
Examine here. (U)
Take it. (V)
Click Here. (W)
Click Here. (X)
Use object on here. (Y)
Click Here. (Z)
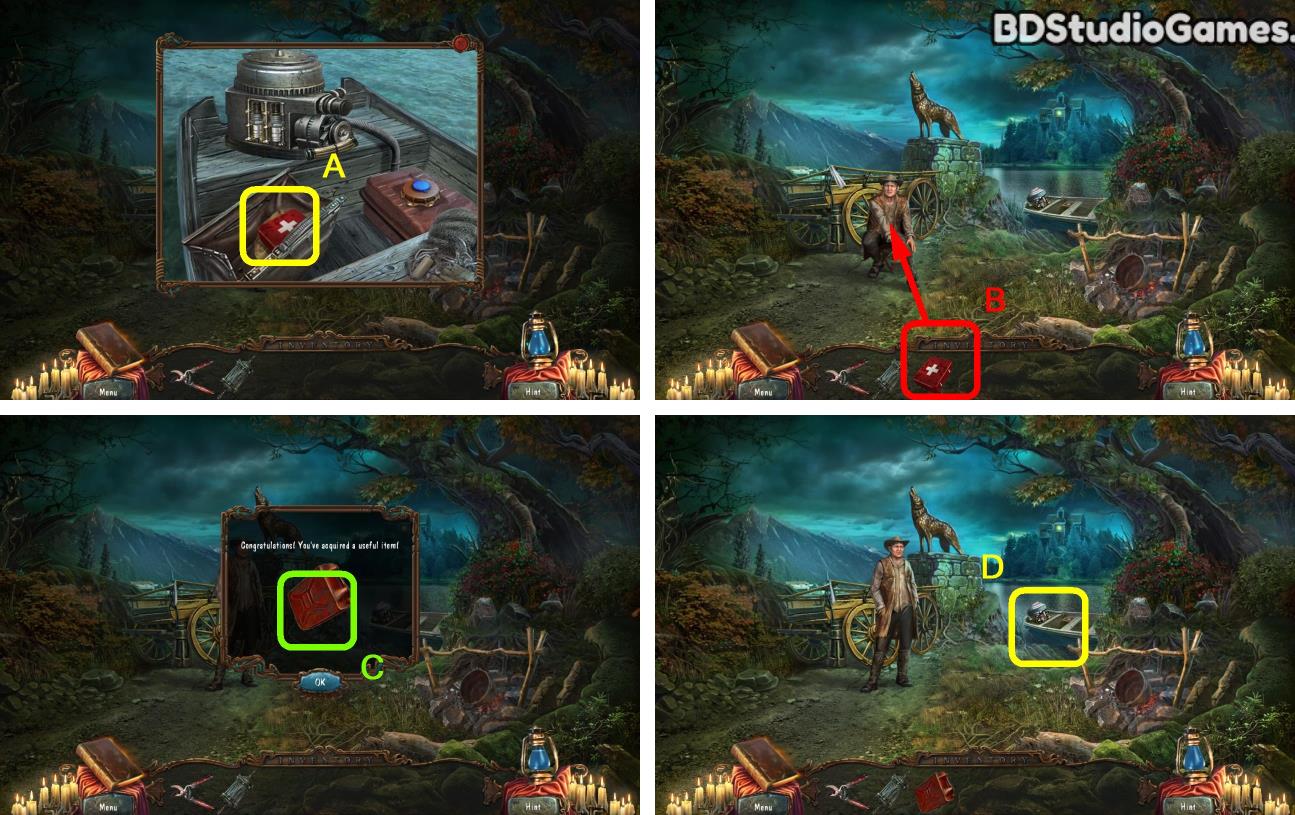
Take it. (A)
Use object on here. (B)
Take it. (C)
Examine here. (D)
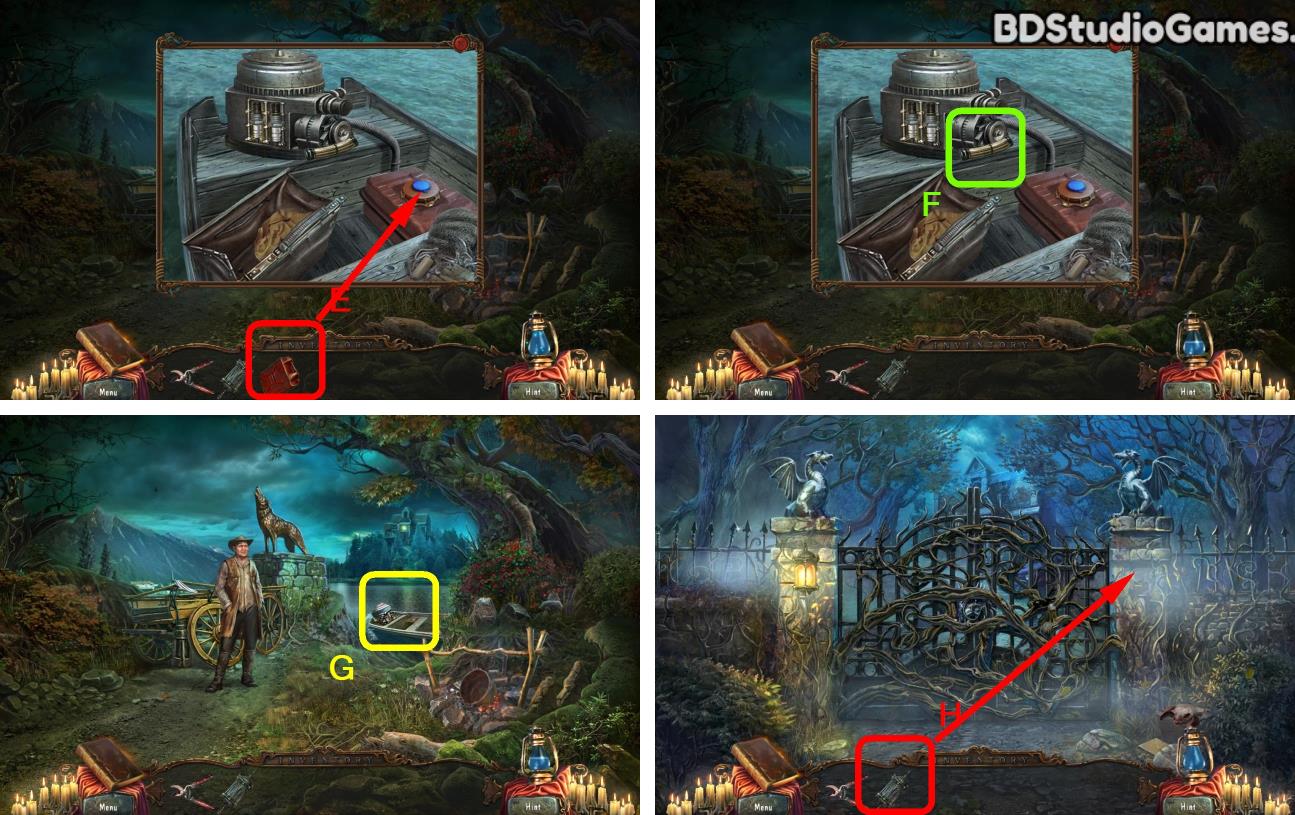
Use object on here. (E)
Click Here. (F)
Go Here. (G)
Use object on here. (H)
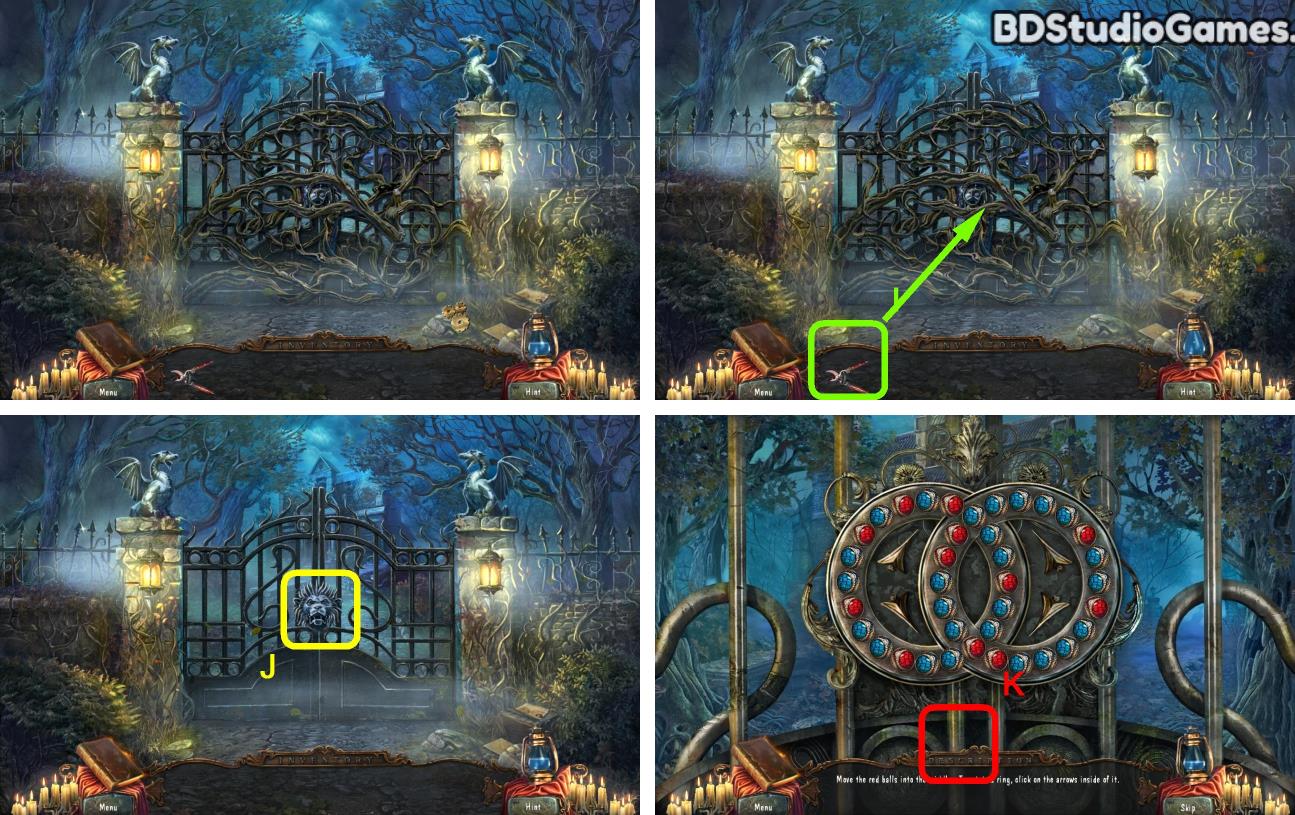
Use object on here. (I)
Examine here. (J)
Solve the puzzle. (K)
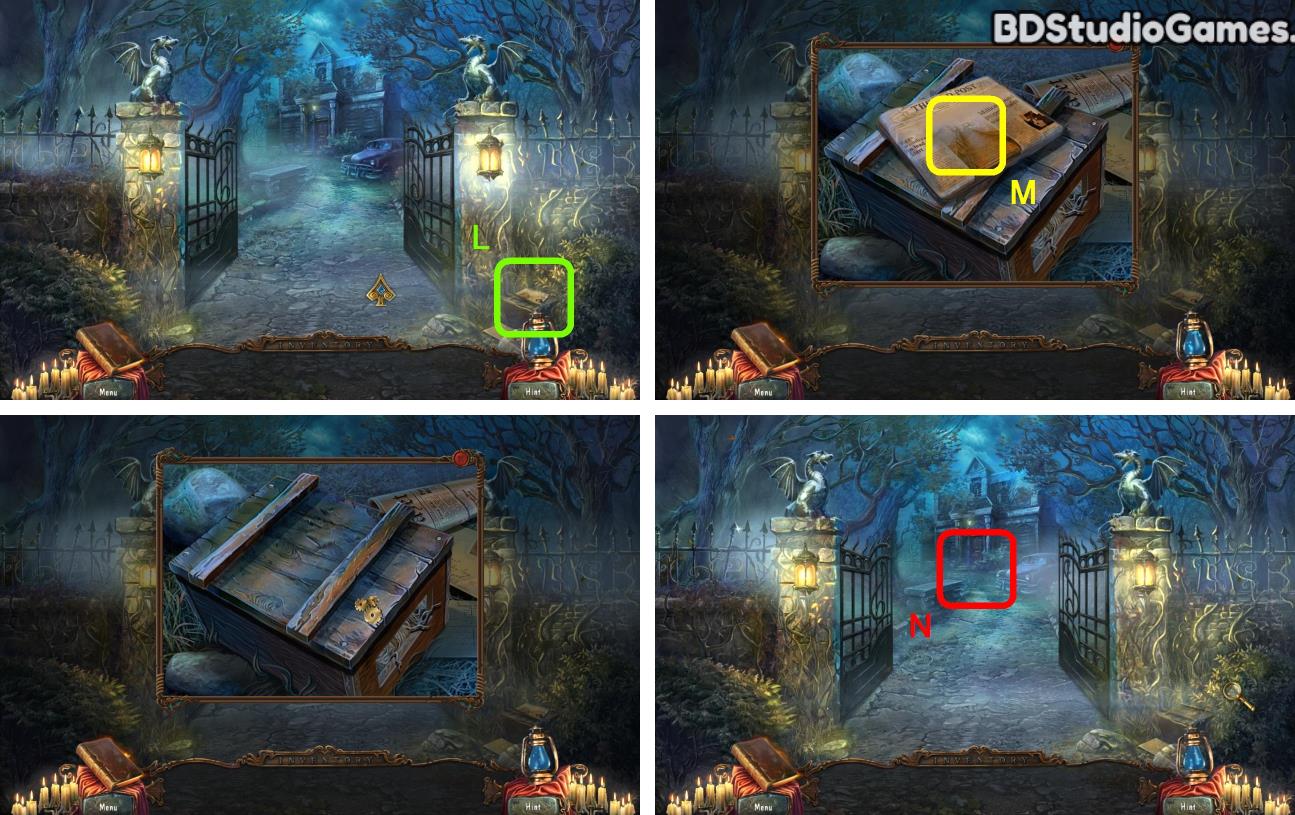
Examine here. (L)
Click Here. (M)
Go Here. (N)
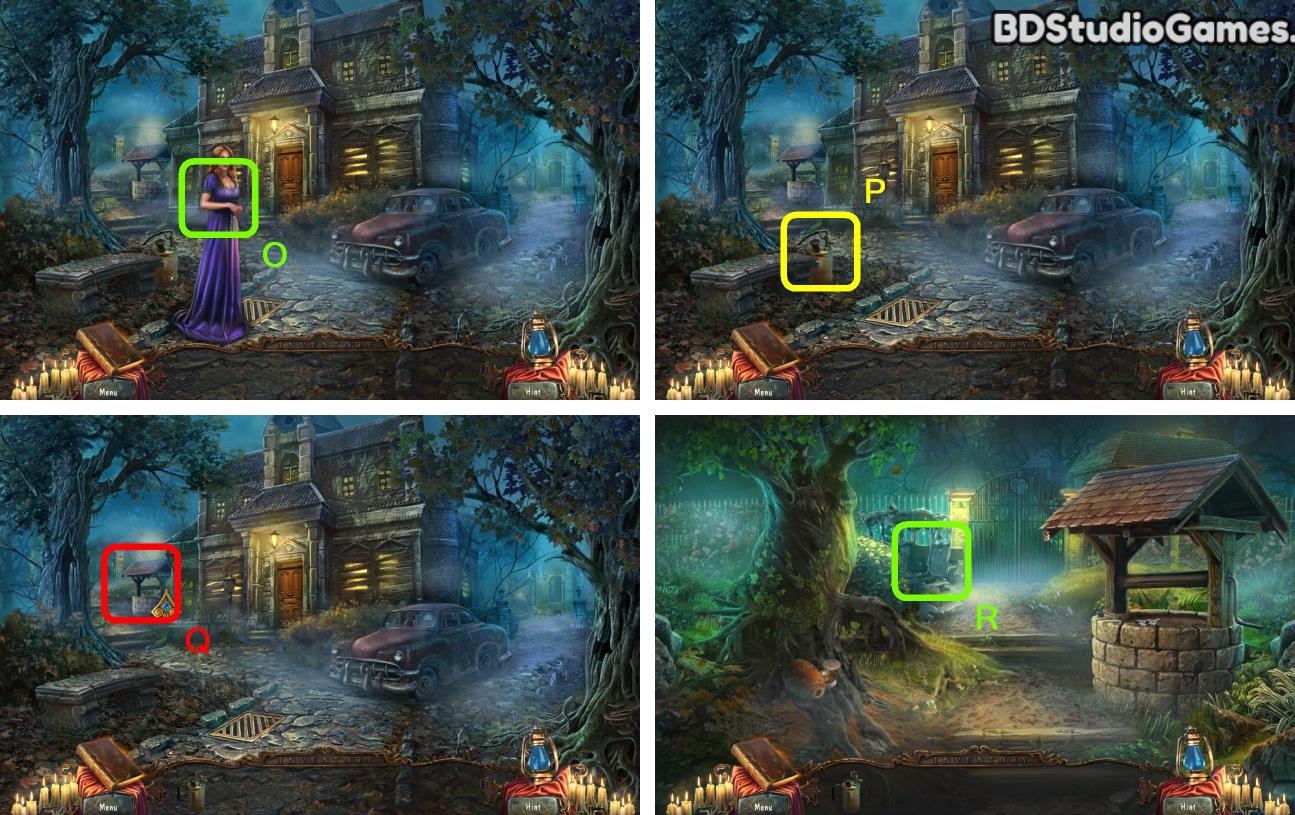
Click Here. (O)
Take it. (P)
Go Here. (Q)
Go Here. (R)
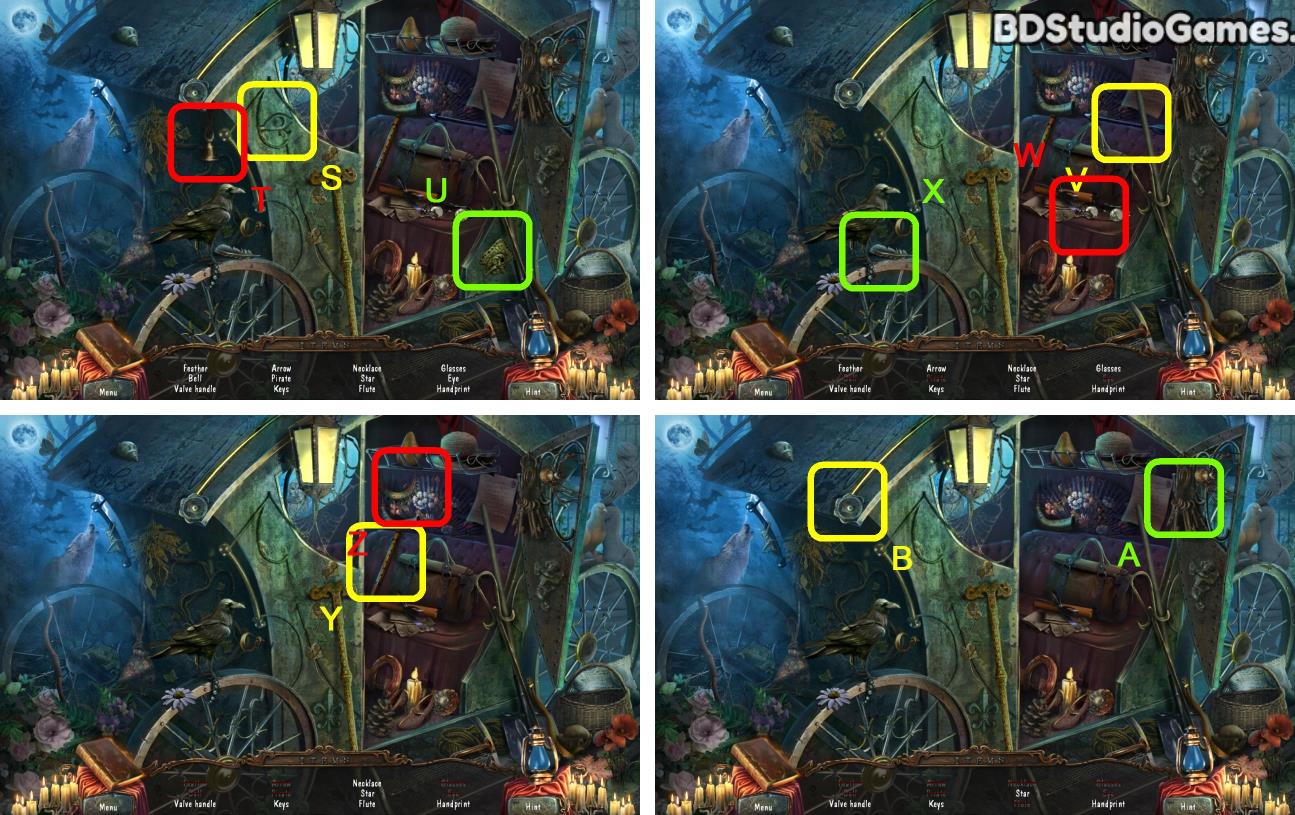
Click Here. (S)
Click Here. (T)
Click Here. (U)
Click Here. (V)
Click Here. (W)
Click Here. (X)
Click Here. (Y)
Click Here. (Z)
Click Here. (A)
Click Here. (B)
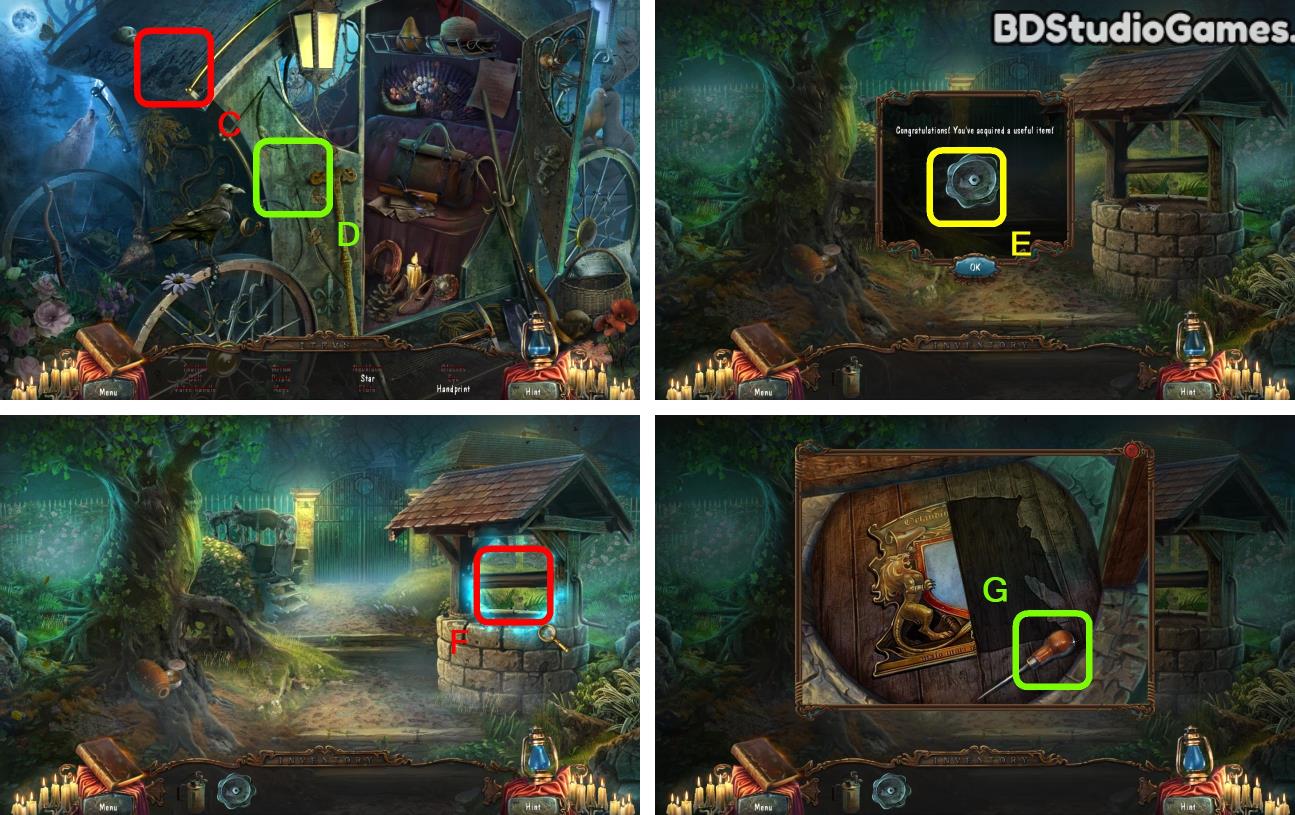
Click Here. (C)
Click Here. (D)
Take it. (E)
Examine here. (F)
Take it. (G)
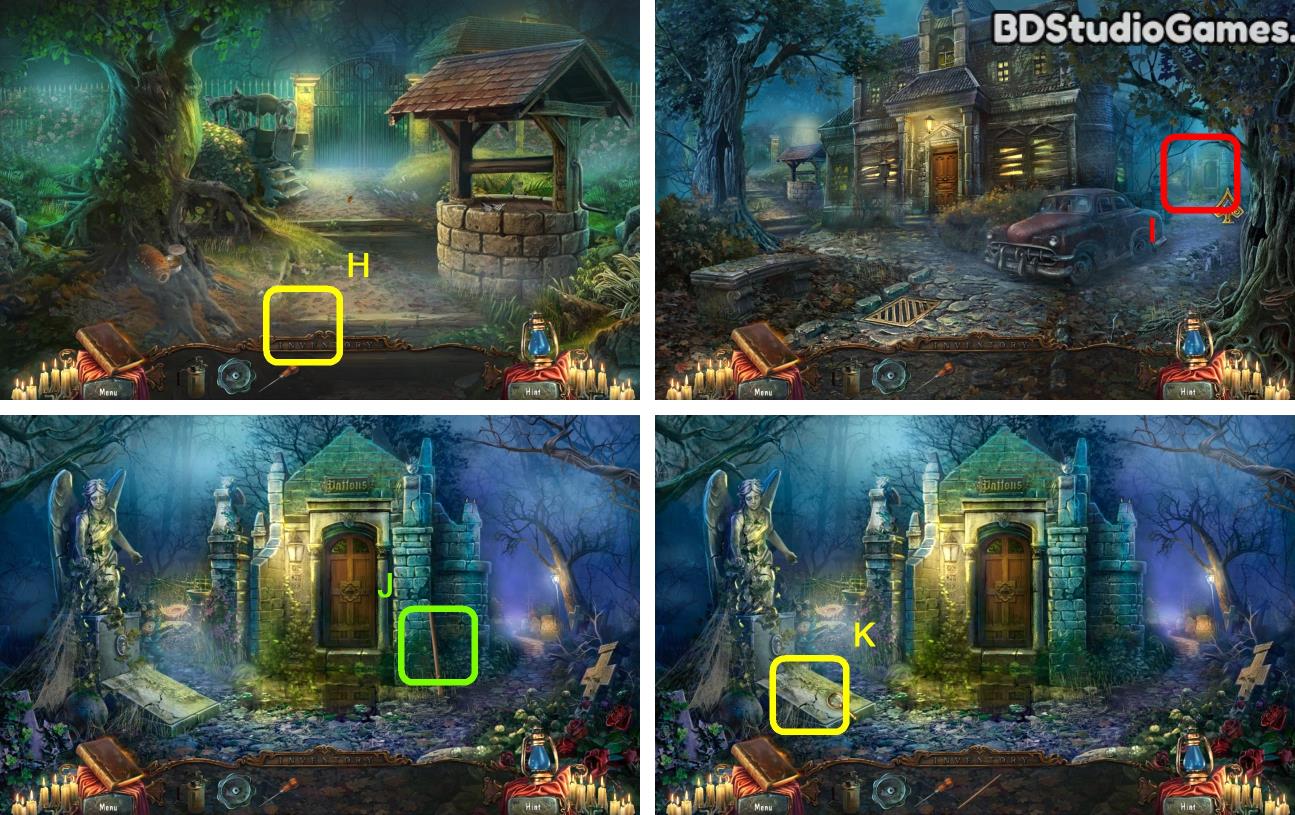
Go Here. (H)
Go Here. (I)
Take it. (J)
Examine here. (K)
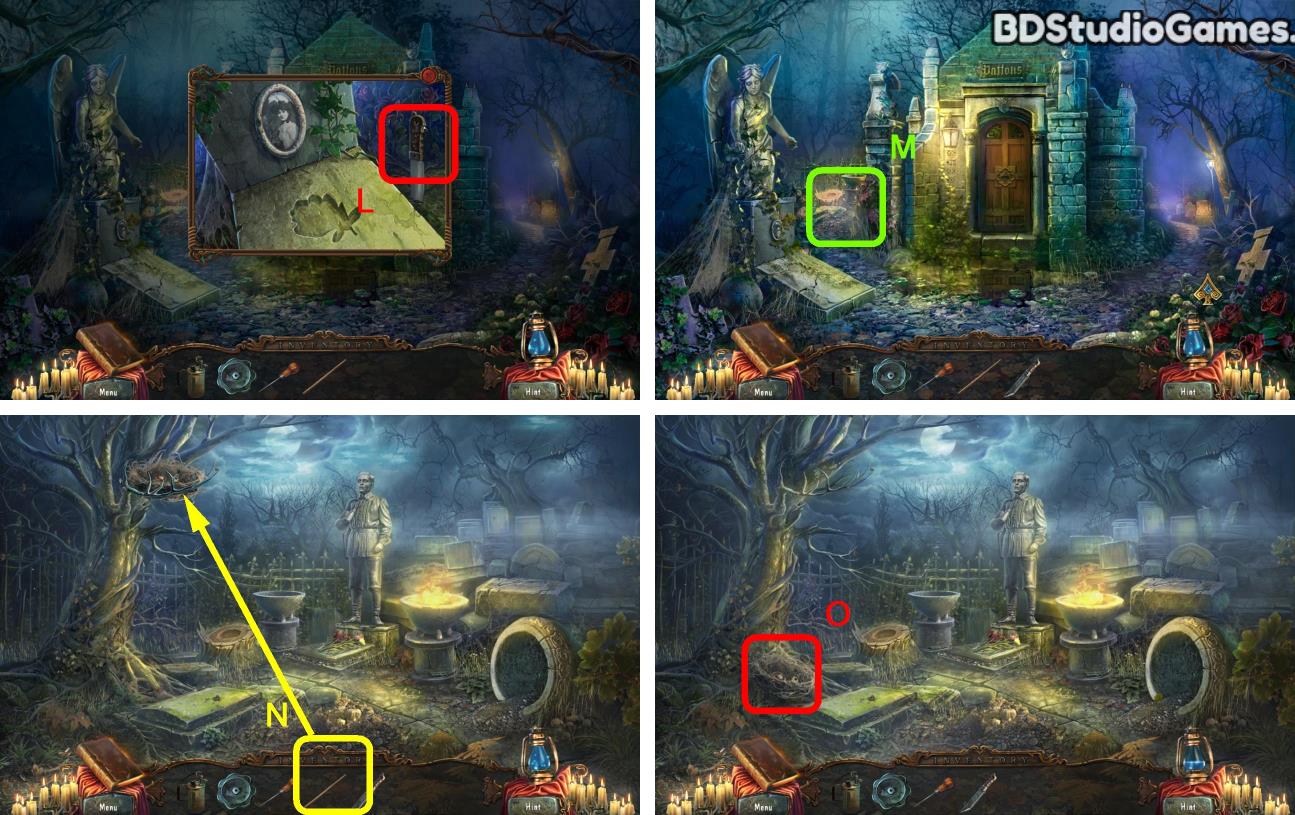
Take it. (L)
Go Here. (M)
Use object on here. (N)
Examine here. (O)
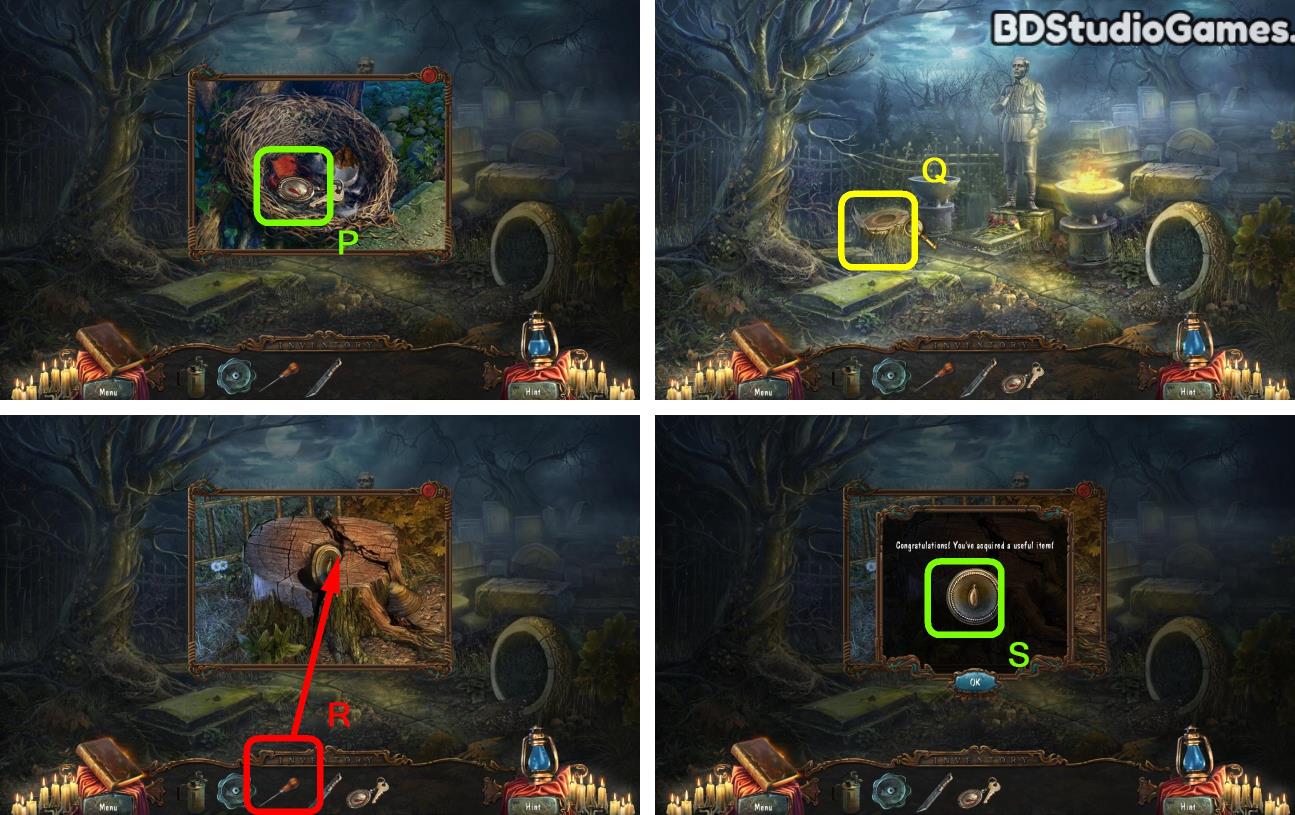
Take it. (P)
Examine here. (Q)
Use object on here. (R)
Take it. (S)
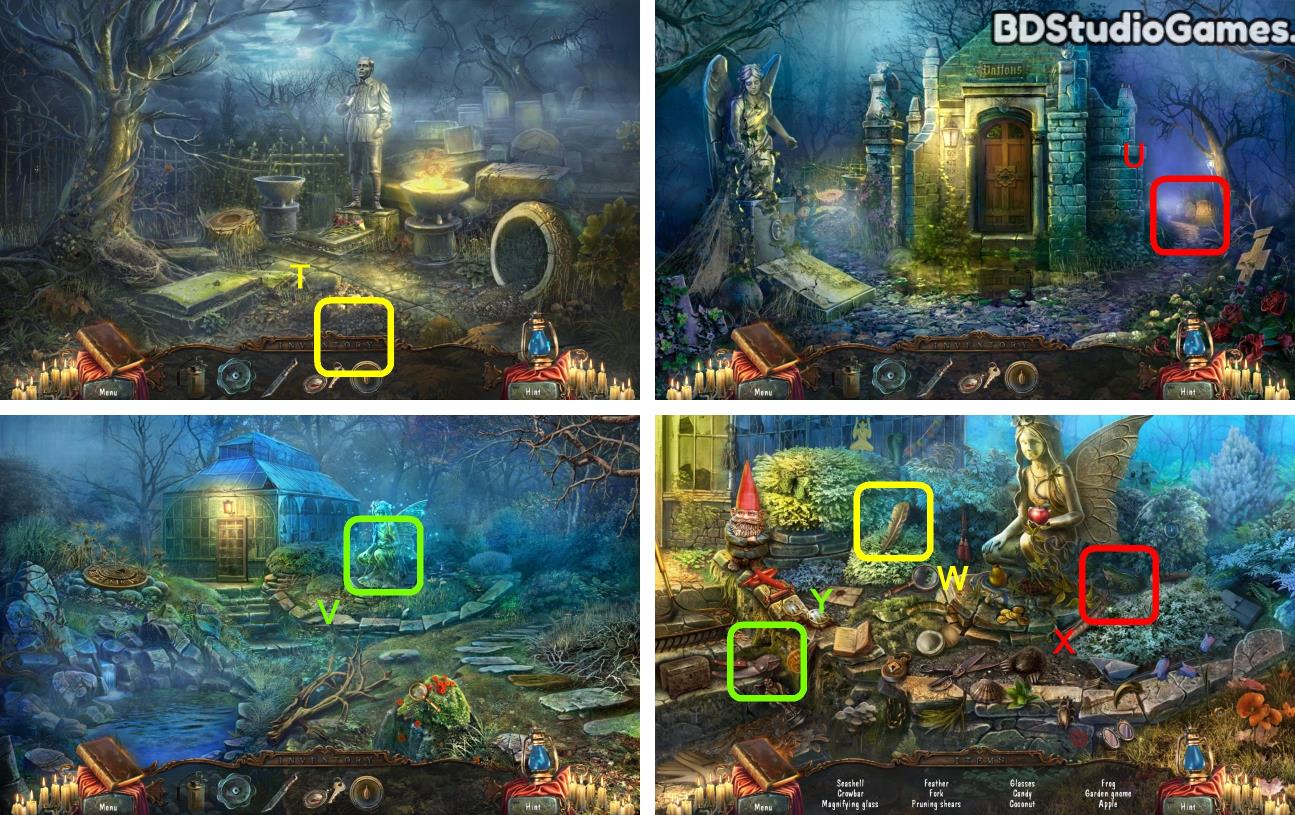
Go Here. (T)
Go Here. (U)
Go Here. (V)
Click Here. (W)
Click Here. (X)
Click Here. (Y)
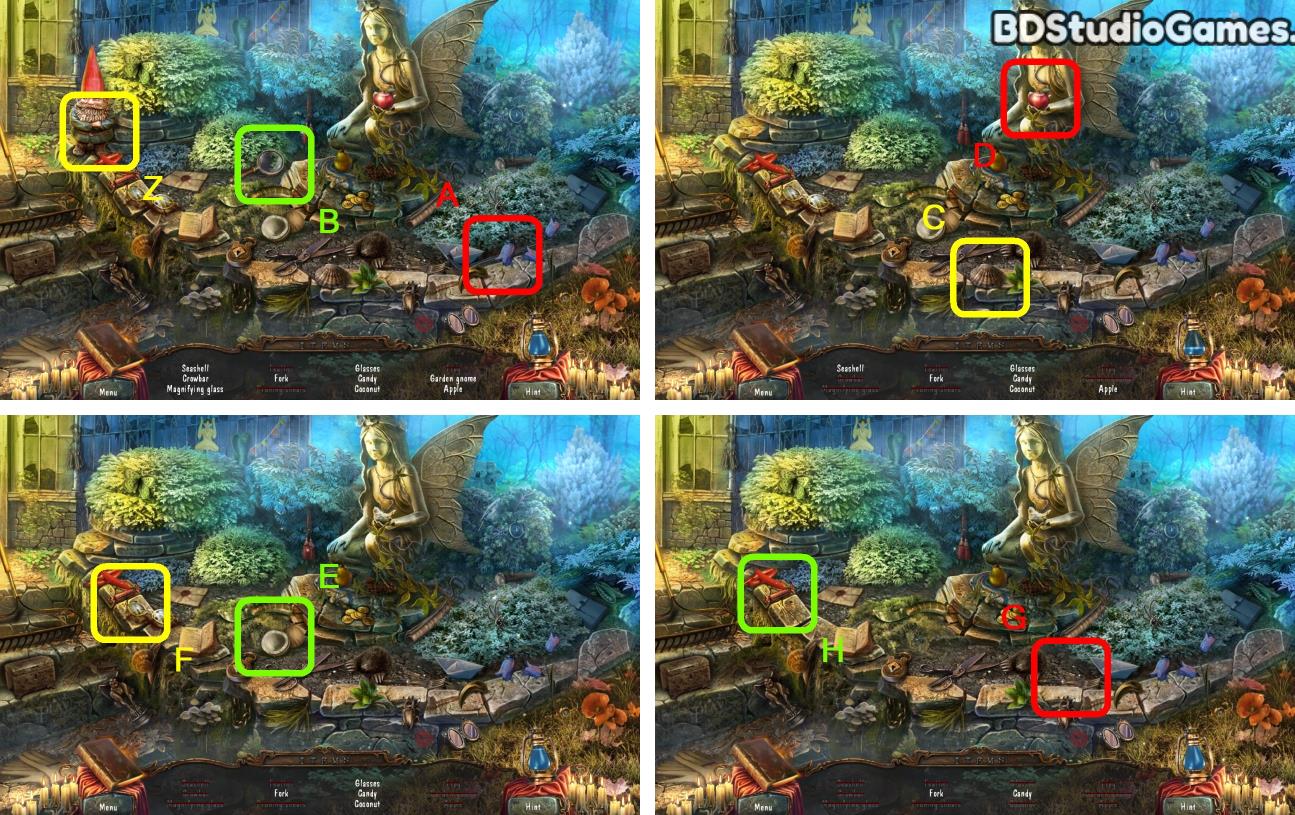
Click Here. (Z)
Click Here. (A)
Click Here. (B)
Click Here. (C)
Click Here. (D)
Click Here. (E)
Click Here. (F)
Click Here. (G)
Click Here. (H)
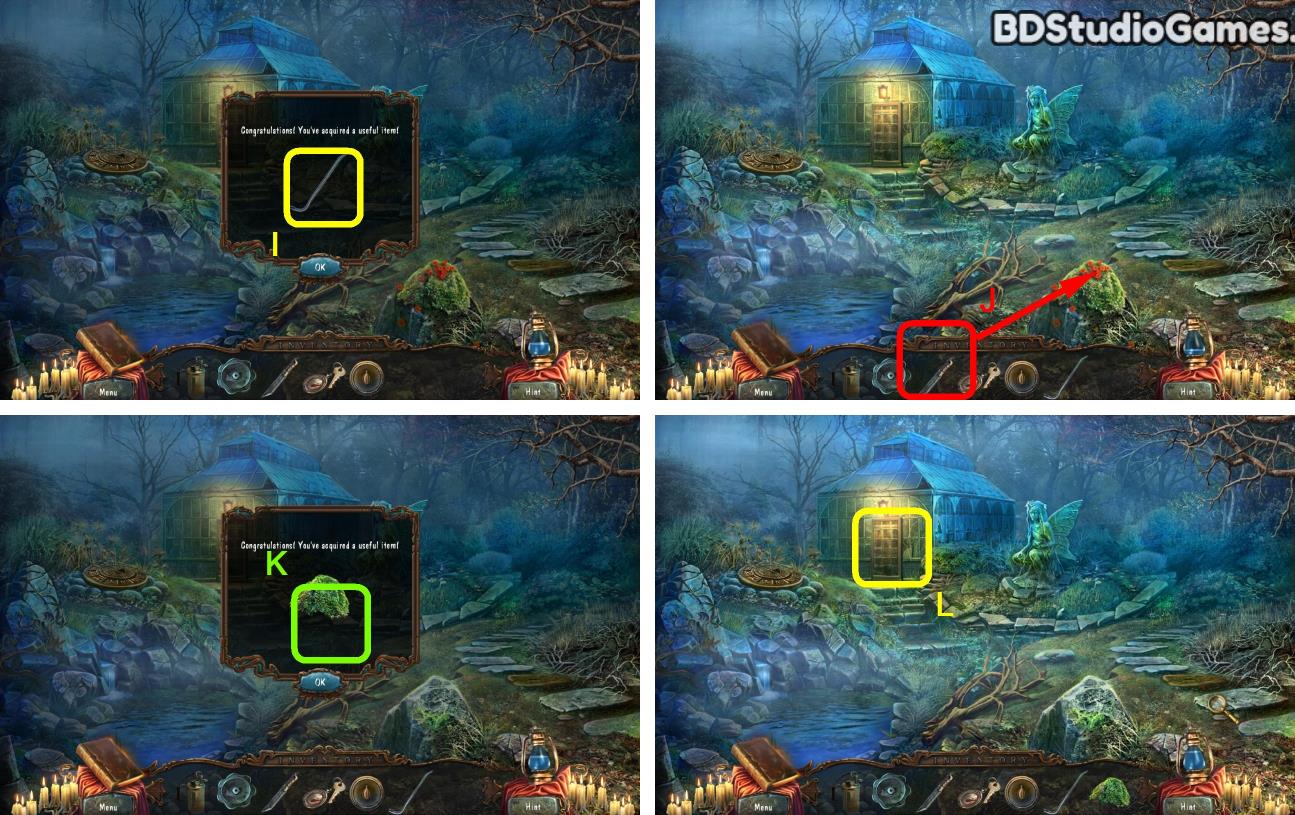
Take it. (I)
Use object on here. (J)
Take it. (K)
Examine here. (L)
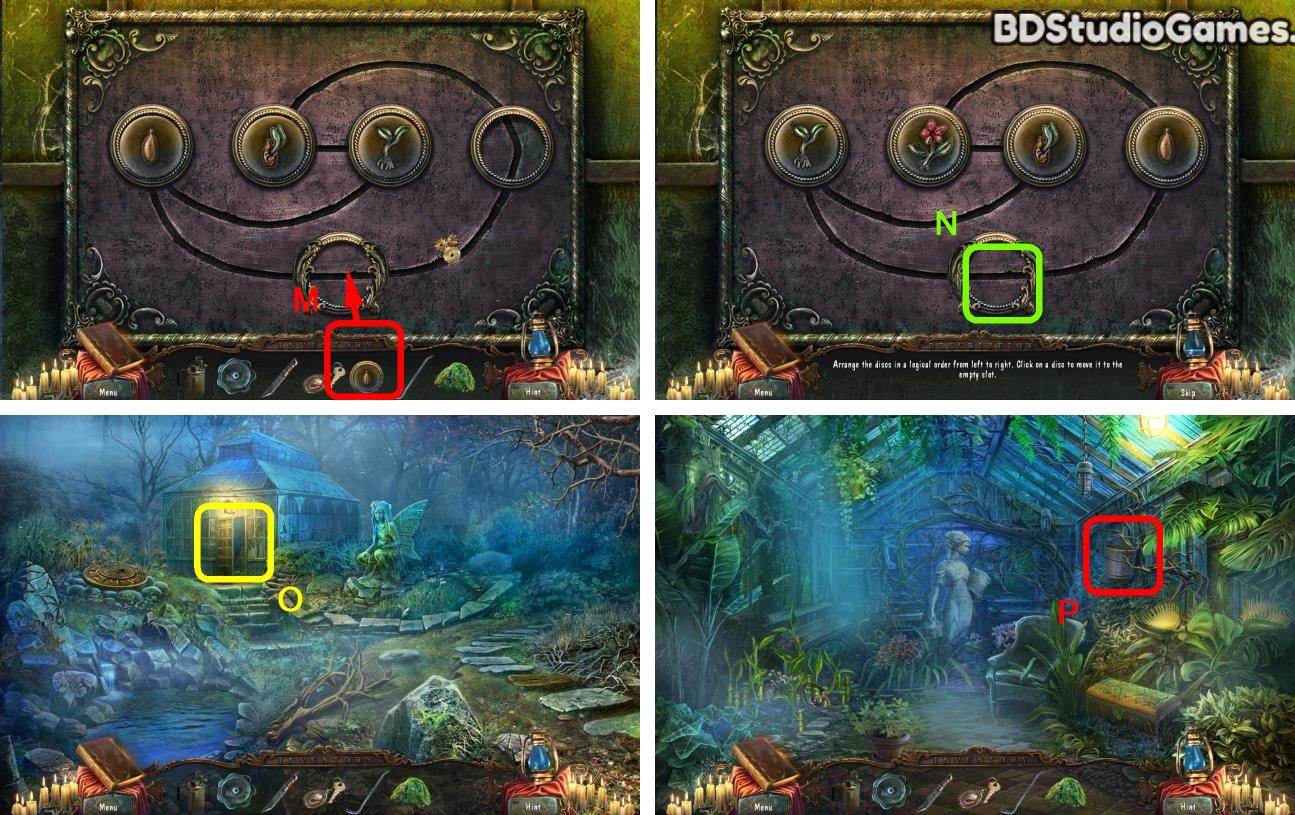
Use object on here. (M)
Solve the puzzle. (N)
Go Here. (O)
Take it. (P)
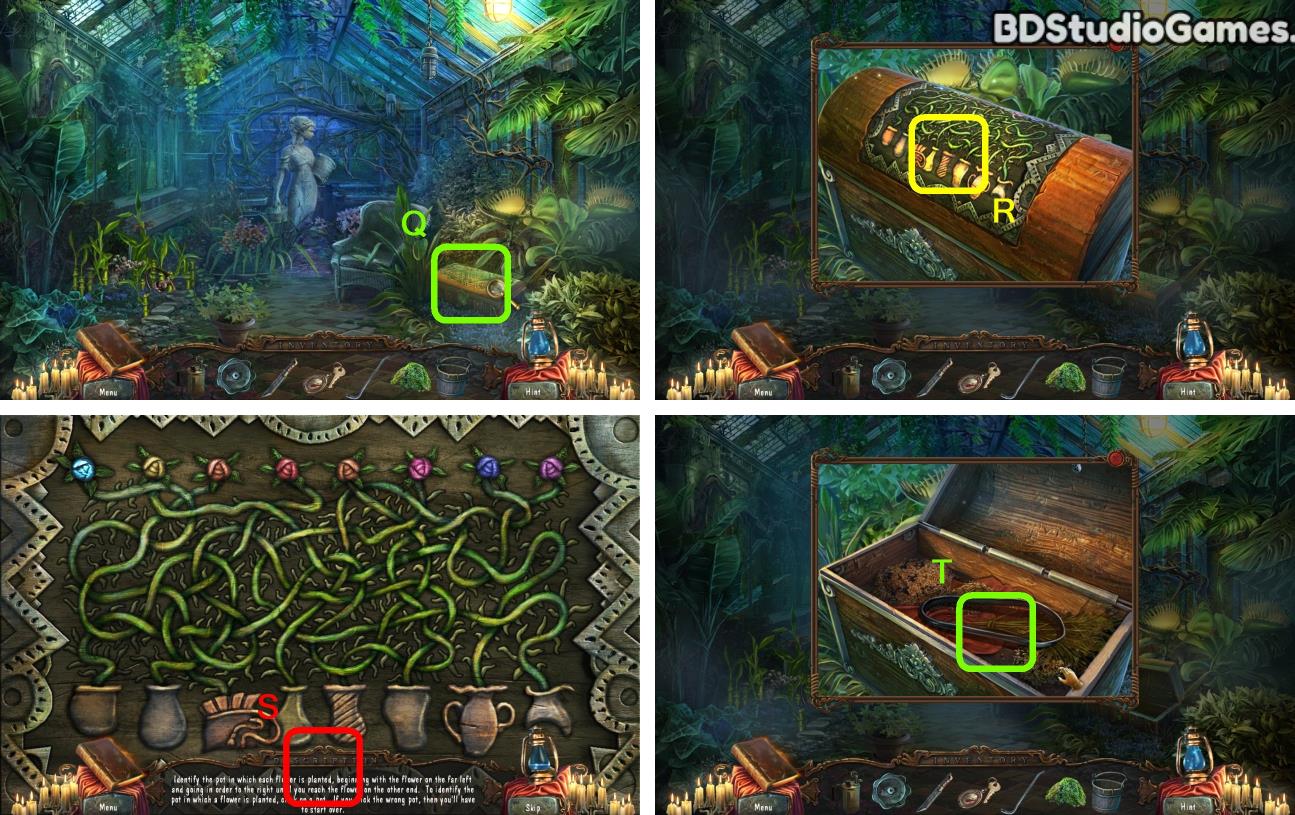
Examine here. (Q)
Click Here. (R)
Solve the puzzle. (S)
Take it. (T)
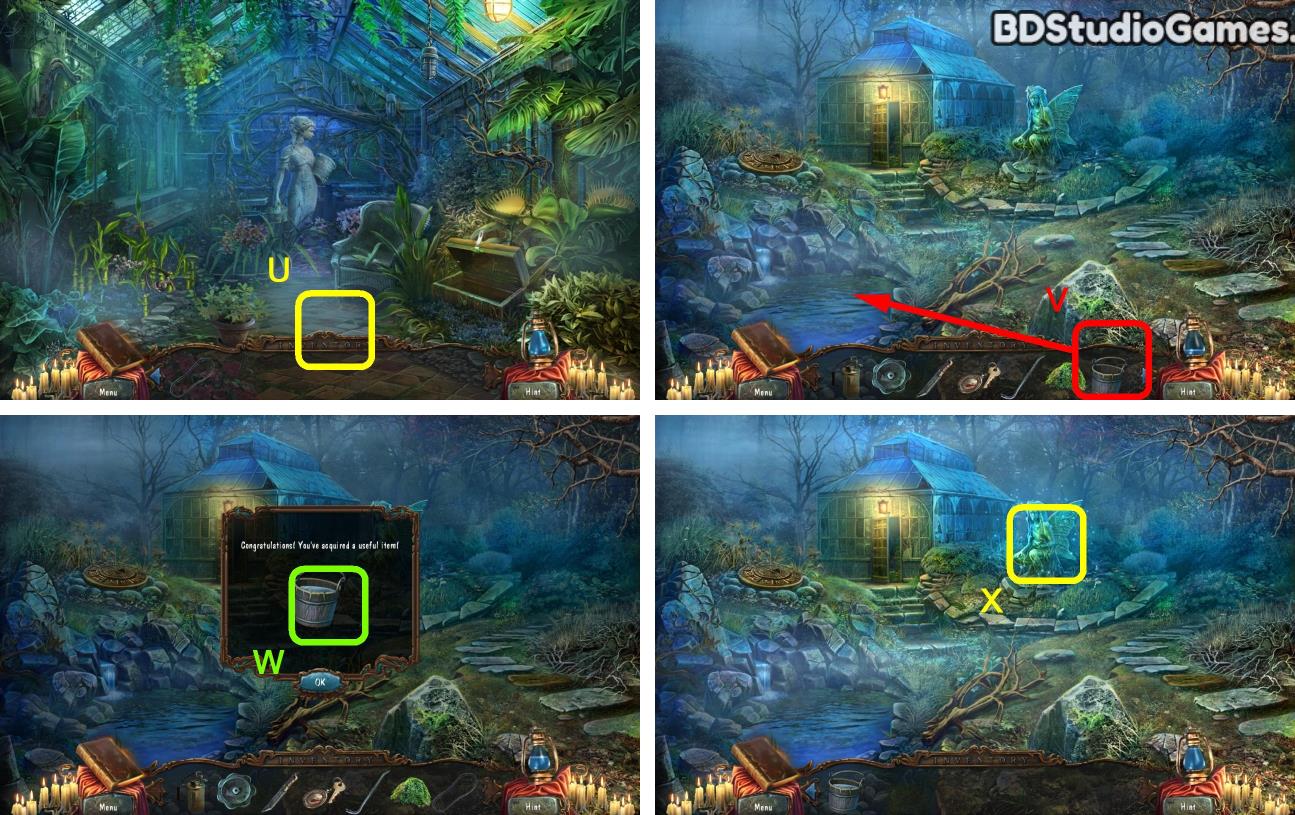
Go Here. (U)
Use object on here. (V)
Take it. (W)
Go Here. (X)



 REFRESH