New Releases |
Hidden Object Games |
Match 3 Games |
Time Management Games |
Strategy Games |
Puzzle Games |
Card Games |
Action Games |
Word Games
Surface: Reel Life Walkthrough 10

Surface: Reel Life Walkthrough 10
* OS: Windows 7 / Vista / XP
* CPU: Pentium 3 1.0 GHz or Higher
* OS: Windows 7 / Vista / XP
* CPU: Pentium 3 1.0 GHz or Higher

Surface: Reel Life Walkthrough 10
* OS: Windows 7 / Vista / XP
* CPU: Pentium 3 1.0 GHz or Higher
* OS: Windows 7 / Vista / XP
* CPU: Pentium 3 1.0 GHz or Higher
Surface: Reel Life Walkthrough 10 Screenshots, Videos:


Follow our crystal clear walkthrough and helpful tricks to get you through the rough spots! Click the button to download full walkthrough.
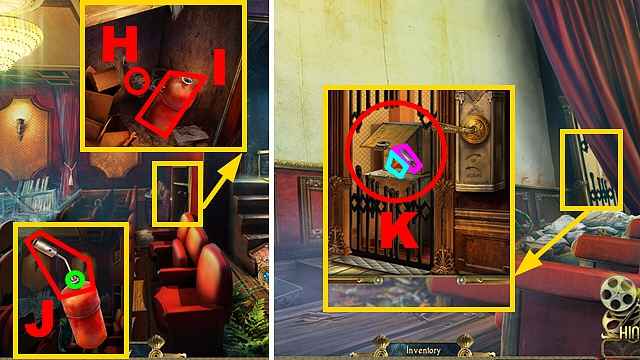
Use the NIPPERS (H); take the GAS (I).
Examine the GAS; place the TORCH TIP (J) and TORCH VALVE (green).
Turn the valve; take the BLOWTORCH.
Turn left.
Use the BLOWTORCH (K).
Open the box; take the PROJECTOR BULB (purple) and DESK-SET KEY (blue).
Walk down, turn right.
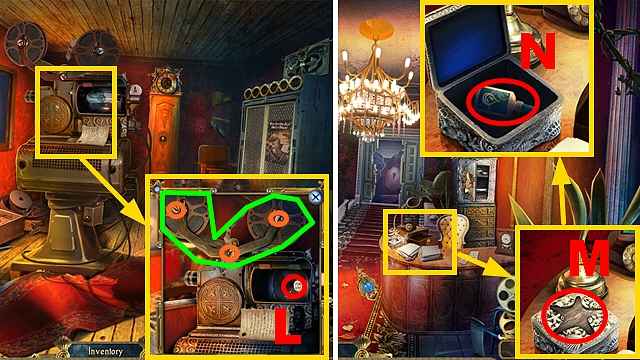
Place the PROJECTOR BULB (L).
Use the SCREWDRIVER (orange); take the TORN FILM (green).
Walk down twice.
Place the DESK-SET KEY (M); open the box. Take the GLUE (N).
Move forward, turn right.
Examine the TORN FILM.
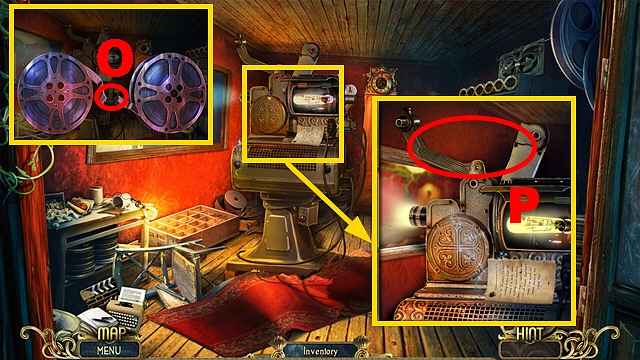
Use the GLUE (O); take the FILM.
Place the FILM (P).
Walk down, turn left, and move forward.


 REFRESH