New Releases |
Hidden Object Games |
Match 3 Games |
Time Management Games |
Strategy Games |
Puzzle Games |
Card Games |
Action Games |
Word Games
Witchcraft: The Lotus Elixir Walkthrough, Guides and Tips

Witchcraft: The Lotus Elixir Walkthrough, Guides and Tips
* OS: Windows 7 / Vista / XP
* CPU: Pentium 3 1.0 GHz or Higher
* OS: Windows 7 / Vista / XP
* CPU: Pentium 3 1.0 GHz or Higher

Witchcraft: The Lotus Elixir Walkthrough, Guides and Tips
* OS: Windows 7 / Vista / XP
* CPU: Pentium 3 1.0 GHz or Higher
* OS: Windows 7 / Vista / XP
* CPU: Pentium 3 1.0 GHz or Higher
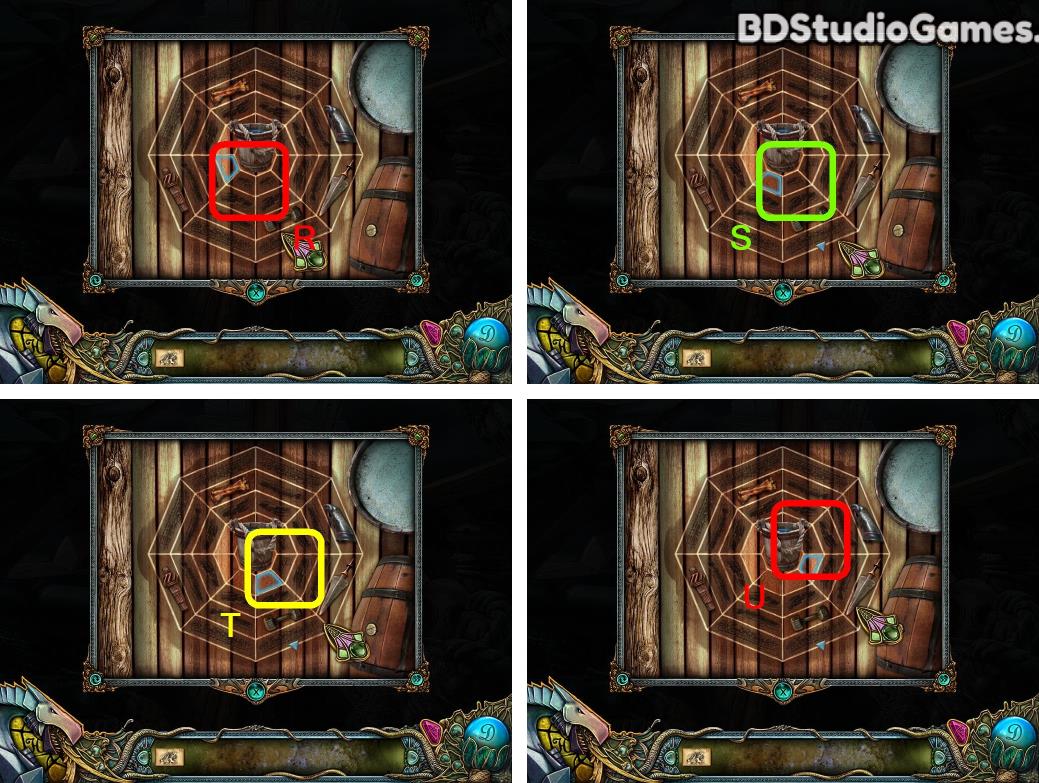
Click Here. (R)
Click Here. (S)
Click Here. (T)
Click Here. (U)
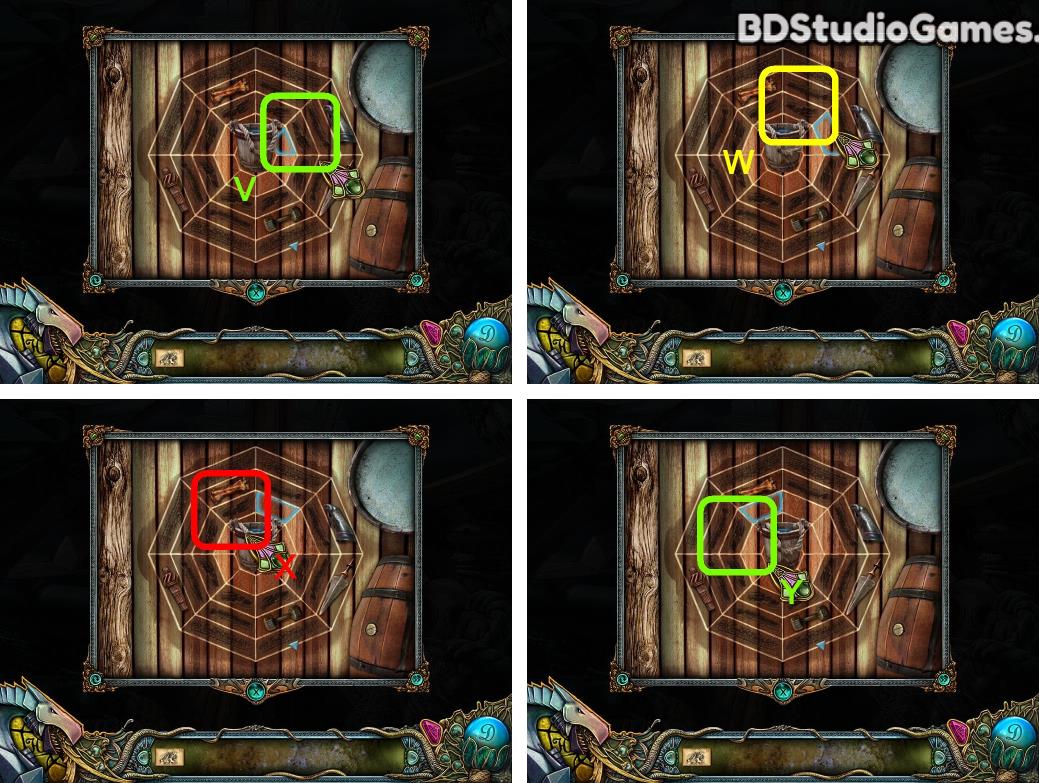
Click Here. (V)
Click Here. (W)
Click Here. (X)
Click Here. (Y)
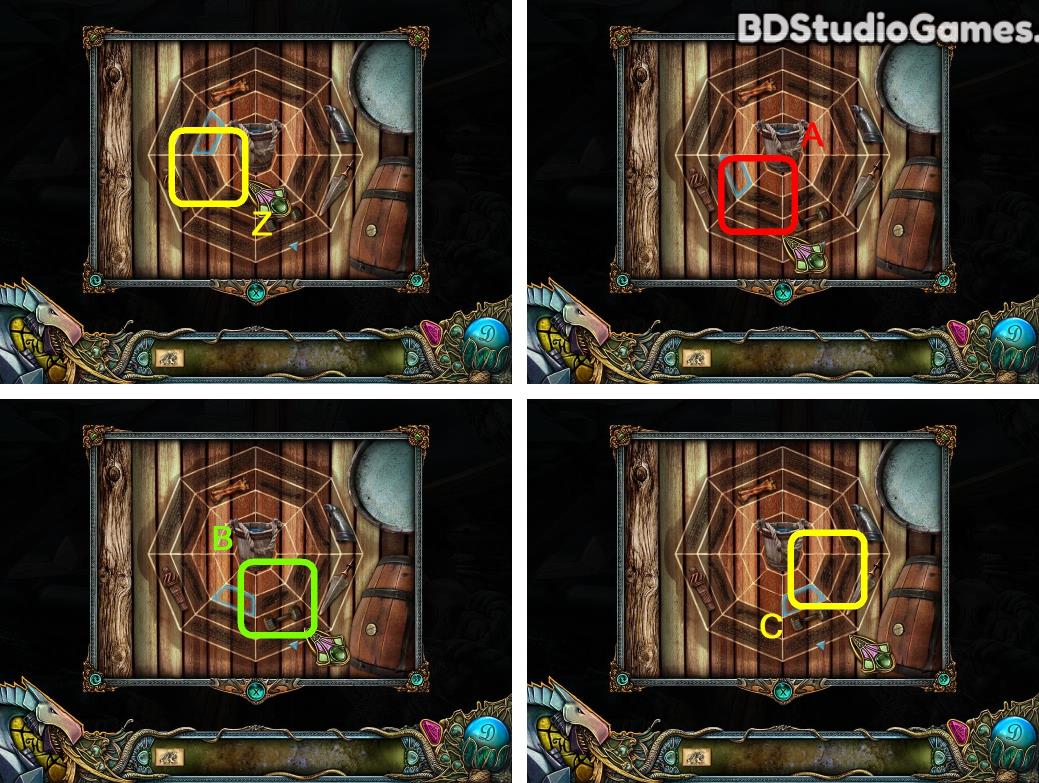
Click Here. (Z)
Click Here. (A)
Click Here. (B)
Click Here. (C)
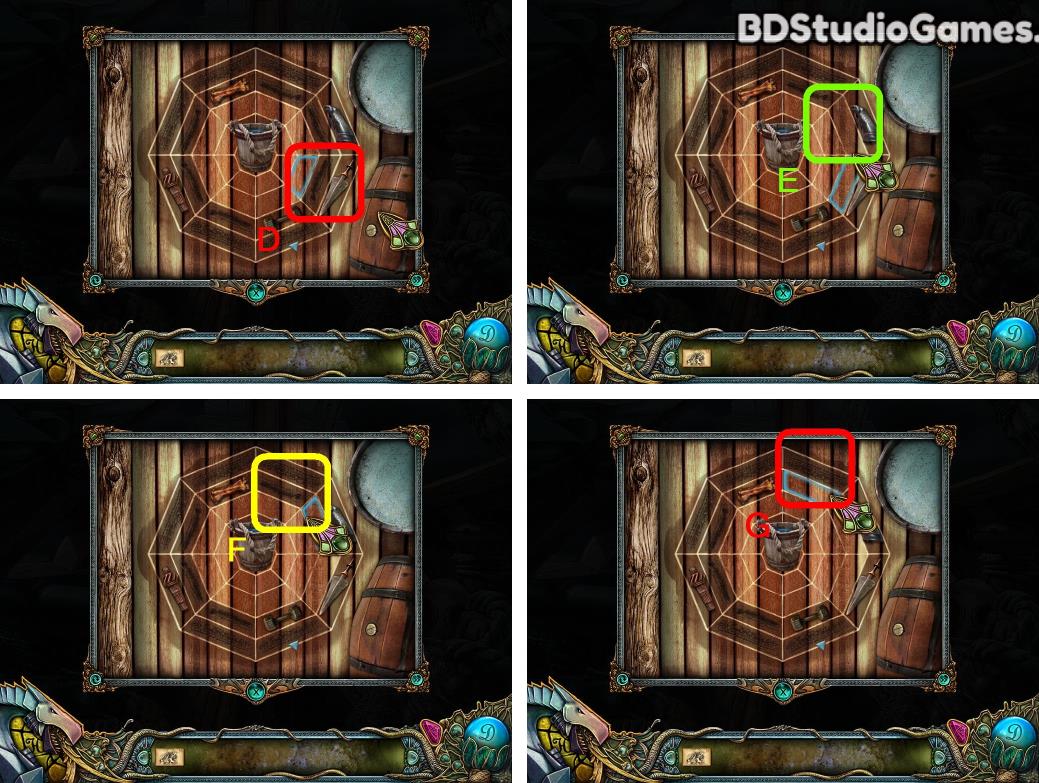
Click Here. (D)
Click Here. (E)
Click Here. (F)
Click Here. (G)
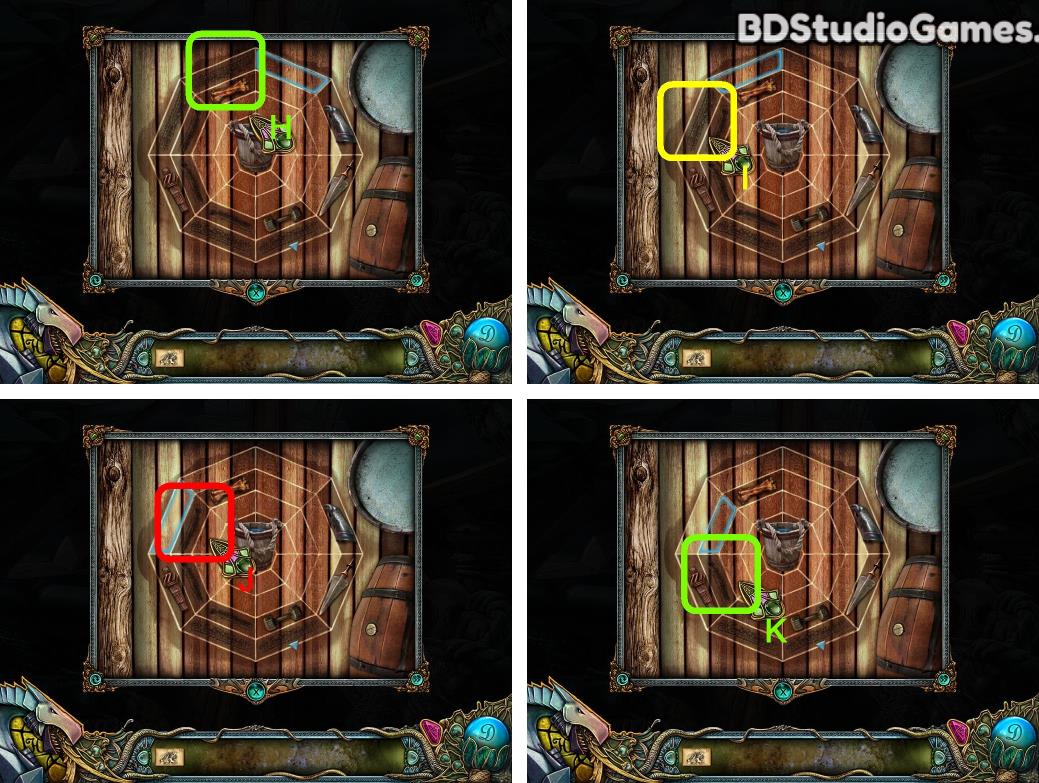
Click Here. (H)
Click Here. (I)
Click Here. (J)
Click Here. (K)
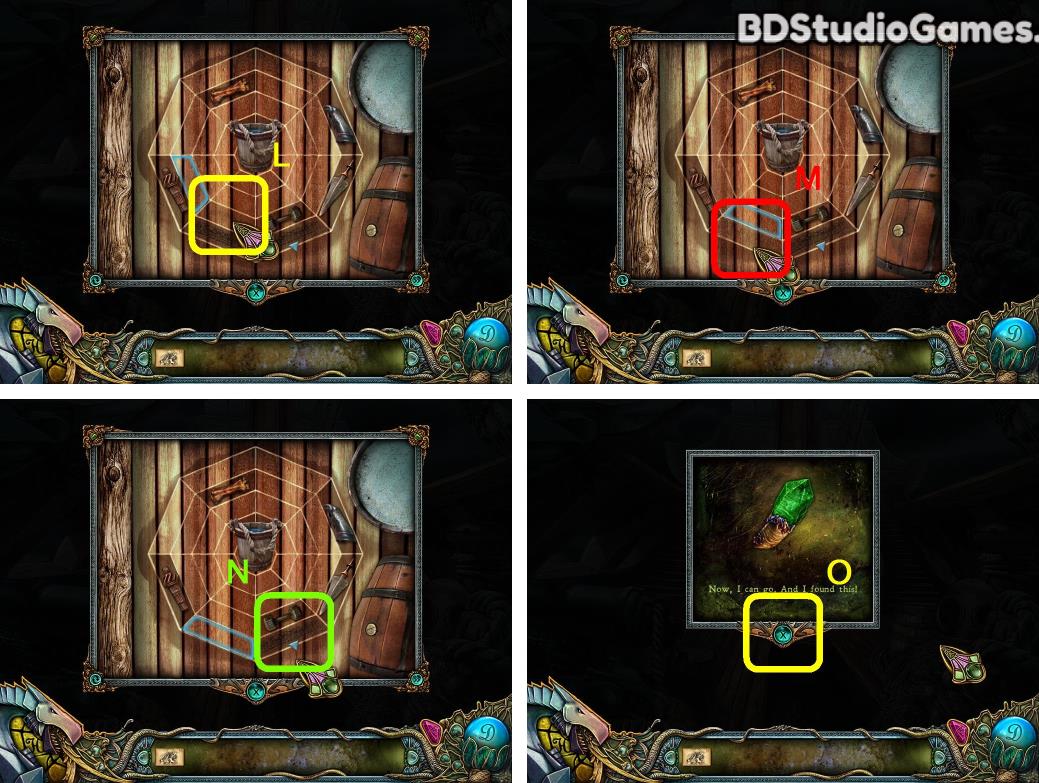
Click Here. (L)
Click Here. (M)
Click Here. (N)
Click Here. (O)
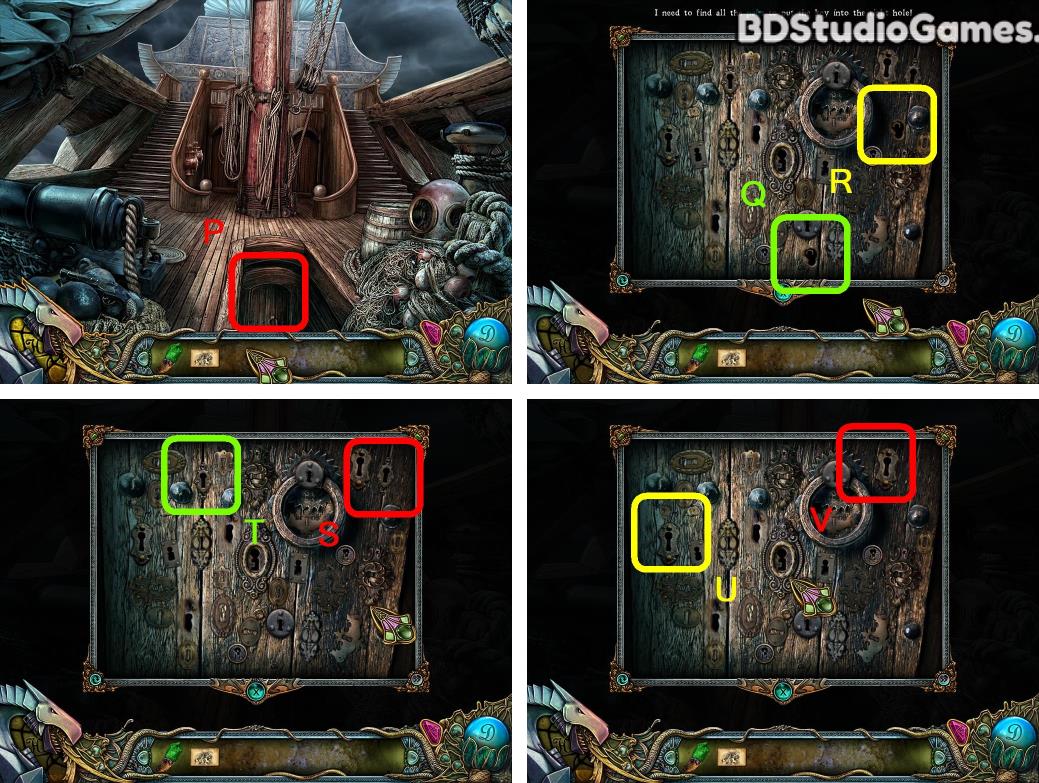
Examine here. (P)
Click Here. (Q)
Click Here. (R)
Click Here. (S)
Click Here. (T)
Click Here. (U)
Click Here. (V)
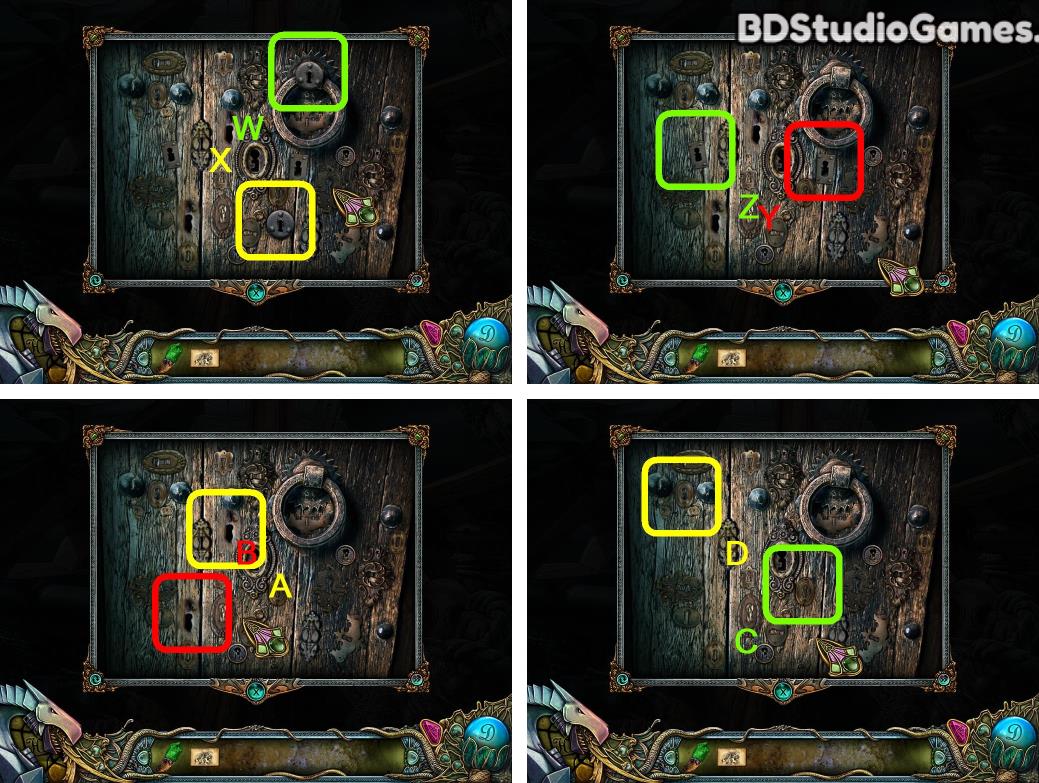
Click Here. (W)
Click Here. (X)
Click Here. (Y)
Click Here. (Z)
Click Here. (A)
Click Here. (B)
Click Here. (C)
Click Here. (D)
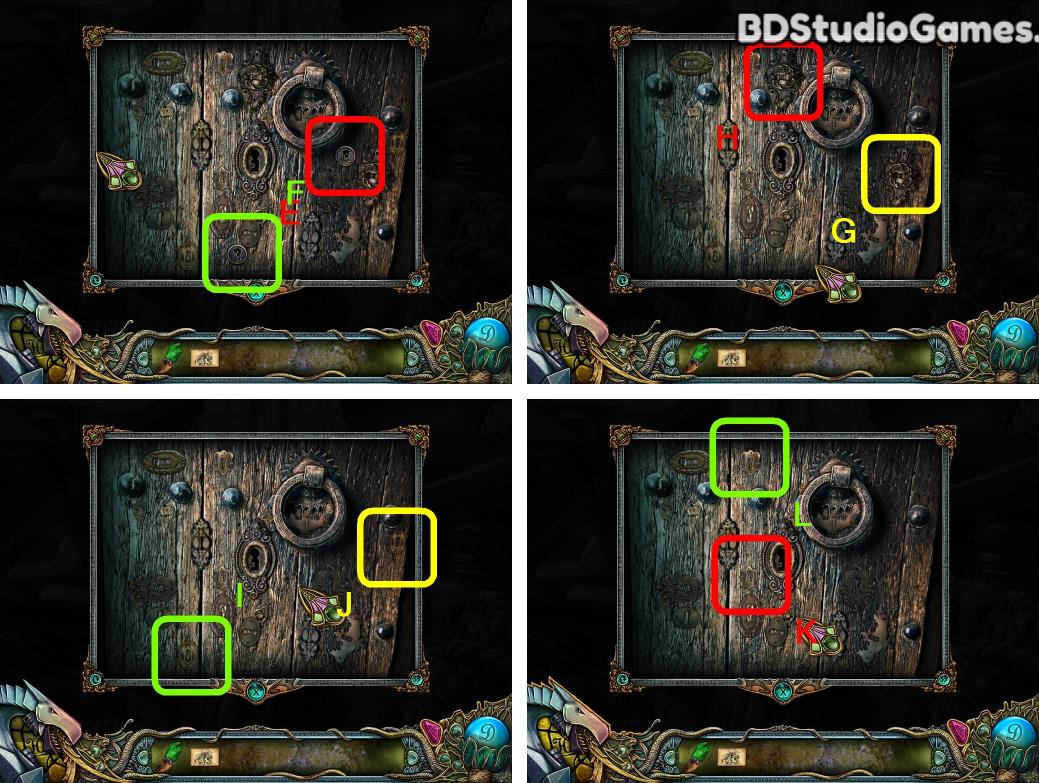
Click Here. (E)
Click Here. (F)
Click Here. (G)
Click Here. (H)
Click Here. (I)
Click Here. (J)
Click Here. (K)
Click Here. (L)
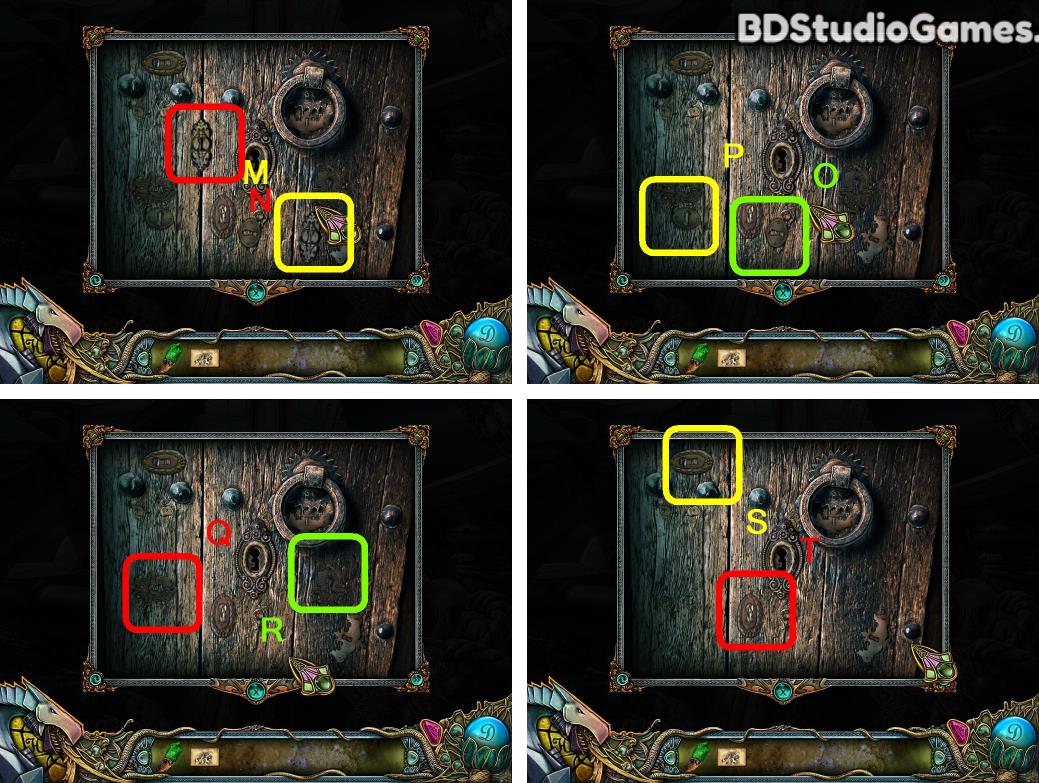
Click Here. (M)
Click Here. (N)
Click Here. (O)
Click Here. (P)
Click Here. (Q)
Click Here. (R)
Click Here. (S)
Click Here. (T)
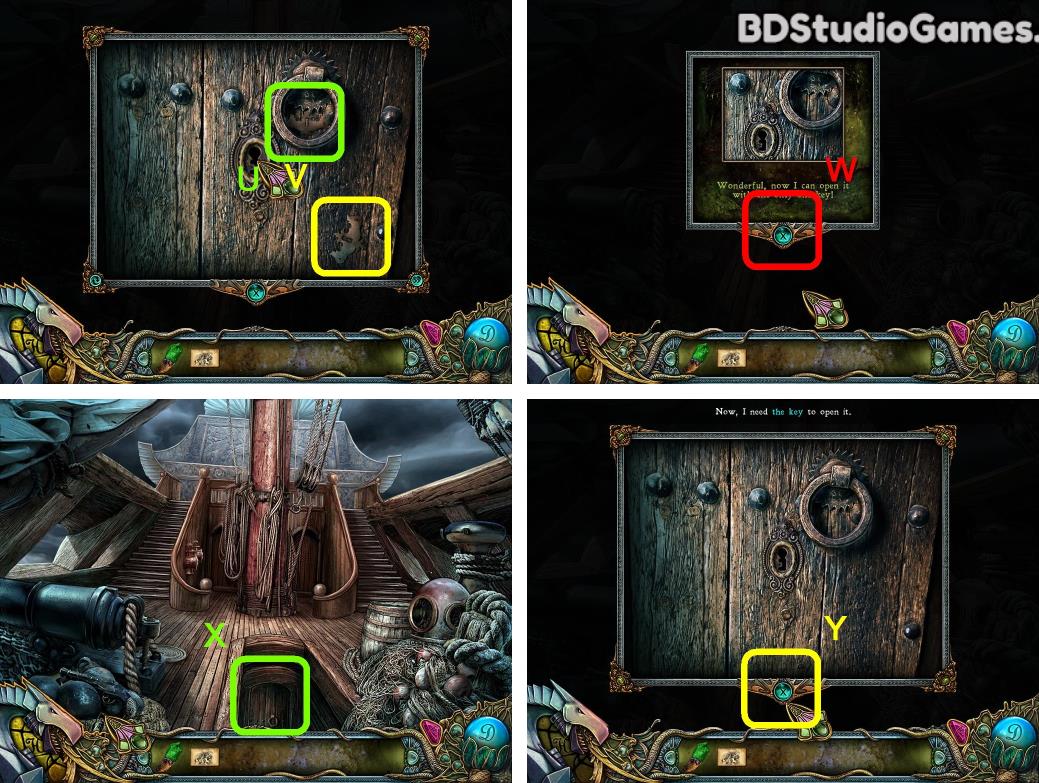
Click Here. (U)
Click Here. (V)
Click Here. (W)
Examine here. (X)
Click Here. (Y)
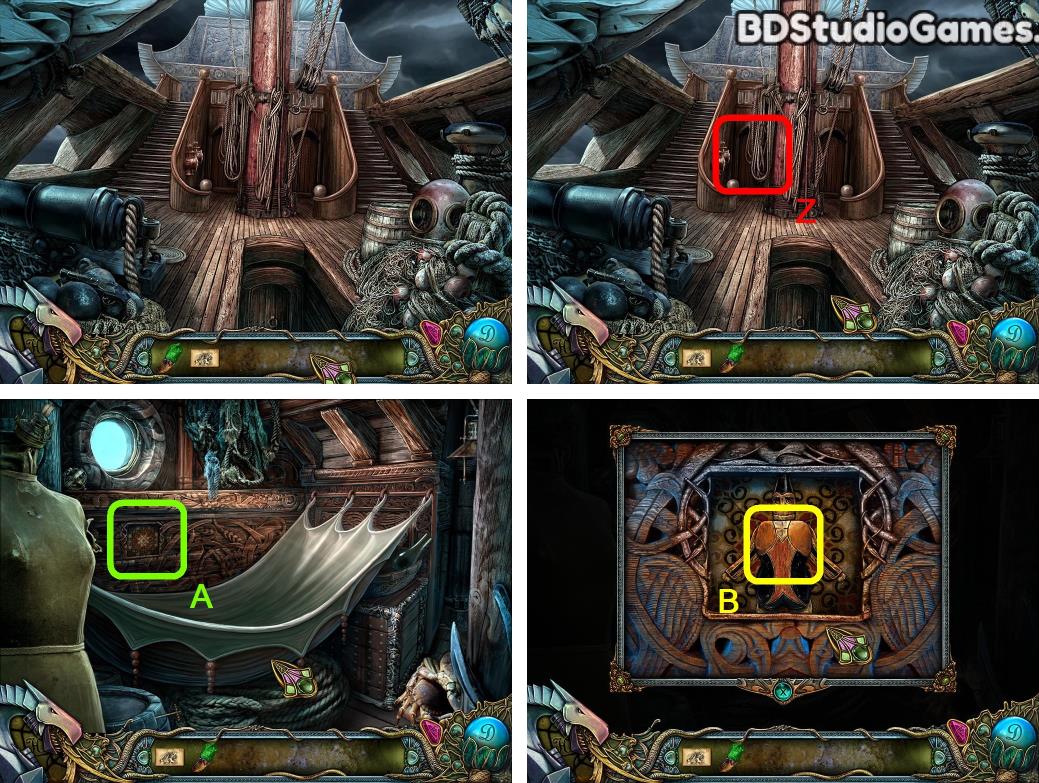
Go Here. (Z)
Examine here. (A)
Click Here. (B)
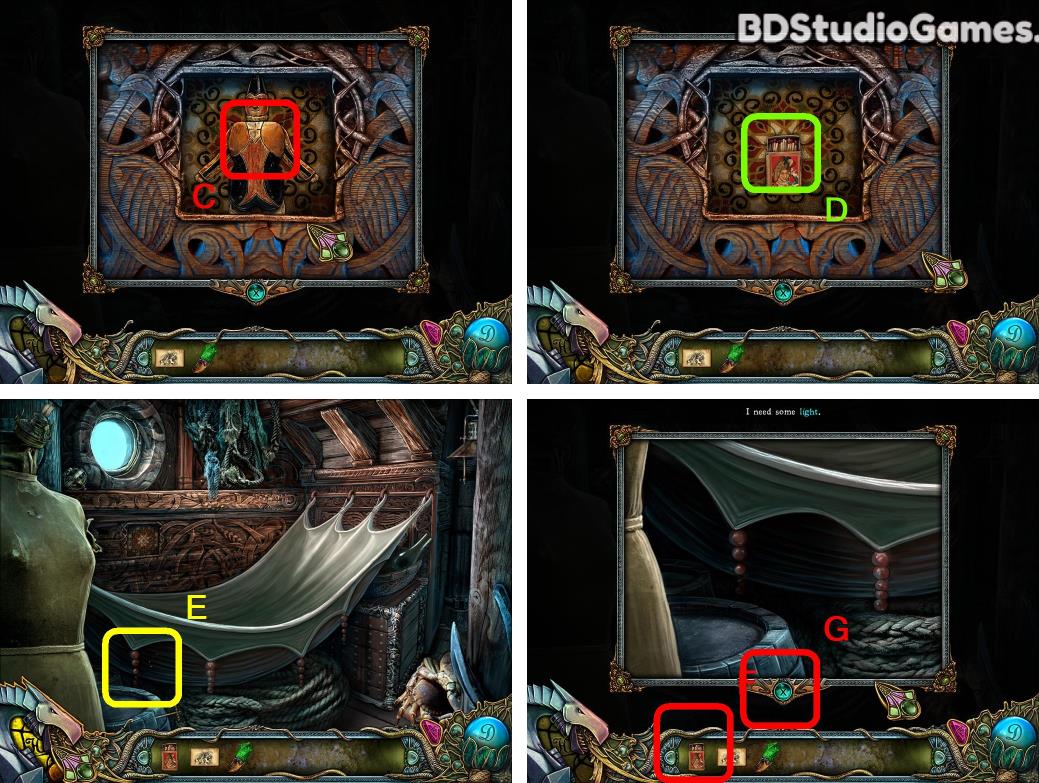
Solve the puzzle. (C)
Take it. (D)
Examine here. (E)
Use object on here. (F)
Click Here. (G)
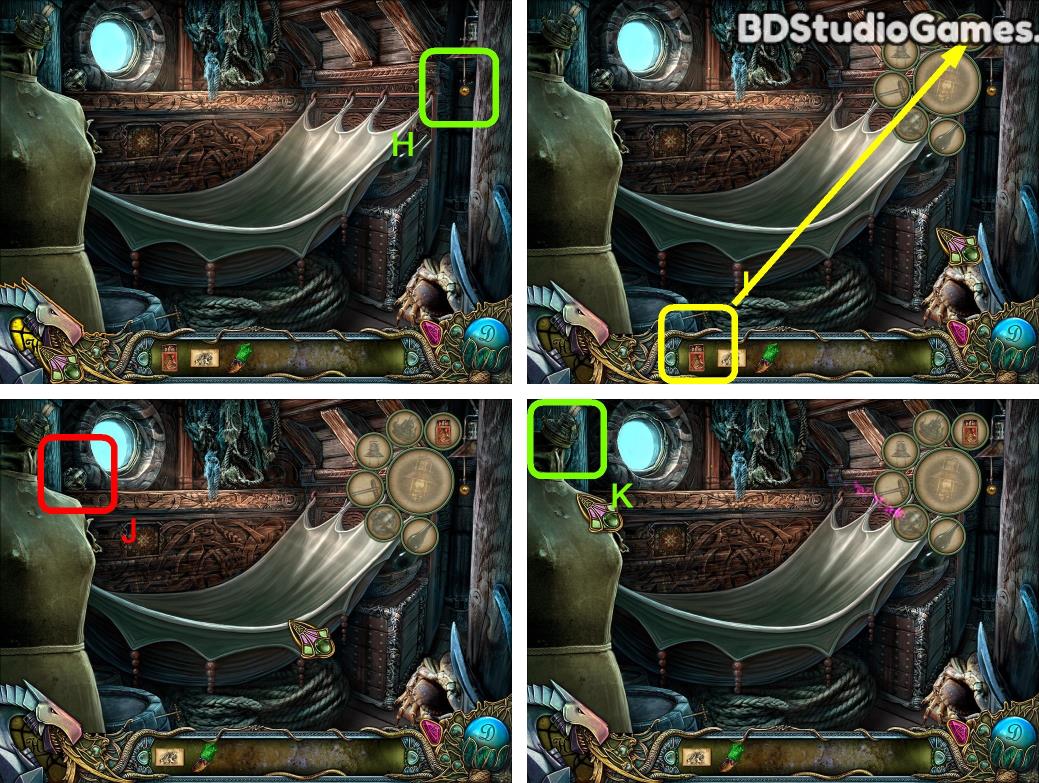
Click Here. (H)
Use object on here. (I)
Take it. (J)
Take it. (K)
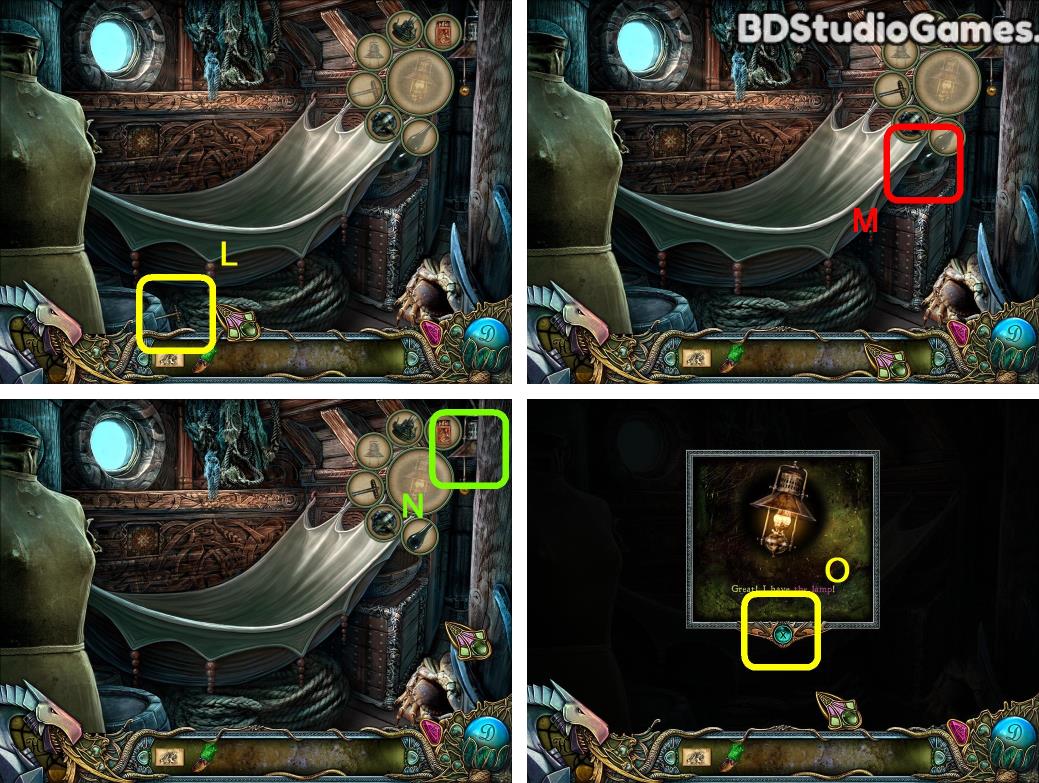
Take it. (L)
Take it. (M)
Take it. (N)
Click Here. (O)
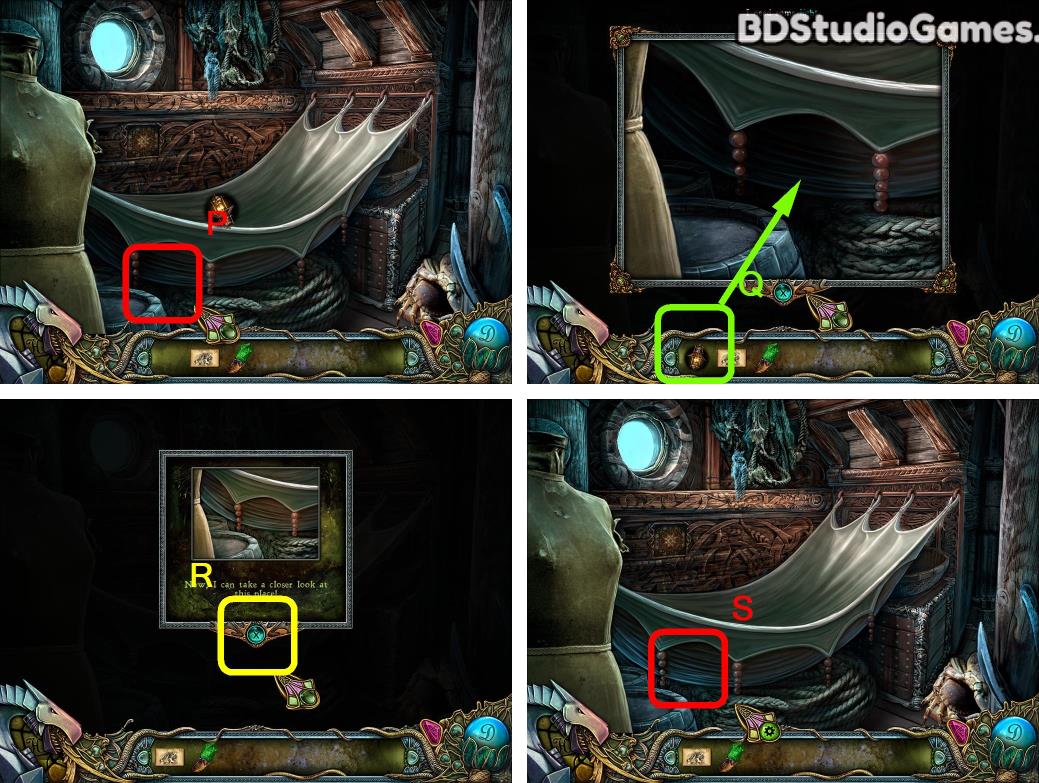
Examine here. (P)
Use object on here. (Q)
Click Here. (R)
Click Here. (S)
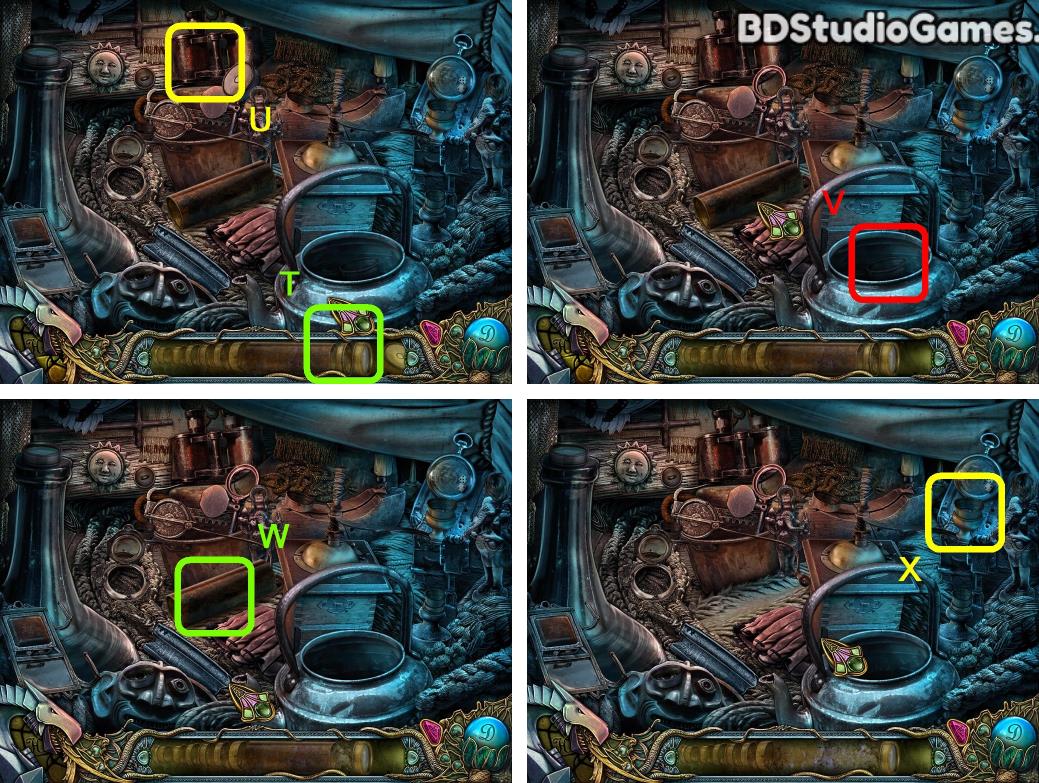
Find all hidden objects. (T)
Take it. (U)
Take it. (V)
Take it. (W)
Take it. (X)
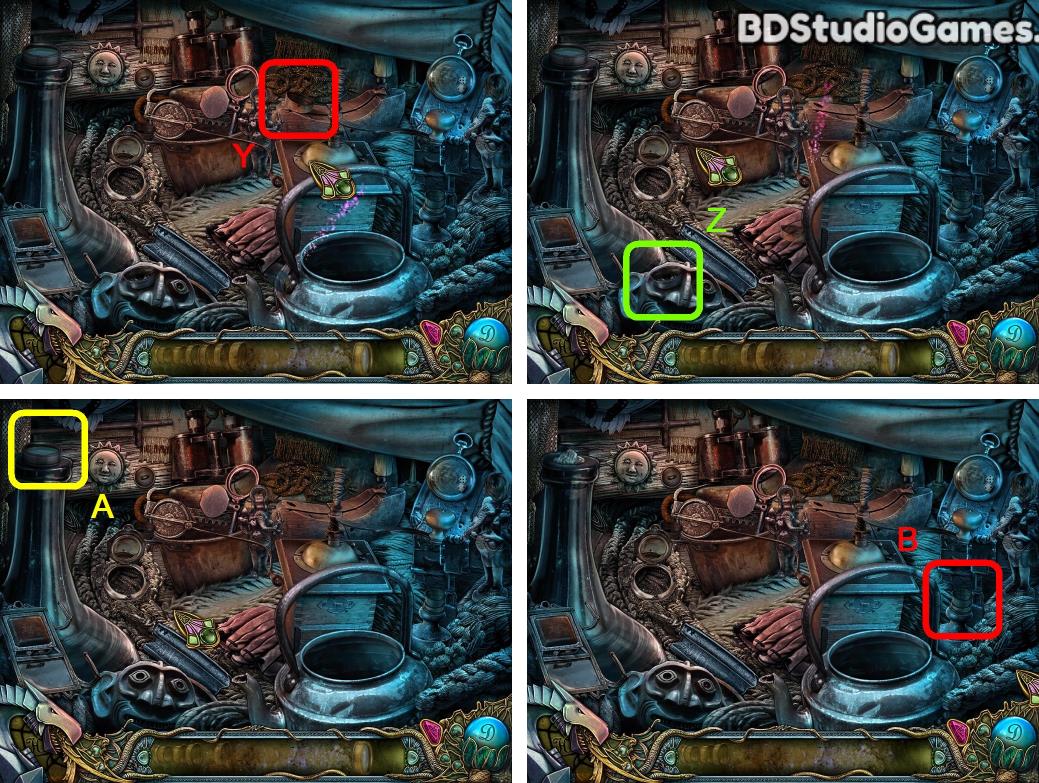
Take it. (Y)
Take it. (Z)
Take it. (A)
Take it. (B)
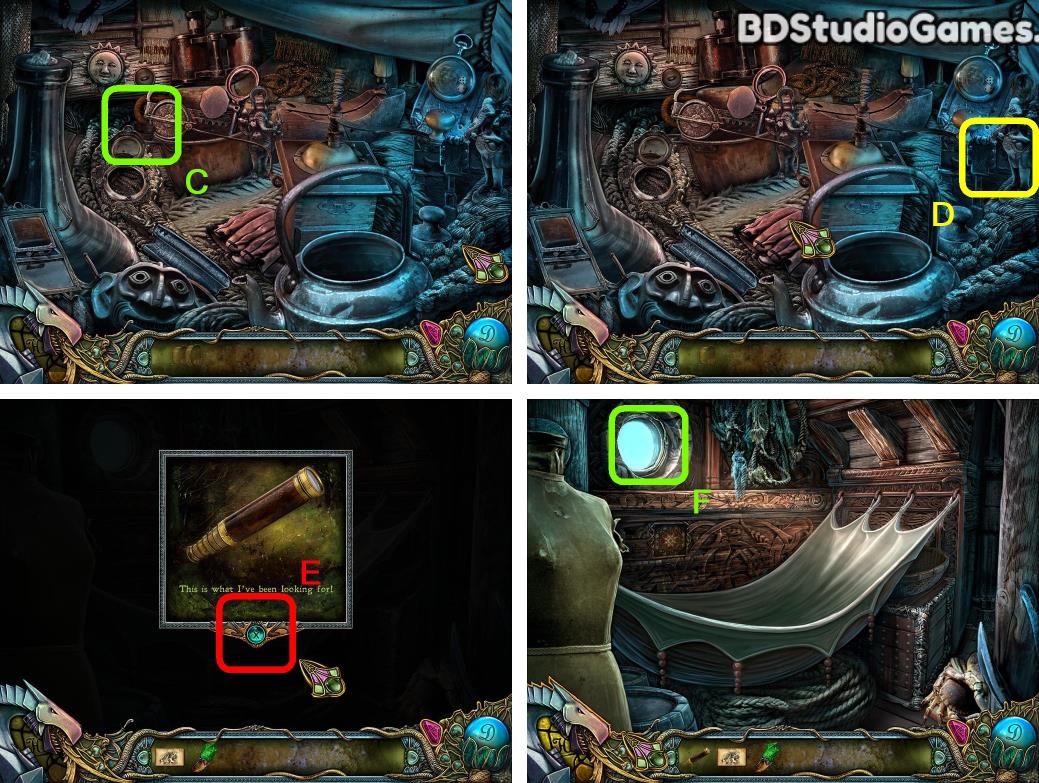
Take it. (C)
Take it. (D)
Click Here. (E)
Examine here. (F)
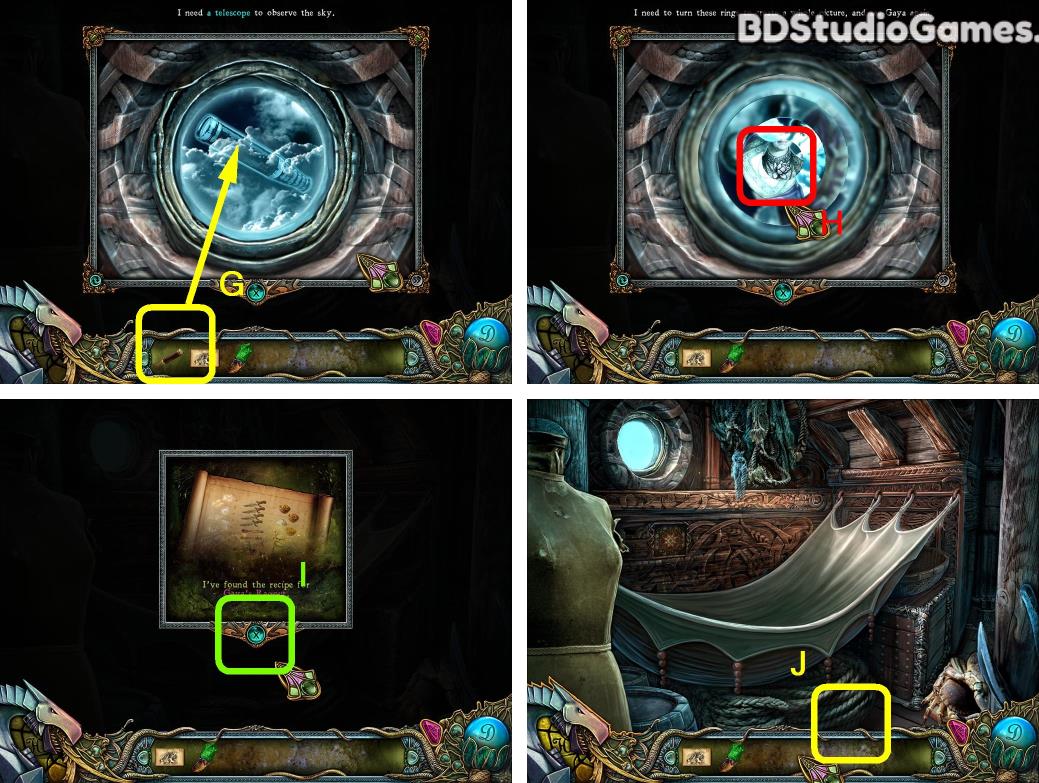
Use object on here. (G)
Solve the puzzle. (H)
Click Here. (I)
Go Here. (J)


 REFRESH